Easy Easter Fudge Recipe
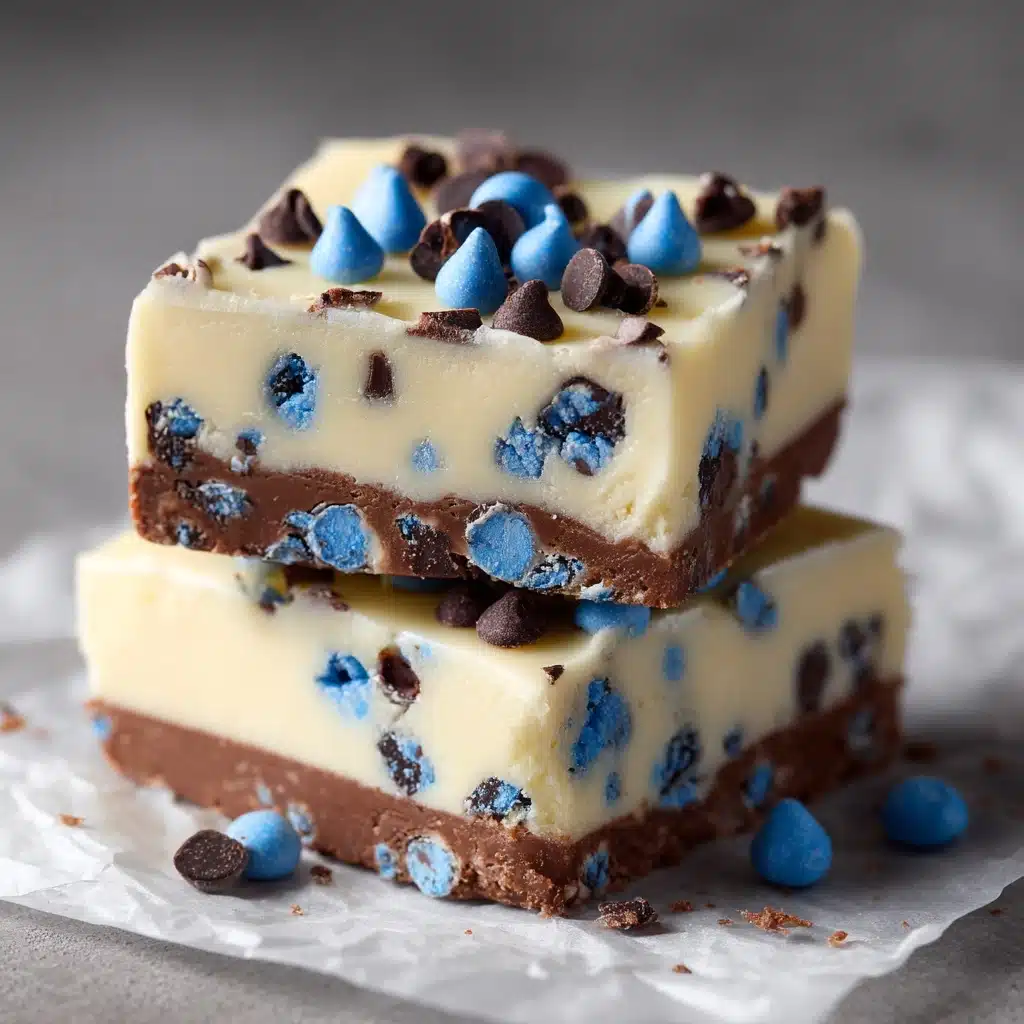
Let me introduce you to a family favorite that is destined to become a classic at your holiday table: Easy Easter Fudge. With its creamy, melt-in-your-mouth white chocolate base and a spectacular burst of pastel-colored candies and sprinkles, this festive treat is a total crowd-pleaser. Not only is it absolutely delicious, but it’s also as easy to make as it is beautiful to serve—a winning combination that means you can create sweet Easter magic with minimal effort. Whether you’re sharing it with friends, packing it into gift boxes, or keeping it as a secret stash just for yourself, this is one dessert you’ll look forward to making year after year.

Ingredients You’ll Need
Don’t you just love recipes that call for a handful of everyday ingredients, yet turn out tasting like something truly special? That’s exactly what you get with Easy Easter Fudge! Every single ingredient plays a role in delivering either the soft, creamy texture or the eye-catching, festive pop of color that makes this fudge a star on any dessert table.
- White chocolate chips: These form the base of the fudge, giving it a rich, sweet flavor and that silky-smooth finish.
- Sweetened condensed milk: This binds everything together and brings the classic fudge texture you can slice cleanly into perfect little squares.
- Vanilla extract: Just a teaspoon lifts up all the other flavors and adds cozy warmth to the sweetness.
- Salt: A pinch brings balance, cutting the sweetness just enough so you’ll crave another piece.
- Pastel-colored M&M’s or mini candy-coated chocolate eggs: The signature Easter look! These provide both crunch and a delightful pop of color.
- Easter sprinkles: A handful folded in and a little more on top add sparkle and irresistible playfulness to every bite.
- Butter or nonstick spray for greasing: To make lifting the set fudge out of the pan a total breeze, so you never lose a single crumb.
How to Make Easy Easter Fudge
Step 1: Prepare Your Pan
Start by lining an 8×8-inch baking dish with parchment paper, letting a bit hang over the sides for effortless removal later. Lightly grease the parchment with butter or nonstick spray—this makes sure every piece of fudge lifts out smooth and neat, ready for cutting.
Step 2: Melt the White Chocolate and Sweetened Condensed Milk
Grab a medium saucepan and set it over low heat. Add in your white chocolate chips and pour in the sweetened condensed milk. Stir constantly with a spatula or wooden spoon—this keeps everything combining smoothly and prevents the chocolate from scorching. In just a few minutes, you’ll have a thick, dreamy mixture that’s silky and shiny.
Step 3: Flavor with Vanilla and Salt
Once the mixture is melted and smooth, remove the pan from the heat. Stir in that splash of vanilla extract and the salt. It may seem like a small step, but these additions are what bring out the comforting, old-fashioned fudge flavor everyone loves.
Step 4: Add the Candy and Sprinkles
With your fudge base off the heat (so your candy doesn’t melt into a puddle!), gently fold in the pastel M&M’s and Easter sprinkles. You’ll see an instant transformation—the creamy white fudge comes alive with festive pops of color, promising a fun treat in every bite.
Step 5: Pour and Decorate
Quickly pour the mixture into your prepared baking dish and spread it evenly with a spatula. Before it starts to set, scatter a few extra M&M’s and sprinkles across the top and gently press them in. This not only makes for a showstopping presentation but also means every square gets a perfect share of the Easter fun.
Step 6: Chill and Slice
Allow your fudge to cool to room temperature, then pop it in the refrigerator for at least two hours or until it’s completely firm. When you’re ready to serve, lift the fudge out using the overhanging parchment and cut it into 25 tidy squares. That’s it—your Easy Easter Fudge is ready to delight!
How to Serve Easy Easter Fudge
Garnishes
A generous pinch of pastel sprinkles or mini candy-coated eggs on top is always a hit, but you can also add a drizzle of melted white chocolate or a shower of edible glitter for a little extra magic. Try pressing in some crushed mini cookies or pretzels if you’re feeling creative—your Easy Easter Fudge will look and taste like it came straight from an old-fashioned candy shop.
Side Dishes
Pair your fudge alongside fresh fruit like strawberries or grapes for a beautifully balanced dessert platter, or serve it with a bowl of salted nuts to contrast the sweetness. For a holiday brunch, a plate of fudge squares looks charming served with a big pitcher of lemonade or mini hot cocoa mugs.
Creative Ways to Present
Go beyond the tray! Stack squares of Easy Easter Fudge in small cellophane bags tied with pastel ribbons for adorable party favors, or tuck them into Easter baskets for a homemade touch. You could also layer fudge pieces in glass jars with other colorful sweets for a gorgeous dessert display that doubles as a centerpiece.
Make Ahead and Storage
Storing Leftovers
Easy Easter Fudge keeps perfectly in the refrigerator for up to a week. Simply store it in an airtight container, separating the layers with parchment paper to prevent sticking. This way, every piece stays fresh and ready whenever your sweet tooth hits.
Freezing
If you’d like to get an extra head start on your Easter celebration, Easy Easter Fudge also freezes beautifully. Wrap tightly in two layers of plastic wrap, place in a freezer-safe bag or container, and freeze for up to three months. Thaw overnight in the fridge before serving—your fudge will taste just as delightful as the day you made it.
Reheating
Fudge is best enjoyed chilled or at room temperature, so reheating isn’t typically necessary. If you’ve just pulled it from the freezer, let it sit out on the counter for 20-30 minutes or until it softens to your liking. This brings back the creamy texture and makes serving a breeze.
FAQs
Can I use milk or dark chocolate chips instead of white chocolate?
Absolutely! Swapping in milk or dark chocolate chips will give you a richer, more traditional flavor—just keep in mind the color won’t be as bright and springy. Either way, your Easy Easter Fudge will be just as delicious.
What’s the best way to cut the fudge into perfect squares?
For the cleanest edges, use a sharp knife dipped in hot water and wiped dry between cuts. This helps glide right through the set fudge, creating those picture-perfect bakery squares.
Can I use different candies or sprinkles?
Definitely! The beauty of this Easy Easter Fudge is how adaptable it is. Try using crushed chocolate eggs, jelly beans, or your favorite festive sprinkles—the sky’s the limit on customization.
Do I need a candy thermometer for this recipe?
No candy thermometer required! The ease of this fudge comes from simply melting and mixing—no tricky temperatures or precise measurements needed, which makes it great for baking with kids or beginners.
How far in advance can I make this fudge?
You can make Easy Easter Fudge up to a week ahead of time! Just keep it chilled in an airtight container and it’s ready to slice and serve at a moment’s notice, taking one more thing off your holiday to-do list.
Final Thoughts
I hope you feel as excited as I do to whip up a batch of Easy Easter Fudge this spring! With its cheerful colors, creamy bite, and no-fuss preparation, it truly brings the spirit of the holiday straight to your kitchen. Happy Easter and happy snacking, my friend—you’re in for a treat!
Print
Easy Easter Fudge Recipe
- Total Time: 2 hours 15 minutes
- Yield: 25 squares 1x
- Diet: Vegetarian
Description
This Easy Easter Fudge is a delightful treat to make for the holiday season, combining the sweetness of white chocolate with colorful pastel candies. It’s a simple, no-bake dessert that’s perfect for Easter gatherings and for gifting to friends and family.
Ingredients
White Chocolate Fudge:
- 3 cups white chocolate chips
- 1 can (14 oz) sweetened condensed milk
- 1 teaspoon vanilla extract
- 1/4 teaspoon salt
Additional Ingredients:
- 1/2 cup pastel-colored M&M’s or mini candy-coated chocolate eggs
- 1/4 cup Easter sprinkles (plus more for topping)
- Butter or nonstick spray for greasing
Instructions
- Prepare the Pan: Line an 8×8-inch baking dish with parchment paper and lightly grease it.
- Melt the Ingredients: In a medium saucepan over low heat, combine the white chocolate chips and sweetened condensed milk. Stir constantly until melted and smooth. Remove from heat and stir in vanilla extract and salt.
- Add Mix-Ins: Quickly fold in the pastel M&M’s and sprinkles. Pour the mixture into the pan, spread evenly, and top with additional M&M’s and sprinkles.
- Chill and Serve: Let the fudge cool to room temperature, then refrigerate for at least 2 hours. Once set, cut into squares and enjoy!
Notes
- This fudge can be made up to a week in advance and stored in the fridge.
- You can customize by using milk or dark chocolate chips or crushed Easter candies.
- Prep Time: 10 minutes
- Cook Time: 5 minutes
- Category: Dessert
- Method: No-Bake
- Cuisine: American
Nutrition
- Serving Size: 1 square
- Calories: 160
- Sugar: 18 g
- Sodium: 35 mg
- Fat: 8 g
- Saturated Fat: 5 g
- Unsaturated Fat: 2 g
- Trans Fat: 0 g
- Carbohydrates: 21 g
- Fiber: 0 g
- Protein: 2 g
- Cholesterol: 5 mg