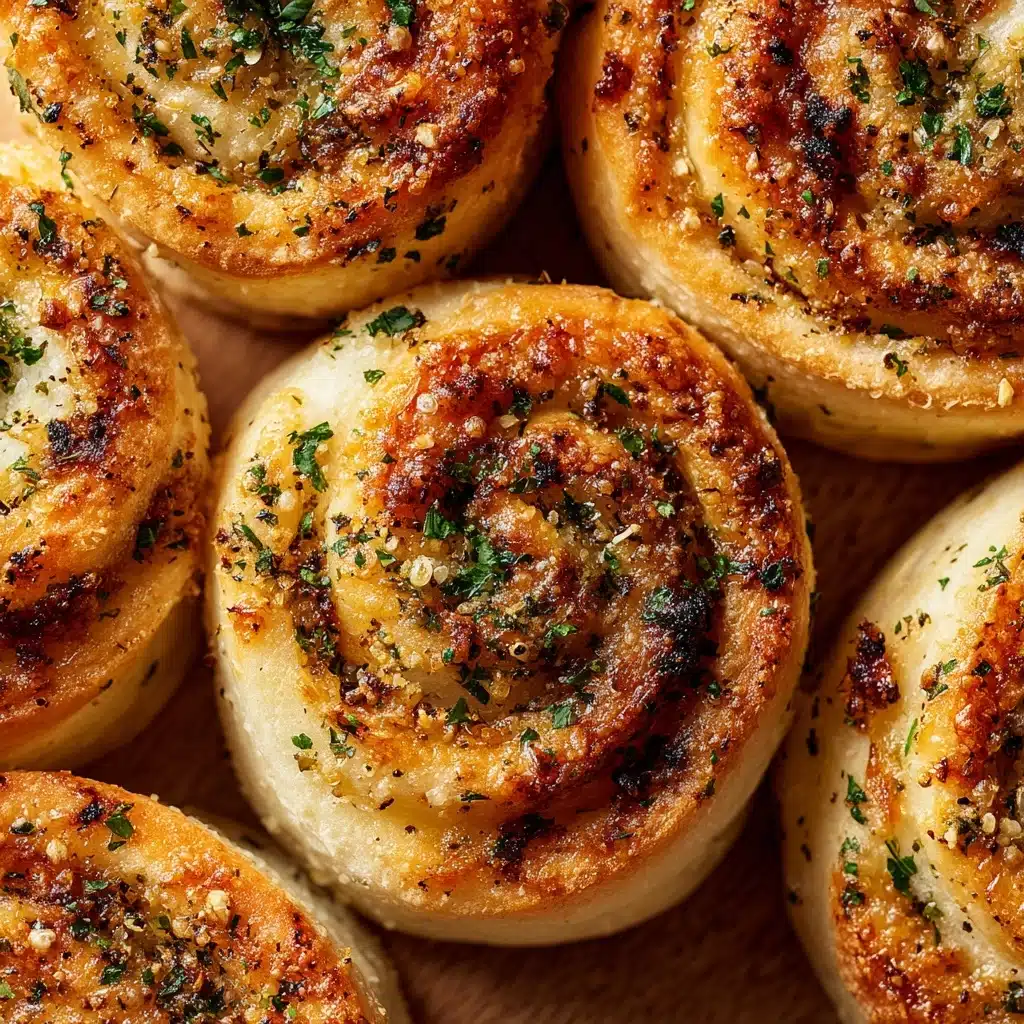
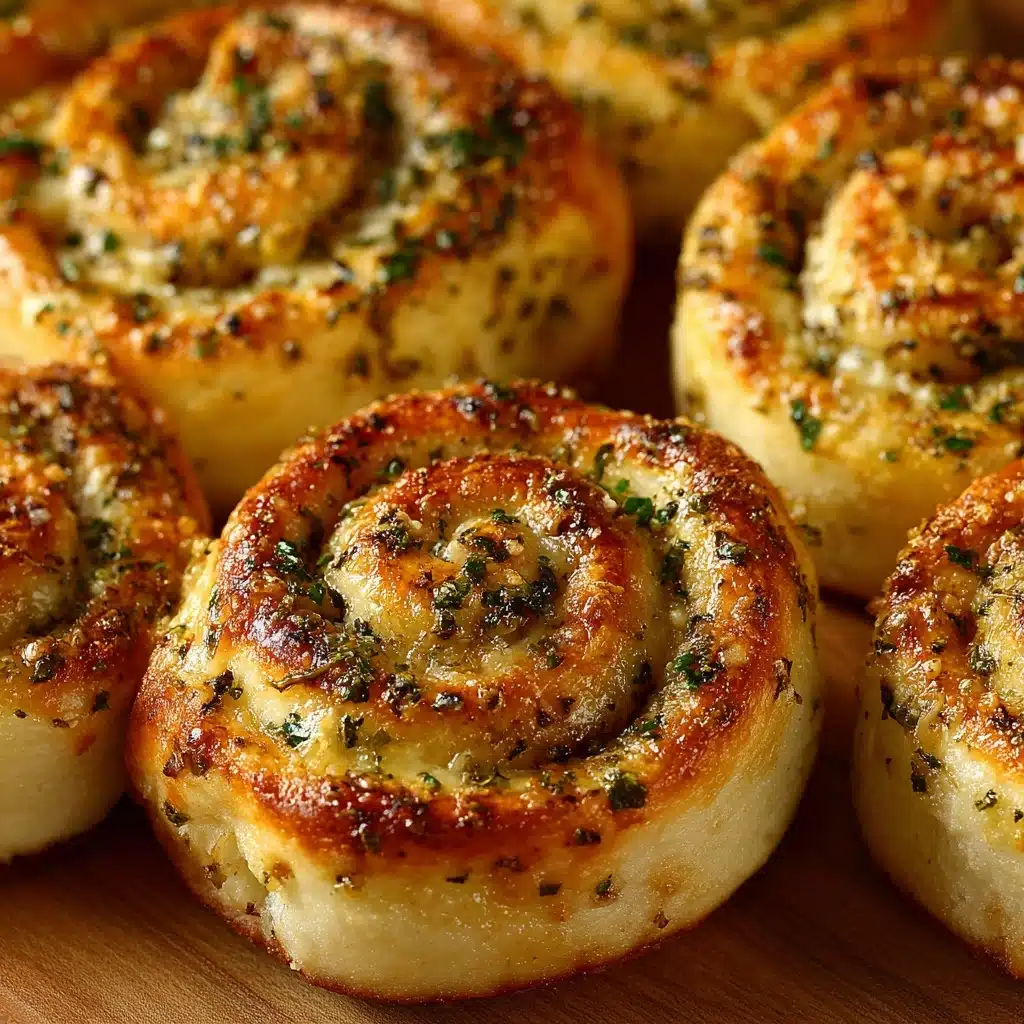
Garlic Bread Roll Ups Recipe
Get ready to meet your new favorite appetizer: Garlic Bread Roll Ups! These irresistibly cheesy, golden-baked bites take classic garlic bread to a whole new, snackable level. Imagine all the buttery, garlicky goodness you love, but rolled up with a creamy cheese filling and baked until deliciously crisp. Perfect as a party starter, game day snack, or a fun side for pasta night, these roll ups are bound to impress anyone who tastes them. Trust me, you’ll be asked for this recipe again and again!
Ingredients You’ll Need
It’s amazing how the simplest ingredients can come together to create something truly show-stopping. Each element in these Garlic Bread Roll Ups plays a key role, from the soft, pillowy bread to the trio of cheeses and fragrant herbs. Here’s what you’ll need, along with tips to make every bite extra special.
- Sandwich bread (8 slices, crusts removed): Use classic white or wheat sandwich bread; removing the crusts helps everything roll up smoothly and crisps up beautifully.
- Cream cheese (4 ounces, softened): This ensures a luscious, creamy filling that binds everything together. Let it sit at room temperature for easy spreading.
- Shredded mozzarella cheese (1/2 cup): For that perfectly melty, stretchy cheese pull in every bite.
- Grated Parmesan cheese (1/4 cup): Adds a nutty, salty depth of flavor—and a little bit in the buttery topping takes the finish over the top.
- Unsalted butter (3 tablespoons, melted): The base of your garlic topping, it soaks the bread and crisps it up while baking.
- Garlic (2 cloves, minced): Fresh garlic is non-negotiable for a bold, aromatic punch—use more if you’re a garlic lover!
- Fresh parsley (1 tablespoon, chopped): A sprinkle of parsley brings color and a hint of fresh, herby brightness.
- Italian seasoning (1/2 teaspoon): Gives that unmistakable, pizzeria-inspired flavor profile to every roll up.
- Pinch of salt: A little salt in the topping draws out the best in all the other flavors.
How to Make Garlic Bread Roll Ups
Step 1: Prep Your Bread and Baking Sheet
Start by preheating your oven to 375°F (190°C) and lining a baking sheet with parchment paper—this keeps the bread from sticking and makes clean-up a breeze. Remove the crusts from each slice of bread, then grab a rolling pin and flatten each slice. This softens the bread and makes it perfectly pliable for rolling, creating that irresistible chewy-meets-crispy texture.
Step 2: Assemble the Cheese Filling
Spread a thin layer of softened cream cheese over each flattened bread slice—it acts as the adhesive and the creamy base. Sprinkle a generous pinch of shredded mozzarella cheese on top. This layered combo ensures every roll up is rich, gooey, and bursting with flavor from the inside out.
Step 3: Roll and Arrange
Gently but firmly, roll up each prepared bread slice as tightly as possible and place them seam side down on your lined baking sheet. Make sure the seam stays on the bottom so the roll ups don’t unravel while baking. This little step locks in all those cheesy layers!
Step 4: Mix and Brush the Garlic Butter Topping
In a small bowl, stir together the melted butter, minced garlic, chopped parsley, Italian seasoning, grated Parmesan, and a pinch of salt. This butter blend infuses the Garlic Bread Roll Ups with classic Italian flavors and that mouthwatering aroma you just can’t resist. Generously brush this mixture over the top and sides of each roll up—get every nook and cranny!
Step 5: Bake Until Golden
Slide the tray into the preheated oven and bake for 12 to 15 minutes, or until the Garlic Bread Roll Ups are beautifully golden on the outside and the cheese inside is perfectly melted. If you crave an extra-crispy finish, you can broil them for a minute or so at the end, but keep a close eye—they brown fast!
Step 6: Serve and Enjoy
Once out of the oven, let the roll ups cool slightly (they’ll be hot!) and serve them warm. They’re incredible with a side of marinara or ranch for dipping, but honestly, they’re just as delicious on their own. Watch them disappear in minutes!
How to Serve Garlic Bread Roll Ups
Garnishes
For that extra pop of flavor and color, garnish your Garlic Bread Roll Ups with a sprinkle of freshly chopped parsley or a bit more grated Parmesan right after baking. If you love a little heat, try minced fresh basil or a dash of crushed red pepper flakes. These little finishing touches make them look irresistibly fresh and inviting.
Side Dishes
Garlic Bread Roll Ups shine as the ultimate appetizer, but they also make a great side for pasta dishes, soups, or a crisp Caesar salad. Pair them with a bowl of creamy tomato soup or next to a hearty lasagna for a truly comforting meal. They also tuck nicely onto snack boards for casual gatherings—perfect for dipping and sharing.
Creative Ways to Present
If you really want to wow your guests, arrange the Garlic Bread Roll Ups in a spiral or line them up neatly on a rustic wooden serving board. Offer a couple of dipping sauces like classic marinara, ranch, or even a garlic aioli on the side. For parties, skewer each roll up with a decorative toothpick—instant finger food, no utensils required!
Make Ahead and Storage
Storing Leftovers
Leftover Garlic Bread Roll Ups (if you manage to have any!) can be stored in an airtight container in the refrigerator for up to 3 days. Allow them to cool completely before packing them up so they stay fresh and don’t become soggy.
Freezing
To freeze, arrange cooled roll ups in a single layer on a baking sheet; once frozen, transfer to a zip-top bag and keep in the freezer for up to a month. You can freeze them before or after baking, but for best results, freeze before the final bake, then pop them straight into the oven when ready to serve.
Reheating
To re-crisp, place refrigerated or thawed Garlic Bread Roll Ups on a baking sheet and heat in a 350°F (175°C) oven for about 8 to 10 minutes until warmed through and crispy again. The air fryer works beautifully here too—just a few minutes at 375°F and they’ll taste as good as fresh!
FAQs
Can I add meat or other fillings to my Garlic Bread Roll Ups?
Absolutely! Feel free to layer in slices of pepperoni, cooked sausage, or even sautéed mushrooms with the cheese for a fun variation. Just make sure not to overstuff so they roll up tightly and bake evenly.
What’s the best bread to use for roll ups?
Standard white or wheat sandwich bread works best because it’s soft and easy to flatten. Artisan breads tend to crack, so stick with the classic loaves for best results.
Can I make these ahead of time?
Yes, you can assemble the Garlic Bread Roll Ups and refrigerate them on the baking sheet a few hours ahead. Brush on the garlic butter topping right before baking to keep them from getting soggy.
What dipping sauces go well with these?
Marinara sauce is a classic, but ranch, garlic butter dip, or a cheesy Alfredo sauce are all fantastic choices. Switching up your dips is a great way to keep things interesting!
Can I cook them in an air fryer?
You sure can! Arrange the roll ups in a single layer in your air fryer basket and cook at 375°F (190°C) for 6 to 8 minutes until golden and crisp. They turn out perfectly crunchy—just keep an eye to avoid over-browning.
Final Thoughts
I can’t wait for you to try these Garlic Bread Roll Ups—they’re destined to be a hit at your table! Whether you’re making them for a quick snack or an easy crowd-pleaser, they offer pure comfort in every bite. Let me know how you serve yours, and get ready to see just how quickly they disappear!
Print
Garlic Bread Roll Ups Recipe
- Total Time: 30 minutes
- Yield: 8 roll ups 1x
- Diet: Vegetarian
Description
These Garlic Bread Roll Ups are a delicious and easy-to-make appetizer or snack that is perfect for any occasion. With a cheesy, garlicky filling rolled up in bread and baked until golden and crispy, these roll ups are sure to be a hit with your family and friends.
Ingredients
Bread:
- 8 slices sandwich bread (crusts removed)
Filling:
- 4 ounces cream cheese (softened)
- 1/2 cup shredded mozzarella cheese
- 1/4 cup grated Parmesan cheese
- 3 tablespoons unsalted butter (melted)
- 2 cloves garlic (minced)
- 1 tablespoon fresh parsley (chopped)
- 1/2 teaspoon Italian seasoning
- pinch of salt
Instructions
- Preheat the oven: Preheat the oven to 375°F (190°C) and line a baking sheet with parchment paper.
- Prepare the bread: Roll each bread slice flat with a rolling pin.
- Make the filling: Spread a thin layer of cream cheese on each slice, then sprinkle with mozzarella.
- Roll up the bread: Roll up tightly and place seam side down on the prepared baking sheet.
- Prepare the topping: In a small bowl, mix melted butter, garlic, parsley, Italian seasoning, Parmesan, and salt.
- Brush and bake: Brush the mixture generously over each roll up. Bake for 12–15 minutes, or until golden brown and crispy.
- Serve: Serve warm with marinara or ranch dipping sauce.
Notes
- These can be made ahead and refrigerated before baking.
- For a variation, add pepperoni slices or cooked sausage with the cheese filling.
- Air fryer option: cook at 375°F (190°C) for 6–8 minutes until crisp.
- Prep Time: 15 minutes
- Cook Time: 15 minutes
- Category: Appetizer, Snack
- Method: Baking
- Cuisine: American, Italian-Inspired
Nutrition
- Serving Size: 1 roll up
- Calories: 170
- Sugar: 2g
- Sodium: 210mg
- Fat: 9g
- Saturated Fat: 5g
- Unsaturated Fat: 3g
- Trans Fat: 0g
- Carbohydrates: 16g
- Fiber: 1g
- Protein: 5g
- Cholesterol: 20mg