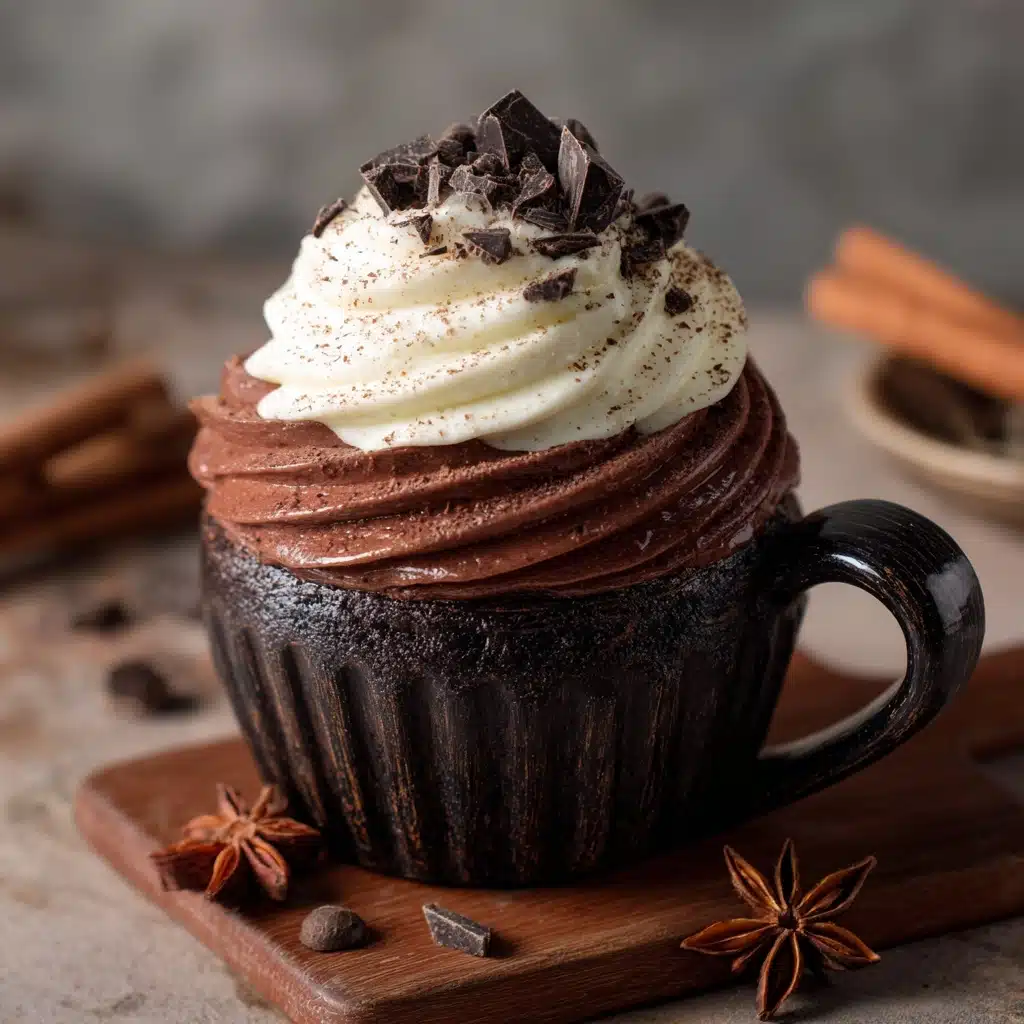
Hot Cocoa Cupcake Mugs Recipe
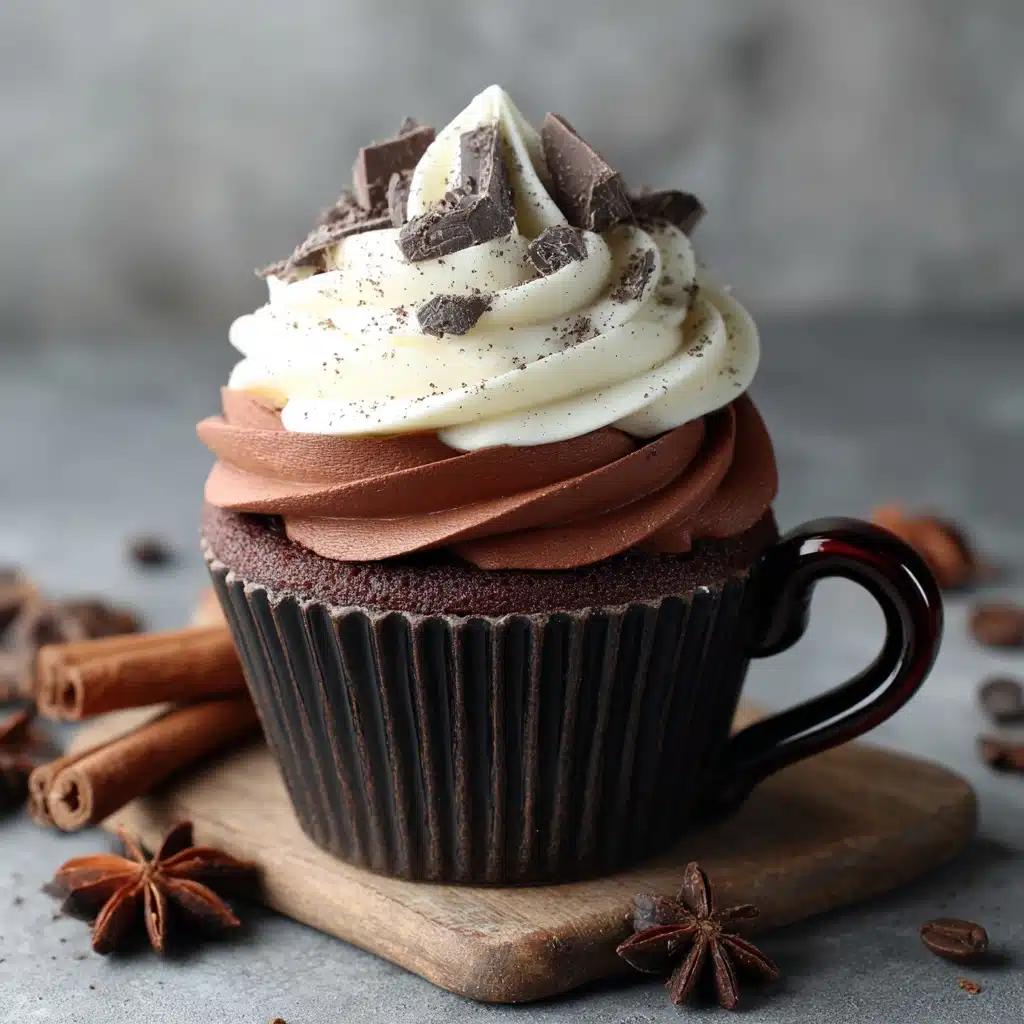
If you’re looking for the ultimate winter treat that’s equal parts adorable and delicious, these Hot Cocoa Cupcake Mugs are about to become your new favorite. Imagine the cozy flavor of hot chocolate, but in cupcake form, topped with a cloud of whipped cream, marshmallows, and a candy cane “mug handle” for that extra wow factor. Whether you’re hosting a holiday party or just want to brighten up a chilly afternoon, this recipe is guaranteed to bring smiles and a little magic to your kitchen.
Ingredients You’ll Need
The beauty of Hot Cocoa Cupcake Mugs is in their simplicity—each ingredient is easy to find, yet plays a vital role in building that classic hot cocoa flavor and whimsical presentation. Don’t skip the little touches; they’re what transform a basic cupcake into a showstopping mug!
- Chocolate cake mix: The foundation for our cupcakes, delivering rich chocolatey flavor with minimal fuss.
- Eggs, oil, and water: Essential for preparing your cake mix—follow the box instructions for the perfect texture.
- Mini marshmallows: These add classic hot cocoa vibes and a delightful chewy contrast on top.
- Chocolate chips: A sprinkle of chocolate chips on top gives extra decadence and an irresistible finish.
- Heavy whipping cream: Whips up into luscious homemade whipped topping, just like the best cocoa.
- Powdered sugar: Sweetens the whipped cream and helps it hold its shape.
- Vanilla extract: Adds warmth and depth to your whipped topping—don’t skip it!
- Mini candy canes: These become the perfect edible mug handles and add a festive touch.
- Optional toppings: Chocolate shavings, sprinkles, or crushed peppermint take things over the top—pick your favorites!
How to Make Hot Cocoa Cupcake Mugs
Step 1: Bake the Cupcakes
Start by preheating your oven to 350°F (175°C) and lining a muffin tin with cupcake liners. Prepare the chocolate cake batter according to the package directions, making sure to blend everything together until smooth. Fill each liner about three-quarters full, which leaves just enough room for the cupcakes to rise without overflowing. Bake for 18 to 20 minutes, or until a toothpick inserted in the center comes out clean. Let them cool completely on a wire rack—no one likes melted whipped cream!
Step 2: Whip Up the Topping
While the cupcakes are cooling, grab a mixing bowl and combine the heavy whipping cream, powdered sugar, and vanilla extract. Beat them together with a hand mixer (or stand mixer) until stiff peaks form. This means the whipped cream will hold its shape when you lift the beaters. If you’re feeling extra festive, try adding a drop of peppermint extract or a dash of cinnamon for a holiday twist.
Step 3: Create the Mug Shape
Once your cupcakes are completely cool, use a serrated knife to gently trim the tops if needed, creating a nice flat surface. This little step makes it easier to pile on the toppings and gives your “mugs” a more authentic look. Don’t worry if they’re not perfectly level—imperfection just adds character!
Step 4: Decorate Your Hot Cocoa Cupcake Mugs
Now comes the fun part! Pipe or spoon a generous swirl of whipped cream on top of each cupcake to mimic the frothy topping on a mug of cocoa. Press a mini candy cane into the side of each cupcake to form the mug handle. Then, sprinkle mini marshmallows and chocolate chips on top. Add any optional toppings you love—think chocolate shavings, colorful sprinkles, or crushed peppermint for extra holiday flair.
How to Serve Hot Cocoa Cupcake Mugs
Garnishes
The magic of Hot Cocoa Cupcake Mugs is in the finishing touches. Pile on those mini marshmallows and chocolate chips, then go wild with chocolate shavings or a pinch of crushed peppermint. Not only do these garnishes make your cupcakes look irresistible, but they add pops of flavor and texture that everyone will remember.
Side Dishes
Pair these cupcakes with a steaming mug of real hot cocoa for a double dose of chocolatey comfort! They also make a fun finish to a holiday brunch, or a sweet bite alongside a platter of fresh fruit or simple tea sandwiches. If you’re hosting a party, set them out with a spread of other festive treats for a dessert table that’s sure to impress.
Creative Ways to Present
When it comes to serving Hot Cocoa Cupcake Mugs, presentation is half the fun. Arrange them on a rustic wooden board, tuck them into festive cupcake boxes as edible gifts, or place each one on a saucer with a little extra candy cane for stirring. For parties, set up a DIY topping bar so guests can customize their own “mugs” with sprinkles, crushed cookies, or flavored syrups.
Make Ahead and Storage
Storing Leftovers
If you find yourself with a few extra Hot Cocoa Cupcake Mugs (lucky you!), store them in an airtight container in the refrigerator. The whipped cream will keep its shape for a day or two, making these cupcakes perfect for prepping ahead of time or saving for a next-day treat.
Freezing
Want to make the cupcakes in advance? Bake and cool the cupcakes, then freeze them (without toppings) in a freezer-safe container for up to two months. When you’re ready to serve, let them thaw at room temperature, then add the whipped cream and toppings fresh for the best texture and flavor.
Reheating
Since these cupcakes are best enjoyed at room temperature or chilled, reheating isn’t necessary. If they’ve been in the fridge, just let them sit out for 10 to 15 minutes before serving so the whipped cream softens slightly and all the flavors pop.
FAQs
Can I use homemade chocolate cake instead of a boxed mix?
Absolutely! If you have a favorite chocolate cake recipe, feel free to use it in place of the boxed mix. The beauty of Hot Cocoa Cupcake Mugs is that they’re versatile and easy to adapt to your taste.
What’s the best way to get the whipped cream to hold its shape?
Be sure to beat your cream until stiff peaks form, and chill your bowl and beaters ahead of time if possible. If you need extra staying power, you can add a tablespoon of instant pudding mix to the whipped cream as you beat it.
Can I make these cupcakes dairy-free?
Yes! Use a dairy-free cake mix and swap out the heavy cream for a coconut or almond-based whipped topping. Most candy canes and marshmallows are naturally dairy-free, but always check the labels to be sure.
How do I keep the candy cane handles from getting sticky?
Candy canes can get a little sticky if left out for too long, especially in humid environments. Add them just before serving for the best look and crunch, or store finished cupcakes in a cool, dry place.
Are Hot Cocoa Cupcake Mugs good for gifting?
They’re perfect for gifting! Place each cupcake in a clear cellophane bag, tie with a ribbon, and deliver a batch to friends, neighbors, or teachers for a sweet, thoughtful treat that’s almost too cute to eat.
Final Thoughts
I hope you fall in love with these Hot Cocoa Cupcake Mugs as much as I have! Whether you’re baking them for a festive party, sharing them as edible gifts, or just craving a cozy homemade dessert, they’re guaranteed to warm hearts and bring out big smiles. Go ahead—gather your favorite people and whip up a batch of these sweet little mugs today!
Print
Hot Cocoa Cupcake Mugs Recipe
- Total Time: 35 minutes
- Yield: 12 cupcakes 1x
- Diet: Vegetarian
Description
These Hot Cocoa Cupcake Mugs are a delightful holiday treat that combines moist chocolate cupcakes with a fluffy whipped cream topping, mini marshmallows, and chocolate chips to resemble a cup of hot cocoa. Each cupcake features a festive mini candy cane handle for a charming presentation, perfect for holiday parties or edible gifts.
Ingredients
Cake Batter
- 1 box chocolate cake mix (plus eggs, oil, and water as directed on the box)
Toppings
- 1 cup mini marshmallows
- ½ cup chocolate chips
- 1 cup heavy whipping cream
- 2 tablespoons powdered sugar
- 1 teaspoon vanilla extract
- 12 mini candy canes (for mug handles)
- Optional: chocolate shavings, sprinkles, crushed peppermint
Instructions
- Preheat and Prepare: Preheat your oven to 350°F (175°C) and line a muffin tin with cupcake liners to prepare for baking.
- Make the Batter: Prepare the chocolate cake batter according to the package instructions, combining the cake mix with eggs, oil, and water as specified.
- Bake Cupcakes: Fill each cupcake liner about ¾ full with batter. Bake in the preheated oven for 18–20 minutes, or until a toothpick inserted in the center comes out clean.
- Cool Cupcakes: Remove cupcakes from the oven and allow them to cool completely on a wire rack before decorating.
- Make Whipped Topping: In a mixing bowl, beat the heavy whipping cream, powdered sugar, and vanilla extract together until stiff peaks form, creating a fluffy whipped cream.
- Trim Cupcake Tops: If needed, carefully trim the tops of the cooled cupcakes to create a flat surface for the whipped topping.
- Decorate: Pipe or spoon the whipped cream on top of each cupcake to mimic hot cocoa foam. Press a mini candy cane into the side of each cupcake to form a festive mug handle.
- Add Toppings: Garnish each cupcake with mini marshmallows, chocolate chips, and any optional toppings such as chocolate shavings, sprinkles, or crushed peppermint to enhance flavor and appearance.
Notes
- You can use store-bought whipped cream to save time and effort.
- For an extra festive flavor, add a few drops of peppermint extract to the whipped cream.
- Sprinkling cinnamon on top adds a warm, spicy note.
- These cupcakes make great holiday party treats or edible gifts because of their festive look.
- Prep Time: 15 minutes
- Cook Time: 20 minutes
- Category: Dessert
- Method: Baking
- Cuisine: American
Nutrition
- Serving Size: 1 cupcake
- Calories: 290
- Sugar: 26g
- Sodium: 240mg
- Fat: 15g
- Saturated Fat: 7g
- Unsaturated Fat: 6g
- Trans Fat: 0g
- Carbohydrates: 36g
- Fiber: 1g
- Protein: 3g
- Cholesterol: 40mg