Black Velvet Cake Recipe
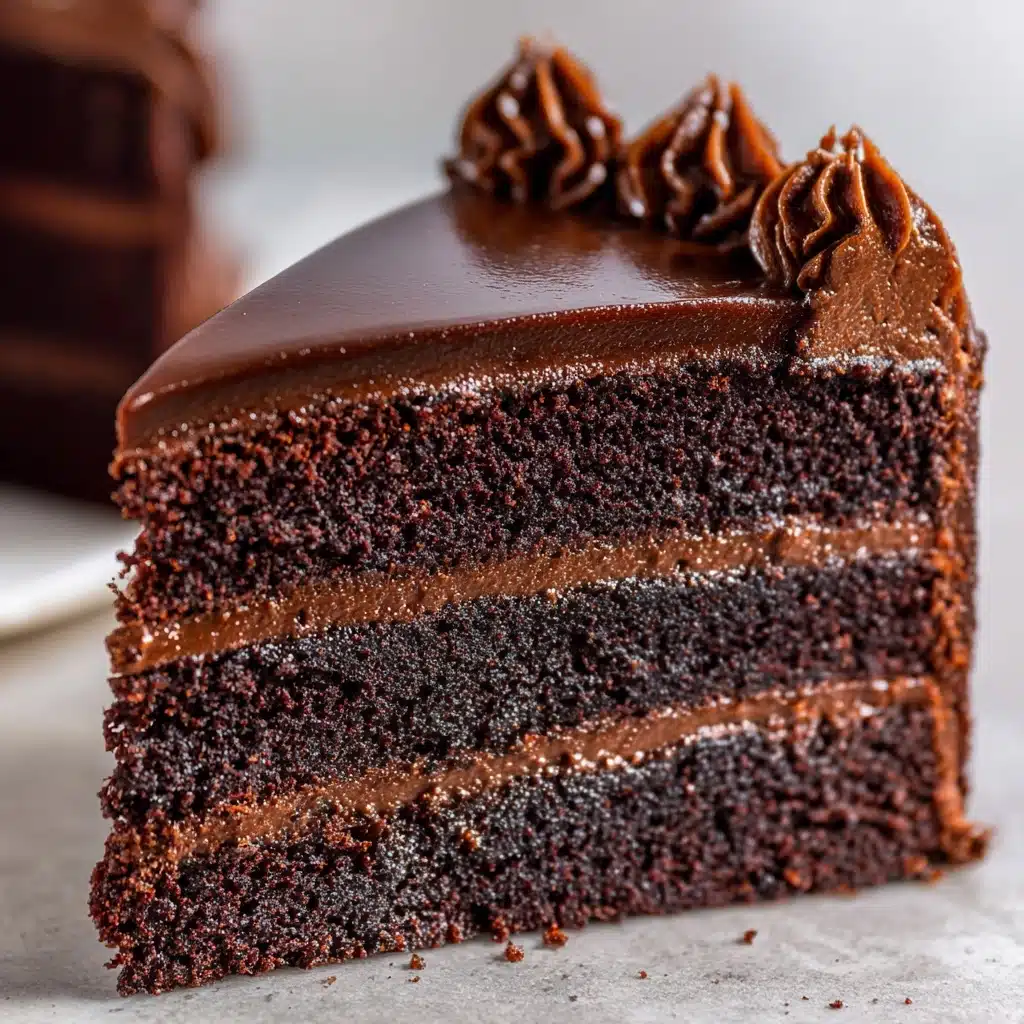
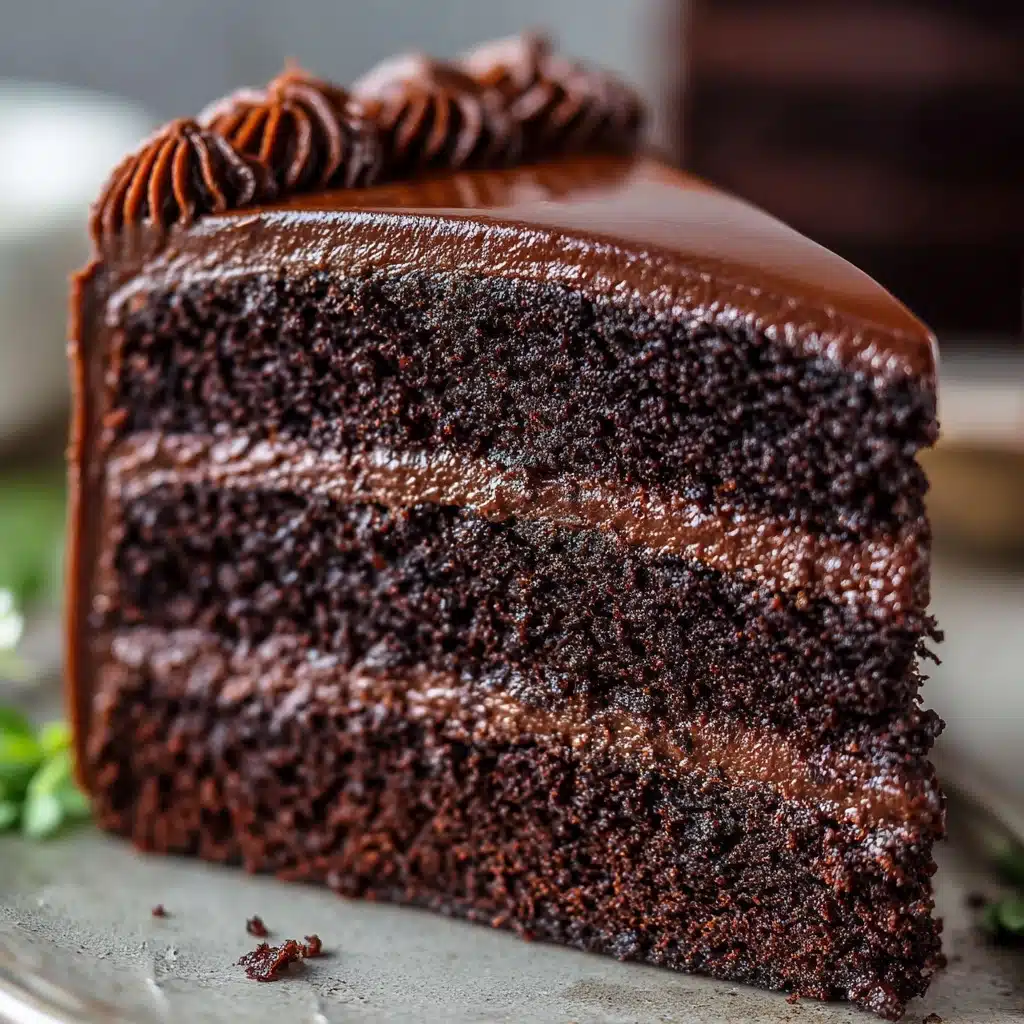
If you’re seeking a showstopper dessert that’s as decadent as it is dramatic, look no further than this Black Velvet Cake. With its rich black cocoa layers, luxuriously smooth buttercream, and a crown of jewel-toned fruits, this cake strikes a perfect balance between sophisticated flavor and playful presentation. The deep color and intense chocolate notes make every slice an experience, and it’s bound to spark conversation and compliments whenever you share it.
Ingredients You’ll Need
You’ll find that the ingredients for Black Velvet Cake are straightforward, yet each one plays a crucial role in delivering that signature dark color and plush texture. Pay attention to the details—simple tweaks like using black cocoa or buttermilk can make all the difference in richness and depth.
- Brown sugar: Adds moisture and a subtle caramel undertone that deepens the cake’s flavor.
- Cake flour: Creates a tender, soft crumb that practically melts in your mouth.
- Black cocoa: The star of the show, giving the cake its dramatic color and sophisticated chocolate intensity.
- Bicarbonate of soda: Helps create a lofty, light texture by reacting with acidic ingredients.
- Baking powder: Ensures the cake rises evenly and stays fluffy.
- Eggs (room temperature): Bind everything together and add richness.
- Buttermilk: Brings tang and tenderness, making the crumb extra soft.
- Hot water or coffee: Enhances cocoa flavor and keeps the cake moist—coffee gives a deeper chocolate taste.
- Neutral oil (grapeseed or rice bran): Keeps the cake moist and light, without overpowering flavors.
- Vanilla extract: Balances and rounds out the chocolate notes.
- Dark chocolate (finely chopped): Melts into the batter for pockets of rich, gooey chocolate.
- Butter (room temperature): The base of a silky, luscious frosting.
- Caster sugar: Dissolves easily for a smooth buttercream.
- Water (room temperature): Helps the buttercream reach the perfect consistency.
- Purple and gold sprinkles: Add a whimsical, celebratory touch to your finished cake.
- Black cherries & blackberries: Juicy, tart fruits that complement the dark chocolate and add visual drama.
How to Make Black Velvet Cake
Step 1: Preheat and Prepare Your Pans
Start by preheating your oven to 160°C (320°F). Take a moment to grease and line two round baking tins—one 8-inch and one 4-inch high. This step is essential for easy removal and a neat finish, so don’t skimp on the parchment paper!
Step 2: Mix the Dry Ingredients
In a large mixing bowl, combine the brown sugar, cake flour, black cocoa, bicarbonate of soda, and baking powder. Give the mixture a whisk to ensure everything is evenly distributed and there are no hidden pockets of cocoa or flour.
Step 3: Combine the Wet Ingredients
In a separate bowl, whisk together the buttermilk, neutral oil, and vanilla extract until well blended. The buttermilk’s acidity will start to react with the leaveners, so you’ll notice the mixture begin to look creamy and slightly thickened.
Step 4: Add Eggs and Hot Liquid
Beat in the eggs, one at a time, into the wet mixture. Next, gently pour in the hot water or coffee in a steady stream, mixing continuously. The warmth of the liquid helps bloom the cocoa, intensifying the cake’s color and flavor.
Step 5: Combine Wet and Dry Ingredients
Slowly add the wet ingredients to the dry ingredients, mixing until you have a smooth, glossy batter. Take care not to overmix; just stir until everything is combined and no streaks of flour remain.
Step 6: Fold in Dark Chocolate
Gently fold in the finely chopped dark chocolate. These bits will melt into the cake as it bakes, creating little pockets of fudgy richness throughout each bite of your Black Velvet Cake.
Step 7: Divide and Bake
Pour the batter evenly into your prepared tins. Slide them into the oven and bake for about 30 minutes, or until a toothpick inserted into the center comes out clean. Resist the urge to open the oven too early—the steady heat is key for even rising.
Step 8: Make the Black Cocoa Buttercream
While your cakes are cooling, beat together the butter, caster sugar, and black cocoa on low speed for one minute. Gradually add the water and vanilla extract, then increase the speed and whip until the buttercream is smooth, fluffy, and deeply chocolatey.
Step 9: Assemble and Frost the Cake
Once your cakes are fully cool, carefully slice each one horizontally to create two even layers. Spread a generous layer of buttercream between each, then use the rest to cover the entire cake in a swoop of midnight frosting.
Step 10: Decorate and Serve
For a truly striking finish, use a 1A piping tip to pipe decorative dollops of buttercream on top. Pile on black cherries, blackberries, and a sprinkle of purple and gold for a magical, celebratory flourish. Your Black Velvet Cake is ready to dazzle!
How to Serve Black Velvet Cake
Garnishes
The crowning glory for Black Velvet Cake is all about contrast and elegance. Fresh black cherries and blackberries add tartness and a pop of color, while purple and gold sprinkles give it a festive, almost regal feel. You can even add a dusting of edible glitter or a few chocolate curls for extra wow-factor.
Side Dishes
Serve each slice with a dollop of unsweetened whipped cream or a scoop of vanilla ice cream to balance the richness. If you want to go all-out, a small pour of berry coulis or a drizzle of espresso sauce can elevate the entire dessert experience.
Creative Ways to Present
Black Velvet Cake looks stunning on a dark slate platter or a vintage glass cake stand. For individual servings, try cutting the cake into cubes and layering them with buttercream in elegant glasses for a modern trifle. Mini cakes or cupcakes with the same batter are also perfect for parties and make for easy sharing.
Make Ahead and Storage
Storing Leftovers
Store leftover Black Velvet Cake in an airtight container at room temperature for up to two days, or in the fridge for up to five days. The cake stays moist thanks to the oil and buttermilk, and the flavors deepen over time, making each slice just as delicious—if not more—on the second day.
Freezing
You can freeze the unfrosted cake layers for up to three months. Once cooled, wrap each layer tightly in plastic wrap, then foil, and pop them in the freezer. Thaw at room temperature before assembling and frosting for that just-baked taste and texture.
Reheating
For the best results, enjoy Black Velvet Cake at room temperature. If you like a slightly warm cake, microwave individual slices for 10 to 15 seconds—just long enough to soften the chocolate bits and bring out the flavors, without melting the buttercream.
FAQs
Can I use regular cocoa powder instead of black cocoa?
While regular cocoa powder will work in a pinch, black cocoa gives Black Velvet Cake its unique color and deep flavor. For the most authentic result, try to source black cocoa, but if you need to substitute, consider using Dutch-processed cocoa for a similar smoothness.
What’s the best way to get even cake layers?
Use a serrated knife or a cake leveler to carefully slice each cake horizontally. Chilling the cakes beforehand helps reduce crumbs and gives you cleaner, more even layers.
Can I make Black Velvet Cake gluten-free?
Absolutely! Swap the cake flour for your favorite gluten-free flour blend (preferably one designed for cakes) and double-check that your baking powder and cocoa are gluten-free. The cake may be a bit more delicate, so handle with care.
Is there a substitute for buttermilk?
If you don’t have buttermilk, create a quick substitute by mixing 1 cup of milk with 1 tablespoon of lemon juice or white vinegar. Let it sit for five minutes, and you’re good to go!
How can I make the buttercream extra dark?
For an even deeper hue, add a tiny bit of black gel food coloring to the buttercream. It’s optional, but it can help you achieve that true “black velvet” look, especially if your cocoa isn’t quite as dark.
Final Thoughts
There’s something truly magical about sharing a slice of Black Velvet Cake with people you love. Bold, beautiful, and bursting with flavor, it’s a dessert that always makes a statement. Go ahead—give it a try and let this cake become the star of your next celebration!
Print
Black Velvet Cake Recipe
- Total Time: 1 hour 10 minutes
- Yield: 10 servings 1x
- Diet: Vegetarian
Description
This Black Velvet Cake is an elegant, rich chocolate dessert featuring deep black cocoa paired with a luscious black cocoa buttercream. Moist and tender, it’s enhanced with dark chocolate chunks and finished with a decadent buttercream that is both creamy and subtly chocolatey. Decorated with black cherries, blackberries, and shimmering purple and gold sprinkles, this cake is perfect for special occasions or anyone craving a sophisticated chocolate treat.
Ingredients
For the Cake:
- 1.5 cups (330g) brown sugar, firmly packed
- 1 ¾ cups (260g) cake flour
- 1 cup (100g) black cocoa powder
- 2 tsp bicarbonate of soda
- 1 tsp baking powder
- 2 eggs, room temperature
- 1 cup (250ml) buttermilk
- 1 cup (250ml) hot water or coffee
- ½ cup (125ml) neutral oil (grapeseed or rice bran)
- 2 tsp vanilla extract
- 100g (3.5oz) dark chocolate, finely chopped
For the Black Cocoa Buttercream:
- 375g (13.3oz) butter, room temperature
- 190g (6.7oz) caster sugar
- 115ml (4floz) water, room temperature
- ¾ cup black cocoa powder
- 1 tsp vanilla extract
To Decorate:
- Black cherries
- Blackberries
- Purple and gold sprinkles
Instructions
- Preheat & Prep: Preheat the oven to 160°C (320°F). Grease and line two round baking tins – one 8-inch and one 4-inch high – with baking parchment to ensure the cakes don’t stick.
- Mix Dry Ingredients: In a large bowl, whisk together brown sugar, cake flour, black cocoa powder, bicarbonate of soda, and baking powder until evenly combined and free of lumps.
- Prepare Wet Ingredients: In a separate bowl, mix the buttermilk, neutral oil, and vanilla extract until well combined.
- Incorporate Eggs and Coffee: Beat the eggs into the wet ingredients one at a time to incorporate fully. Then, gradually add the hot water or coffee, mixing slowly to avoid curdling.
- Combine Batters: Slowly pour the wet mixture into the dry ingredients while stirring continuously until a smooth batter forms without lumps.
- Add Dark Chocolate: Gently fold in the finely chopped dark chocolate pieces to distribute throughout the batter.
- Bake the Cake Layers: Divide the batter evenly between the prepared tins and place in the oven. Bake for about 30 minutes, or until a toothpick inserted into the center comes out clean.
- Make the Buttercream: Using an electric mixer, beat the butter, caster sugar, and black cocoa powder on low speed for 1 minute until combined. Gradually add the water and vanilla extract, increasing speed to beat until the buttercream is smooth, creamy, and fluffy.
- Cool and Slice: Once cooled completely, slice each cake horizontally into two even layers, creating four layers in total.
- Assemble the Cake: Spread an even layer of black cocoa buttercream between each cake layer. Cover the entire assembled cake with a smooth layer of buttercream.
- Decorate: Fit a 1A piping tip to a piping bag and pipe decorative buttercream dollops over the cake surface to add texture and beauty.
- Final Touches: Garnish the top of the cake with fresh black cherries, blackberries, and sprinkle with purple and gold edible sprinkles to create an elegant finish.
Notes
- Using hot coffee instead of water can enhance the chocolate flavor of the cake.
- Be sure to use black cocoa powder for the distinctive deep black color and intense chocolate taste; regular cocoa powder will not give the same effect.
- Allow the cake layers to cool completely before slicing to avoid crumbling or breaking.
- Store the cake in an airtight container in the refrigerator for up to 3 days. Bring to room temperature before serving for the best flavor and texture.
- To make this cake dairy-free and vegan, substitute the butter for plant-based margarine and use a vegan buttermilk alternative.
- Prep Time: 20 minutes
- Cook Time: 30 minutes
- Category: Dessert
- Method: Baking
- Cuisine: American
Nutrition
- Serving Size: 1 slice (approx. 1/10 of the cake)
- Calories: 420 kcal
- Sugar: 38 g
- Sodium: 180 mg
- Fat: 26 g
- Saturated Fat: 15 g
- Unsaturated Fat: 9 g
- Trans Fat: 0 g
- Carbohydrates: 45 g
- Fiber: 3 g
- Protein: 4 g
- Cholesterol: 70 mg