Brown Butter Trash Can Cookies Recipe
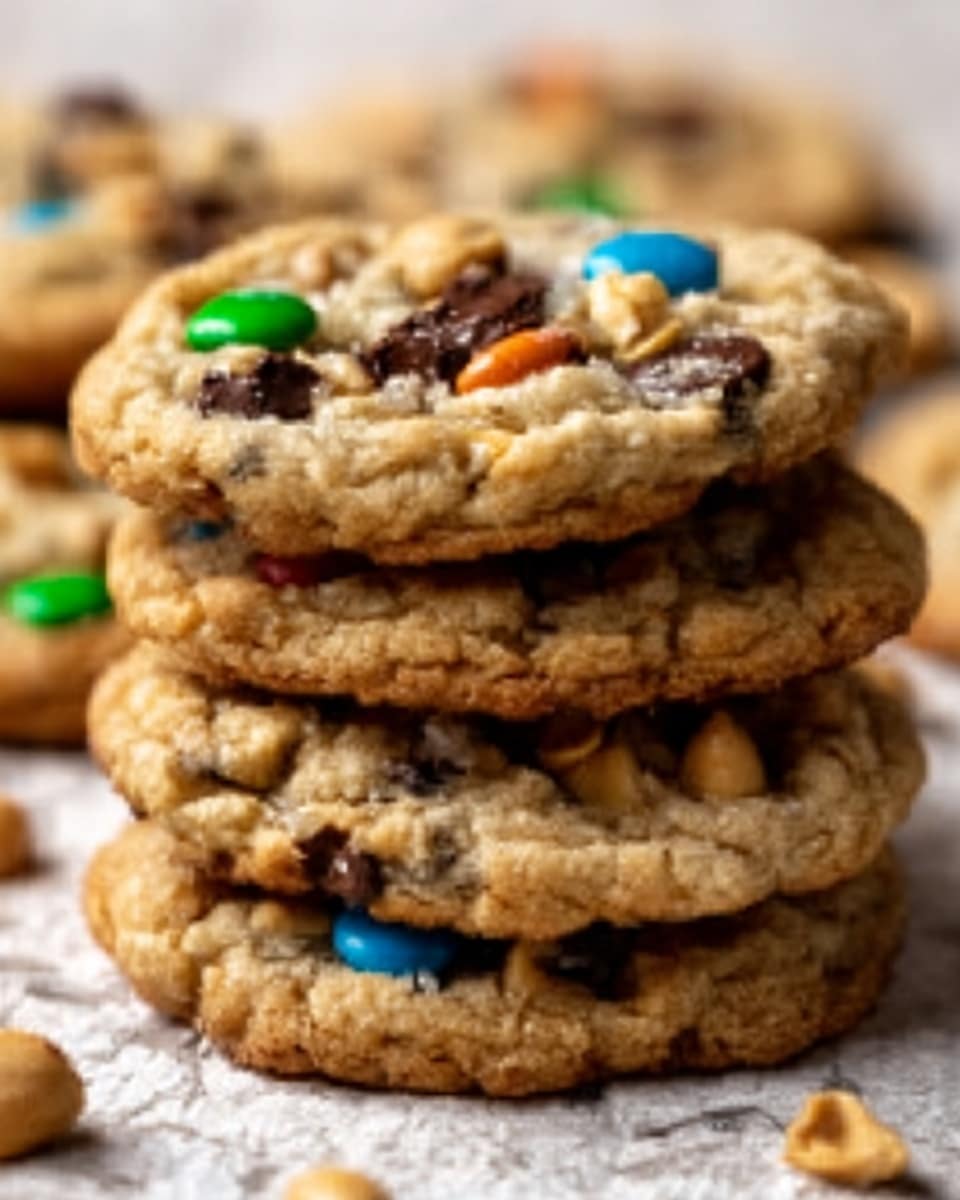
If you have a sweet tooth craving something wildly delicious and delightfully crunchy, the Brown Butter Trash Can Cookies Recipe is your go-to treat. This cookie masterpiece combines the rich, nutty flavor of browned butter with a fun and unexpected mix of salty and sweet ingredients like crushed potato chips, pretzels, peanut butter M&M’s, and silky milk chocolate chips. The result is a perfectly chewy, crunchy, and utterly addictive cookie that feels like a little party in every bite. Trust me, once you try this recipe, it will quickly become one of your favorite indulgences to whip up!
Ingredients You’ll Need
These ingredients are simple yet essential, each playing a key role in balancing flavors and textures for the perfect cookie. From the rich brown butter to the crunchy mix-ins, every component brings something special to the table.
- 1 cup unsalted butter: Needed to brown and bring that deep, nutty buttery flavor.
- 1 cup cane sugar: Adds sweetness and helps create a chewy texture.
- 1 cup brown sugar, packed: Provides moisture and a hint of molasses flavor.
- 2 large eggs: Bind everything together while adding richness.
- 2 teaspoons vanilla extract: Enhances all the flavors with a warm aroma.
- 2 1/4 cups all-purpose flour: The structure of the cookies, giving them body.
- 1/2 teaspoon salt: Balances the sweetness and amps up the other flavors.
- 1 teaspoon baking powder: Helps the cookies rise just enough for tenderness.
- 1/2 teaspoon baking soda: Works with the brown sugar for soft, chewy edges.
- 1/2 cup crushed wavy potato chips: Adds unexpected salty crunch and texture.
- 1/2 cup crushed pretzels: Intensifies the salty, crispy surprise in every bite.
- 1/2 cup mini peanut butter M&M’s: Brings bursts of peanut buttery sweetness and colorful fun.
- 1/2 cup milk chocolate chips: Melts into gooey pockets of chocolate yum.
How to Make Brown Butter Trash Can Cookies Recipe
Step 1: Brown the Butter
Start by melting the butter over medium heat, stirring constantly. Watch closely as it transforms from a golden yellow to a lovely amber color and releases a nutty aroma. This step unlocks the deep, rich flavor that sets this cookie apart. Once browned, let it cool slightly to avoid cooking the eggs too soon.
Step 2: Mix Sugars and Browned Butter
Combine the browned butter with the cane sugar and brown sugar. Stir until the mixture is smooth and glossy, creating a sweet base that’s both creamy and full of that signature nutty flavor. This blending is what promises moist, flavorful cookies.
Step 3: Add Eggs and Vanilla
Whisk in the eggs one at a time, ensuring everything combines evenly. Then, pour in the vanilla extract. This step builds the rich, creamy dough that will cradle all your delightful mix-ins perfectly.
Step 4: Prepare Dry Ingredients
In a separate bowl, whisk together the all-purpose flour, salt, baking powder, and baking soda. Mixing these dry ingredients thoroughly ensures your cookies bake evenly and develop that perfect texture.
Step 5: Combine Wet and Dry Ingredients
Gradually fold the dry ingredients into the wet butter and sugar mixture. Be gentle—overmixing can make your cookies tough. Stop folding once everything is just combined and a luscious dough forms.
Step 6: Add Mix-Ins
Now for the fun part! Fold in the crushed wavy potato chips, crushed pretzels, mini peanut butter M&M’s, and milk chocolate chips. These mix-ins create the textural and flavor explosion that makes the Brown Butter Trash Can Cookies Recipe so memorable.
Step 7: Scoop and Bake
Roll the cookie dough into balls and arrange them on a parchment-lined baking sheet, leaving space to spread. Bake in a preheated oven at 350°F (175°C) for 10 to 12 minutes. The edges should be golden while the centers remain soft and chewy.
Step 8: Cool
Allow the cookies to cool on the baking sheet for 5 minutes before transferring them to a wire rack to cool completely. This resting time lets the cookies set perfectly without losing their soft texture.
How to Serve Brown Butter Trash Can Cookies Recipe
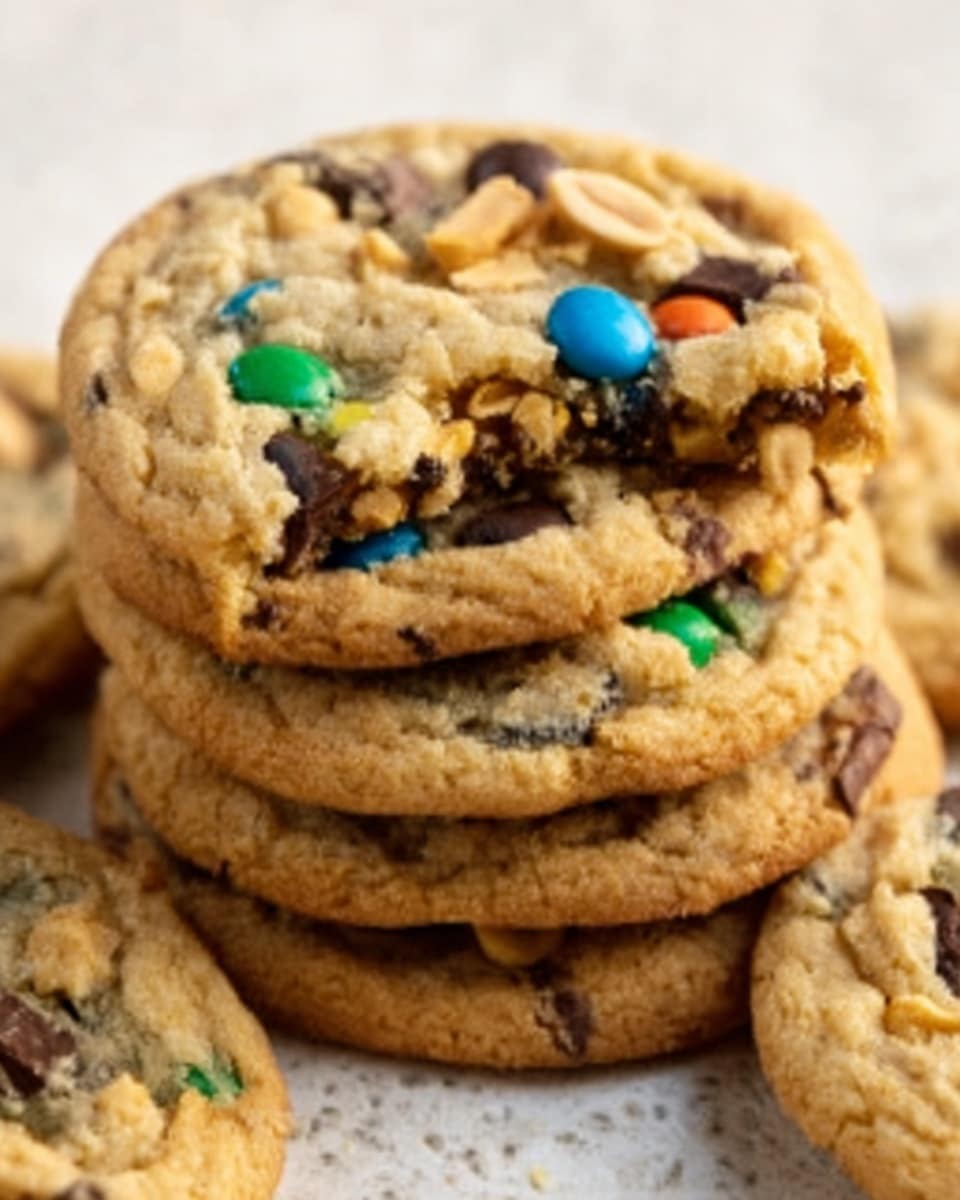
Garnishes
Sprinkle a tiny pinch of flaky sea salt on top right after baking to highlight the salty-sweet contrast. You can also add a light drizzle of melted dark chocolate for an elegant finish that deepens the chocolate notes.
Side Dishes
Serve these cookies alongside a tall glass of cold milk or a robust cup of coffee to balance the rich flavors. For an adult twist, pair with a scoop of vanilla ice cream or a cozy mug of spiced chai.
Creative Ways to Present
Stack a few cookies and tie them with a rustic twine ribbon for a charming homemade gift. Or crumble them over a sundae for an unexpected crunchy topping that adds an addictive feel to dessert!
Make Ahead and Storage
Storing Leftovers
Keep leftover Brown Butter Trash Can Cookies in an airtight container at room temperature. They stay chewy and fresh for up to five days, perfect for enjoying throughout the week.
Freezing
You can freeze the cookie dough balls before baking by placing them on a tray until solid, then transferring to a freezer-safe bag for up to 3 months. Bake from frozen, adding a couple of extra minutes to the baking time.
Reheating
Warm cookies gently in the microwave for 10 to 15 seconds or in a low oven to bring back that freshly baked softness and melty chocolate goodness.
FAQs
Can I use salted butter instead of unsalted?
Yes, but reduce or omit the added salt in the recipe to keep the flavor balanced. Unsalted butter gives you better control over seasoning, but salted works in a pinch.
What if I don’t have mini peanut butter M&M’s?
Feel free to substitute with regular peanut butter M&M’s, chopped peanut butter cups, or your favorite peanut butter candies to keep that peanutty punch.
Why add potato chips and pretzels in cookies?
The saltiness and crunch from these savory mix-ins contrast beautifully with the sweet dough and chocolate, creating a complex, addictive flavor and texture that’s irresistible.
Can I make these cookies gluten-free?
Yes, swap the all-purpose flour for a gluten-free baking blend suitable for cookies. Just be sure to check your baking powder and other ingredients for gluten-free labels.
How do I know when the cookies are perfectly baked?
Look for golden edges with centers that still look slightly soft. They will firm up as they cool, giving you that perfect chewy, tender texture.
Final Thoughts
If you’re ready to treat yourself and your loved ones to a cookie experience that is as surprising as it is satisfying, don’t hesitate to dive into the Brown Butter Trash Can Cookies Recipe. It’s a beautifully balanced dance of sweet, salty, creamy, and crunchy that will keep you reaching for one more cookie. Happy baking and even happier snacking!
Print
Brown Butter Trash Can Cookies Recipe
- Total Time: 27 minutes
- Yield: 24 servings 1x
Description
These Brown Butter Trash Can Cookies are a delightful blend of sweet, salty, and crunchy with a nutty brown butter base. Loaded with crushed wavy potato chips, pretzels, mini peanut butter M&M’s, and milk chocolate chips, these cookies offer a flavorful and texture-packed treat perfect for snack time or dessert.
Ingredients
Butter Mixture
- 1 cup unsalted butter
Sugars
- 1 cup cane sugar
- 1 cup brown sugar, packed
Wet Ingredients
- 2 large eggs
- 2 teaspoons vanilla extract
Dry Ingredients
- 2 1/4 cups all-purpose flour
- 1/2 teaspoon salt
- 1 teaspoon baking powder
- 1/2 teaspoon baking soda
Mix-Ins
- 1/2 cup crushed wavy potato chips
- 1/2 cup crushed pretzels
- 1/2 cup mini peanut butter M&M’s
- 1/2 cup milk chocolate chips
Instructions
- Brown the Butter: Melt the unsalted butter over medium heat in a saucepan, stirring frequently. Continue cooking until the butter turns a golden brown color and releases a nutty aroma, about 5 to 7 minutes. Remove from heat and let it cool slightly before using.
- Mix Sugars and Butter: In a mixing bowl, combine the browned butter with cane sugar and brown sugar. Stir until the mixture is smooth and well blended.
- Add Eggs and Vanilla: Whisk in the eggs one at a time into the butter and sugar mixture. Then add the vanilla extract, mixing everything together until the batter is creamy and homogenous.
- Prepare Dry Ingredients: In a separate bowl, whisk together the all-purpose flour, salt, baking powder, and baking soda to ensure the leavening agents are evenly distributed.
- Combine Wet and Dry Ingredients: Gradually fold the dry ingredient mixture into the wet batter. Stir gently until just combined, being careful not to overmix which can toughen the cookies.
- Add Mix-Ins: Gently fold in the crushed wavy potato chips, crushed pretzels, mini peanut butter M&M’s, and milk chocolate chips until evenly distributed throughout the dough.
- Scoop and Bake: Using a cookie scoop or spoon, roll the dough into balls and place them spaced apart on a parchment-lined baking sheet. Bake in a preheated oven at 350°F (175°C) for 10 to 12 minutes or until the edges are golden and cookies are set.
- Cool: Allow the cookies to cool on the baking sheet for 5 minutes to firm up before transferring them to a wire rack to cool completely. This helps maintain their chewy texture and prevents breaking.
Notes
- To enhance the nutty flavor, be attentive while browning the butter to avoid burning it.
- The mix of salty potato chips and pretzels with sweet candies creates a delicious balance—feel free to adjust the quantities based on preference.
- Store cookies in an airtight container at room temperature for up to 5 days to maintain freshness.
- For a softer cookie, reduce baking time slightly or add an extra egg yolk for added moisture.
- Gluten-free flour can be substituted for all-purpose flour to accommodate dietary restrictions.
- Prep Time: 15 minutes
- Cook Time: 12 minutes
- Category: Dessert
- Method: Baking
- Cuisine: American
