Classic Vanilla Pudding Recipe
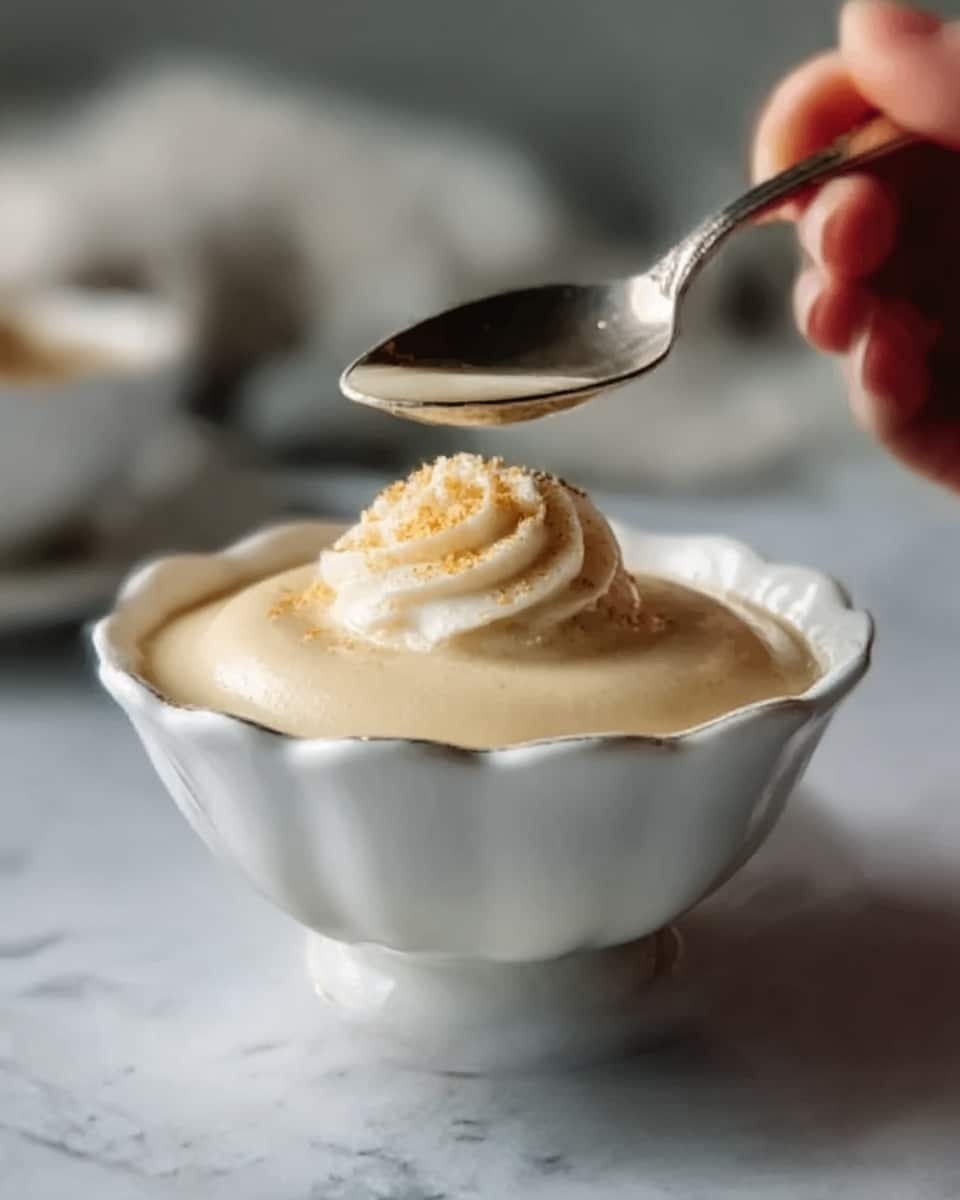
If there is one dessert that feels like a warm hug in a bowl, it has to be this Classic Vanilla Pudding Recipe. Silky smooth, richly flavored, and comfortingly familiar, this pudding offers a perfect balance of creamy sweetness and pure vanilla aroma. Whether you’re looking for a nostalgic treat from childhood or a simple but elegant dessert to impress your guests, this timeless vanilla pudding truly hits all the right notes. Trust me, once you get to know this recipe, it will become a go-to favorite in your kitchen.
Ingredients You’ll Need
Building the foundation for an unforgettable pudding is all about the quality and simplicity of the ingredients. Each one plays a distinct and essential role—whether it’s the luscious creaminess from whole milk or the gentle sweetness from sugar, every element combines to create the perfect texture, flavor, and color.
- 2¾ cups whole milk: Provides a rich, creamy base that defines the pudding’s smooth texture.
- ½ cup granulated sugar: Adds just the right amount of sweetness, balancing the vanilla’s depth.
- ¼ cup cornstarch: The magic thickener that transforms liquid milk into luscious pudding.
- ¼ tsp salt: Enhances all the flavors and keeps the sweetness from becoming cloying.
- 3 large egg yolks: Contribute richness and a velvety mouthfeel, elevating the pudding’s decadence.
- 2 tbsp unsalted butter: Finishes the pudding with a silky, luxurious texture and subtle richness.
- 1 tbsp pure vanilla extract: Infuses the pudding with that unmistakable warm, fragrant vanilla flavor.
How to Make Classic Vanilla Pudding Recipe
Step 1: Heat the Milk
Start by warming 2 cups of whole milk in a medium saucepan over medium heat. Keep a close eye and stop just when you see steam rising—do not let it boil. This step warms the milk enough to meld flavors deeply without scorching it.
Step 2: Mix the Dry Ingredients
In a separate bowl, whisk together the sugar, cornstarch, and salt until evenly combined. Then stir in the reserved ¾ cup of cold milk, whisking until the mixture is perfectly smooth and free of lumps. This smooth slurry is crucial to getting a silky pudding without any graininess.
Step 3: Temper the Egg Yolks
Whisk the egg yolks into the cornstarch mixture thoroughly. Next, pour the warm milk gradually into this bowl, whisking constantly to temper the eggs. This gradual temperature introduction prevents the yolks from scrambling and keeps the pudding silky.
Step 4: Cook the Pudding
Pour the combined mixture back into the saucepan and return it to medium heat. Keep whisking constantly to avoid lumps and sticking, until the pudding thickens and starts to bubble slightly—this should take about 4 to 6 minutes. Patience here ensures a perfect, creamy consistency.
Step 5: Finish the Pudding
Remove the saucepan from the heat and immediately stir in the butter and pure vanilla extract. The butter enriches the pudding with a subtle creaminess, while the vanilla adds its classic fragrant allure. Stir until smooth and fully melted.
Step 6: Chill and Set
Pour the warm pudding into individual serving cups or bowls. To prevent a skin from forming on top, press a piece of plastic wrap directly onto the pudding’s surface. Refrigerate for at least 2 hours to let the pudding fully set and flavors meld beautifully.
How to Serve Classic Vanilla Pudding Recipe
Garnishes
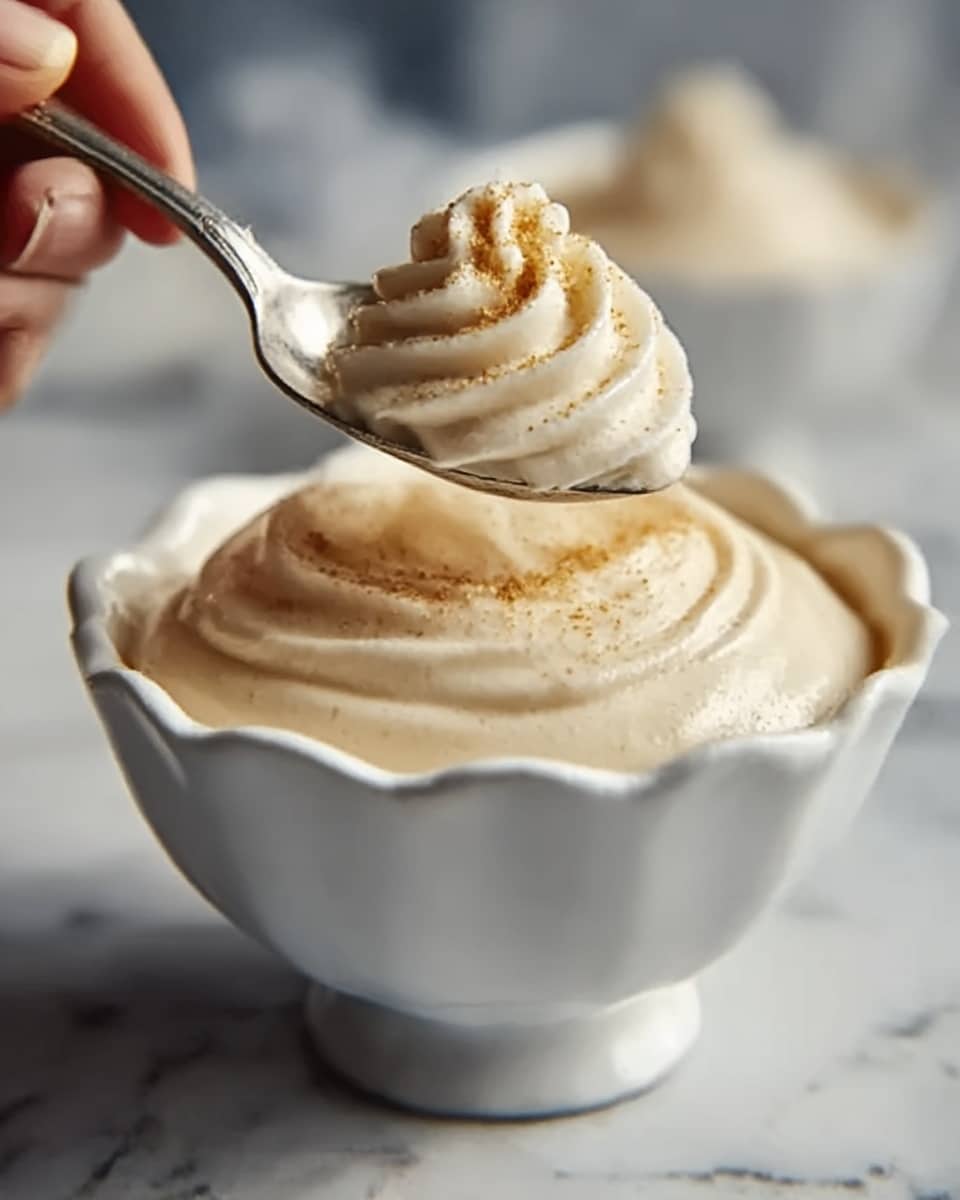
When it comes to garnishing your Classic Vanilla Pudding Recipe, the options are as delightful as the pudding itself. A sprinkle of freshly grated nutmeg, a few fresh berries, or a drizzle of caramel sauce can add visual appeal and lovely complementary flavors. Whipped cream crowned with a vanilla bean or a mint leaf always elevates each spoonful into a little celebration.
Side Dishes
Sweet and simple puddings like this thrive when paired with crunchy or fruity sides. Think crisp biscotti, buttery shortbread cookies, or even a fresh fruit salad. These contrasts in texture and freshness make every bite more exciting and balance the creamy richness.
Creative Ways to Present
Experiment with presentation for added fun. Layer the Classic Vanilla Pudding Recipe in parfait glasses with alternating layers of berries and granola. Or serve it in charming ramekins with a sprinkle of toasted coconut or chopped nuts on top. Party guests will be enchanted by these little touches that turn a humble pudding into an elegant dessert experience.
Make Ahead and Storage
Storing Leftovers
Leftover pudding should be tightly covered with plastic wrap or stored in airtight containers and kept refrigerated. Because this Classic Vanilla Pudding Recipe is so fresh and delicate, it’s best enjoyed within 3 days to preserve its creamy texture and pure vanilla flavor.
Freezing
While you can technically freeze vanilla pudding, it’s not recommended because the texture may become grainy or watery once thawed. For the best experience, stick to enjoying this recipe fresh or within a few days of refrigeration.
Reheating
If you prefer to enjoy the pudding warm, gently reheat it in a saucepan over low heat, stirring constantly to prevent scorching. Avoid using the microwave to keep the pudding’s velvety texture intact. Add a splash of milk if it seems too thick after warming.
FAQs
Can I use low-fat milk for this pudding?
You can, but whole milk is recommended for that rich and creamy texture classic to this pudding. Using low-fat milk may result in a thinner consistency and less luxurious mouthfeel.
Why does the pudding sometimes get lumps?
Lumps usually form when the mixture isn’t whisked constantly during cooking or if the cornstarch isn’t fully dissolved before heating. Whisking frequently and thoroughly mixing the dry ingredients with cold milk helps prevent lumps.
Can I make this pudding vegan?
To make a vegan version, substitute dairy milk with a plant-based alternative like almond or oat milk and replace the egg yolks with cornstarch or a similar thickening agent. Keep in mind, the taste and texture will differ from the classic but can still be delicious.
How long does it take to chill the pudding?
Chilling for at least 2 hours is needed for the pudding to fully set and develop its creamy texture. For best results, you can also chill it overnight, which enhances the flavor even more.
Is it necessary to cover the pudding with plastic wrap?
Yes, covering the surface directly with plastic wrap prevents a skin from forming on top, keeping the pudding smooth and luscious. If you skip this, you may notice an unwanted film forming as it chills.
Final Thoughts
This Classic Vanilla Pudding Recipe is truly one of those delightful treasures that never go out of style. It’s simple to make, wonderfully comforting, and endlessly versatile, making it an ideal dessert for any occasion. I encourage you to try this recipe soon—you’ll fall in love with that creamy texture and heavenly vanilla flavor that makes every spoonful feel special.
Print
Classic Vanilla Pudding Recipe
- Total Time: 2 hours 20 minutes
- Yield: 4 servings 1x
- Diet: Vegetarian
Description
This classic vanilla pudding is a smooth, creamy dessert made from simple ingredients like whole milk, sugar, and egg yolks. Cooked gently on the stovetop, it delivers a rich vanilla flavor and a perfectly silky texture, ideal for serving chilled as a comforting treat or dessert.
Ingredients
Main Ingredients
- 2¾ cups whole milk
- ½ cup granulated sugar
- ¼ cup cornstarch
- ¼ tsp salt
- 3 large egg yolks
- 2 tbsp unsalted butter
- 1 tbsp pure vanilla extract
Instructions
- Heat the milk: In a medium saucepan, warm 2 cups of whole milk over medium heat until it is steaming but not boiling. This step prepares the milk to be gradually incorporated into the other ingredients without cooking the eggs prematurely.
- Mix dry ingredients: In a separate bowl, whisk together the sugar, cornstarch, and salt. Add the remaining ¾ cup of cold milk and whisk until the mixture is smooth and free of lumps, forming the base for the pudding.
- Temper the eggs: Whisk the egg yolks into the cornstarch mixture. Slowly pour the warm milk into this bowl, whisking constantly to ensure the eggs do not cook too quickly and curdle, creating a smooth custard mixture.
- Cook the pudding: Pour the combined mixture back into the saucepan and cook over medium heat, whisking continuously. Continue until the pudding thickens and begins to bubble, which should take about 4 to 6 minutes. This ensures the pudding cooks evenly and achieves the right texture.
- Finish the pudding: Remove the saucepan from heat. Stir in the unsalted butter and pure vanilla extract until the butter melts fully and the pudding is smooth and fragrant with vanilla.
- Chill: Transfer the pudding into serving cups. Cover the surface directly with plastic wrap to prevent a skin from forming. Chill in the refrigerator for at least 2 hours before serving to allow the pudding to set and flavors to meld.
Notes
- Stirring constantly during cooking is key to avoid lumps and ensure a silky texture.
- Using plastic wrap directly on the surface prevents a skin from forming on the pudding.
- For a richer pudding, use whole milk or even add a little cream.
- This pudding can be served with fresh fruit, whipped cream, or a sprinkle of cinnamon.
- Leftover pudding can be stored covered in the refrigerator for up to 3 days.
- Prep Time: 10 minutes
- Cook Time: 10 minutes
- Category: Dessert
- Method: Stovetop
- Cuisine: American
