Easy Cool Whip Candy Recipe
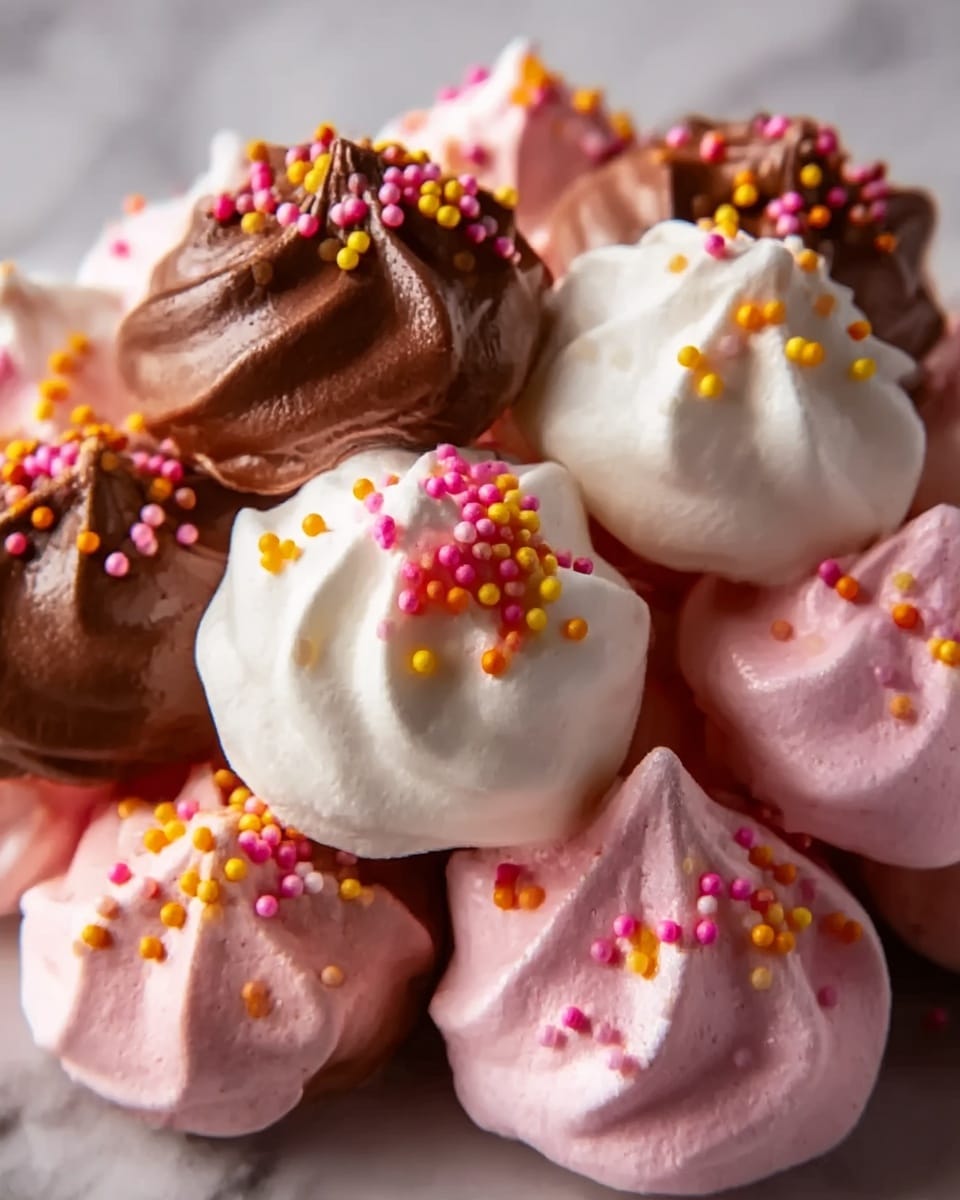
If you’re craving something sweet, creamy, and downright fun to make, this Easy Cool Whip Candy Recipe is just the treat you need. With just a handful of ingredients, you can whip up delightful little bites that are soft on the inside and refreshingly frozen on the outside. Perfect for sharing or keeping all to yourself, these candies offer a unique texture and flavor combination that’s as simple as it is delicious. Trust me, once you try this recipe, you’ll understand why it’s a favorite for effortless, tasty treats.
Ingredients You’ll Need
Getting ready to make this Easy Cool Whip Candy Recipe is a breeze because the ingredients are super straightforward yet play essential roles in creating that perfect balance of flavor and texture. Each item is easy to find but makes a big difference.
- Cool Whip (8 ounces): The creamy base that gives the candy its light, fluffy texture and smooth mouthfeel.
- Instant pudding mix (3.4 ounces): Adds sweetness and flavor depth; choose your favorite to customize the taste.
- Powdered sugar (1 cup): Sweetens and helps thicken the mixture, giving the candy its body.
- Vanilla extract (1 teaspoon): Enhances the overall flavor, balancing and rounding out the sweetness.
- Food coloring (optional): Perfect for adding a splash of fun color to brighten your candies.
- Sprinkles or colored sugar (optional): For that extra decorative sparkle and festive touch.
How to Make Easy Cool Whip Candy Recipe
Step 1: Mix the Ingredients
Start by thawing your Cool Whip completely so it’s easy to work with. In a mixing bowl, combine the Cool Whip, instant pudding mix, powdered sugar, and vanilla extract. Use a hand mixer or whisk vigorously until the mixture turns thick, creamy, and smooth—this is the magic base that holds your candy together.
Step 2: Optional Coloring
If you’re feeling creative, add a few drops of your favorite food coloring now. Stir gently but thoroughly until the color is evenly distributed throughout the mixture—this simple step can make your candies look as fun as they taste.
Step 3: Prepare the Tray
Grab a baking sheet or tray and line it with parchment or wax paper to ensure your candies don’t stick when setting. This makes clean-up much easier and helps maintain the candies’ delicate shapes.
Step 4: Shape the Candies
Using a spoon or cookie scoop, drop small dollops of the Cool Whip mixture onto your prepared tray. Shape them gently if you want uniform sizes or fun forms. The size is completely up to your preference, perfect for bite-sized treats or slightly larger indulgences.
Step 5: Decorate
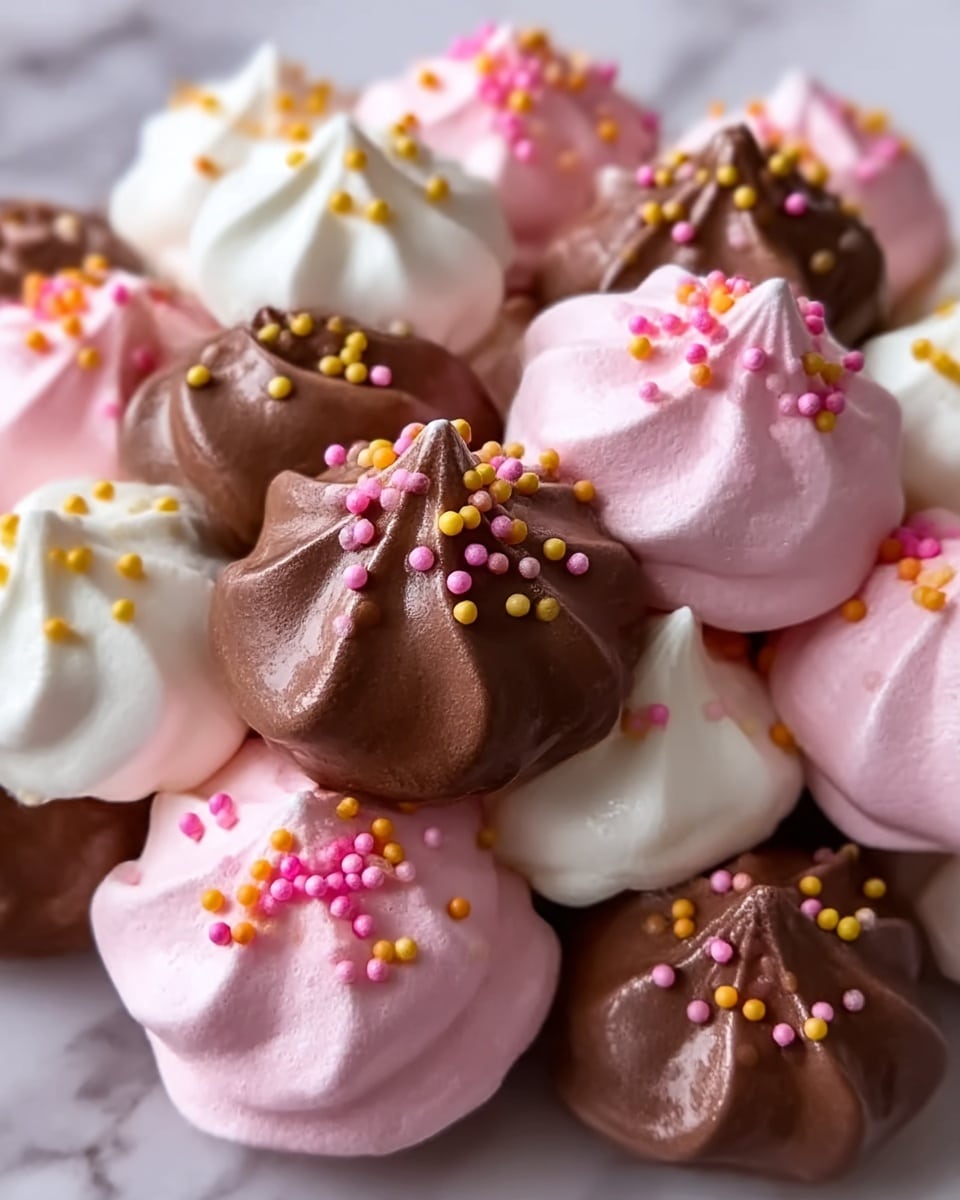
Sprinkle your candies with colorful sprinkles or shimmer with colored sugar for a decorative flair. This adds not just visual appeal but a slight crunch that contrasts beautifully with the creamy centers.
Step 6: Freeze
Place the tray in the freezer and let the candies set solid for 2 to 3 hours. Freezing gives these treats their signature cool bite and helps them hold their shape until you’re ready to dive in.
Step 7: Enjoy
Once frozen, your Easy Cool Whip Candy Recipe is ready to be enjoyed. Experience the dreamy combination of a frozen exterior giving way to a soft, creamy center—pure bliss in every bite.
How to Serve Easy Cool Whip Candy Recipe
Garnishes
While the candies themselves are delightful, adding garnishes like finely chopped nuts, shredded coconut, or even a drizzle of melted chocolate can elevate the whole experience. Each garnish adds a new texture or flavor note, making every bite uniquely enjoyable.
Side Dishes
These candies make a fantastic sweet finish when paired with fresh fruit slices or a warm cup of tea or coffee. Their cool creaminess contrasts beautifully with warmer or tangy accompaniments, rounding out any dessert spread.
Creative Ways to Present
For parties or gifting, arrange your Cool Whip candies in small paper cups or colorful wrappers. A festive platter sprinkled with edible glitter or mint leaves makes them look irresistible. You can also layer them in jars with alternating colors or flavors for a stunning visual treat.
Make Ahead and Storage
Storing Leftovers
If you find yourself with extras, store leftover candies in an airtight container in the freezer. Proper sealing keeps them fresh and prevents freezer burn, so your treats stay just as delicious the next time you want a bite.
Freezing
This recipe is freezer-friendly and is meant to be frozen to maintain the ideal texture. Make sure to place your candies on a flat surface in a container that won’t crush them, and they’ll keep well for several weeks.
Reheating
Since these candies are best enjoyed frozen, reheating isn’t recommended. However, if you prefer a softer texture, simply leave them at room temperature for a few minutes to thaw slightly before eating.
FAQs
Can I use different pudding flavors in this Easy Cool Whip Candy Recipe?
Absolutely! The pudding mix is where you can get creative. Chocolate, vanilla, butterscotch, or even fruity flavors all work wonderfully and change the candy’s taste profile.
Is this recipe suitable for kids to make?
Yes! It’s simple and safe, with no cooking involved, making it an excellent project for kids with adult supervision, especially when it comes to using the mixer and handling the freezer.
What if I don’t have Cool Whip? Can I use whipped cream instead?
While Cool Whip has a specific texture and stability that makes this recipe work well, you can try using stabilized whipped cream, but the candy might be softer and less firm once frozen.
How long do these candies last in the freezer?
Stored properly in an airtight container, your Easy Cool Whip Candy Recipe treats can last up to three weeks in the freezer without losing their texture or flavor.
Can I add mix-ins like chocolate chips or nuts?
Definitely! Gently fold in mini chocolate chips, crushed nuts, or dried fruit before shaping the candies to add texture and surprise elements to every bite.
Final Thoughts
This Easy Cool Whip Candy Recipe is one of those simple yet extraordinary desserts that will quickly earn a spot in your recipe rotation. It’s fun to make, endlessly customizable, and supremely satisfying. So grab your ingredients, invite a friend over, and enjoy crafting these cool, creamy candies together—you won’t regret it!
Print
Easy Cool Whip Candy Recipe
- Total Time: 2 hours 10 minutes
- Yield: 24 servings 1x
- Diet: Vegetarian
Description
This Easy Cool Whip Candy recipe is a delightful no-bake treat that combines creamy Cool Whip with instant pudding mix and powdered sugar for a sweet, fluffy candy with a soft frozen center. Perfect for quick dessert cravings and customizable with your favorite pudding flavors and optional decorations.
Ingredients
Cool Whip Candy Ingredients
- 1 (8-ounce) container of Cool Whip, thawed
- 1 package (3.4 ounces) instant pudding mix, any flavor
- 1 cup powdered sugar
- 1 teaspoon vanilla extract
- Food coloring (optional)
- Sprinkles or colored sugar (optional, for decoration)
Instructions
- Mix the Ingredients: In a mixing bowl, combine the thawed Cool Whip, instant pudding mix, powdered sugar, and vanilla extract. Use a hand mixer or mix by hand until the mixture is well combined, thick, and creamy.
- Optional Coloring: If desired, add a few drops of food coloring to the mixture and stir until the color is evenly distributed.
- Prepare the Tray: Line a baking sheet or tray with parchment or wax paper to prevent the candies from sticking.
- Shape the Candies: Using a spoon or cookie scoop, drop small portions of the Cool Whip mixture onto the prepared tray, forming them into your preferred shape and size.
- Decorate: Optionally, sprinkle the candies with sprinkles or colored sugar to add a festive touch.
- Freeze: Place the tray into the freezer and allow the candies to set for 2-3 hours, or until they are firm.
- Enjoy: Once frozen, remove the candies from the freezer and enjoy their creamy, soft centers with a frozen exterior.
- Store: Store any leftover candies in an airtight container in the freezer to keep them fresh.
Notes
- Make sure the Cool Whip is fully thawed before mixing for best consistency.
- If you prefer a firmer candy, freeze for a longer time before serving.
- Use different instant pudding flavors to create a variety of candy tastes.
- Sprinkles or colored sugar add a fun texture and appearance, but are optional.
- Keep candies frozen until ready to serve to maintain their shape and texture.
- Prep Time: 10 minutes
- Cook Time: 0 minutes
- Category: Dessert
- Method: No-Cook
- Cuisine: American
