Keto “Popcorn” Cheese Puffs Recipe
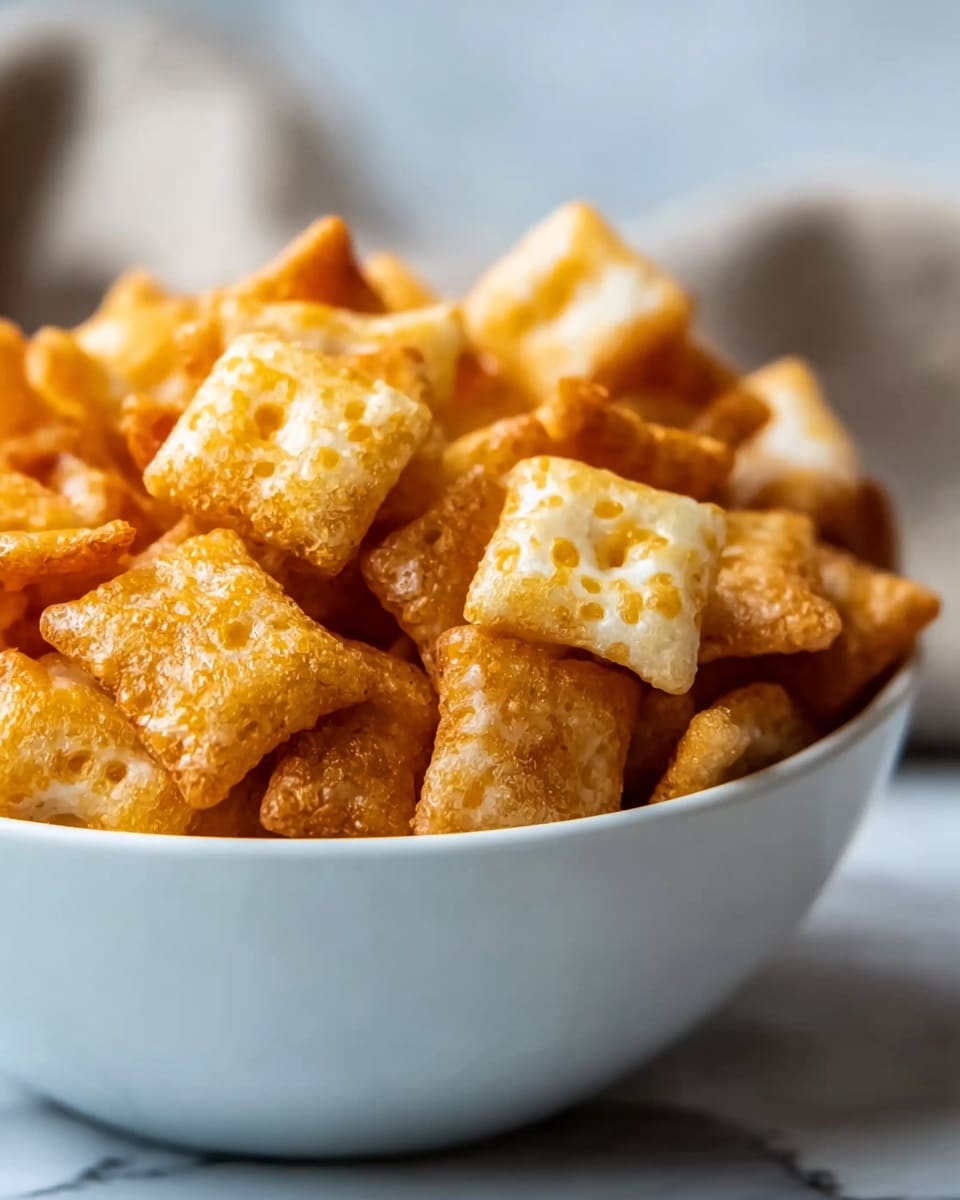
If you have been searching for a snack that is irresistibly crunchy, utterly flavorful, and perfectly aligned with your low-carb lifestyle, you are in for a treat with this Keto “Popcorn” Cheese Puffs Recipe. These little puffs transform simple cubes of sharp cheddar into airy, golden bites that pop with bold, cheesy goodness. They offer the perfect balance of crispy and tender textures, making them an addictively savory snack that feels indulgent without compromising your keto goals. Trust me, once you try this recipe, you’ll keep these crispy delights on hand for any snack emergency or crunchy salad topping craving!
Ingredients You’ll Need
One of the best things about the Keto “Popcorn” Cheese Puffs Recipe is how few ingredients you need, yet each one plays a crucial role in flavor and final texture. Choosing the right cheese is especially important for those puffed, crispy results.
- 2 cups cubed sharp cheddar cheese: Aged or hard cheeses like this give the best puff and rich flavor.
- Optional spices: Garlic powder, paprika, or cayenne can be sprinkled before baking to add a smoky or spicy kick.
How to Make Keto “Popcorn” Cheese Puffs Recipe
Step 1: Prepare Your Oven and Baking Sheet
Start by preheating your oven to a very low 200°F to ensure slow baking that gradually puffs each cheese cube. Line a baking sheet with parchment paper to prevent sticking and help with easy cleanup.
Step 2: Arrange Cheese Cubes for Baking
Place your sharp cheddar cheese cubes in a single layer on the baking sheet. Be sure to leave a little space between each cube so they can expand without sticking together. This spacing is key to getting that perfect “popcorn” effect.
Step 3: Bake Low and Slow
Pop the sheet in the oven and bake the cheese cubes for 6 to 8 hours. This long bake time allows the cheese to slowly melt, puff up, and become golden and crispy on the outside while remaining satisfyingly airy inside. The longer they bake, the crunchier they get, so keep an eye if you prefer a slightly softer bite.
Step 4: Cool Completely
Once baked, allow your cheese puffs to cool fully right on the pan. Cooling solidifies their structure and ensures they stay crisp rather than soggy, which is an essential step to enjoy their full texture.
How to Serve Keto “Popcorn” Cheese Puffs Recipe
Garnishes
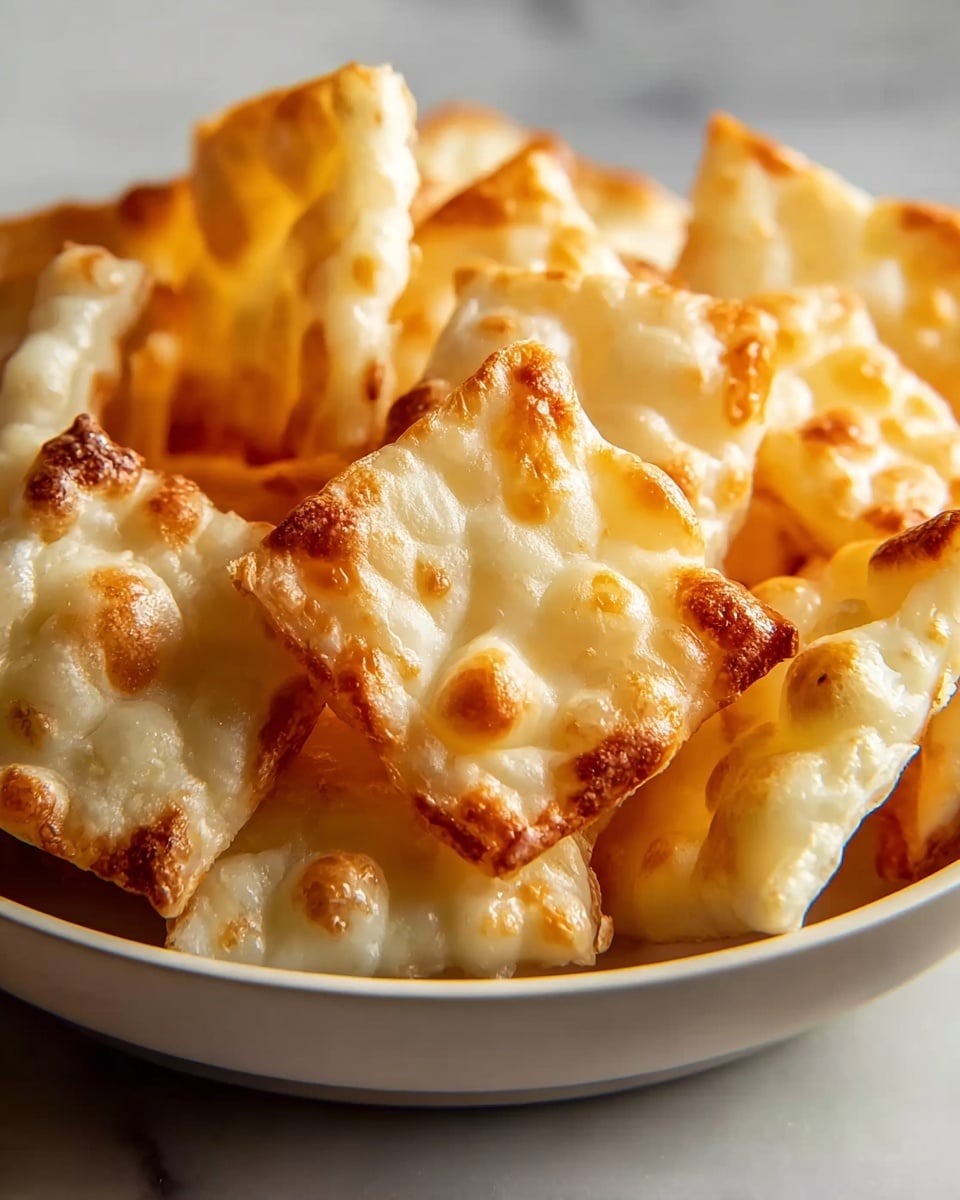
Sprinkle your cheese puffs with some freshly cracked black pepper or a dusting of smoked paprika to elevate the flavor and add a little visual appeal. Fresh herbs like rosemary or thyme can add a lovely aromatic touch that pairs beautifully with the cheesy goodness.
Side Dishes
These cheese puffs are fantastic served alongside fresh veggie sticks like cucumber, celery, or bell peppers for a satisfying low-carb snack board. They also make a crunchy, flavorful companion to rich dips such as guacamole, sour cream-based dips, or keto-friendly salsa.
Creative Ways to Present
Try scattering these cheese puffs on top of a crisp green salad for an unexpected textural twist or serve them in a small bowl during movie nights or parties as a crunchy, keto-friendly alternative to traditional popcorn. Whether in a clear jar, a rustic bowl, or elegantly presented on a charcuterie board, they always steal the show.
Make Ahead and Storage
Storing Leftovers
Once fully cooled, store any leftovers in an airtight container at room temperature. They’ll maintain their crispiness for up to 3 days, perfect for grabbing a quick snack whenever cravings strike.
Freezing
If you want to keep these Keto “Popcorn” Cheese Puffs Recipe treats longer, you can freeze them in an airtight container or sealed freezer bag. When ready to enjoy, thaw at room temperature to preserve their delicate crunch.
Reheating
To refresh your cheese puffs and regain that fresh-baked crunch, pop them into a preheated oven at 300°F for about 5-7 minutes. Avoid microwaving, as it can make them chewy rather than crispy.
FAQs
Can I use other types of cheese in this recipe?
Absolutely! While sharp cheddar is my favorite for puffing and flavor, other hard cheeses like gouda or Monterey Jack also work wonderfully. Avoid cheeses with high moisture content, as they won’t puff as well.
How long can I store the cheese puffs after baking?
Stored in an airtight container at room temperature, these puffs remain crisp for about 3 days. Refrigerating them extends their shelf life but may affect crispness slightly; reheating the puffs restores crunch.
Can I add flavors before baking?
Yes! Sprinkling garlic powder, smoked paprika, or cayenne pepper on the cheese cubes before baking adds a depth of flavor that makes this snack exciting and customizable.
Is this recipe suitable for gluten-free diets?
Definitely. The only ingredient is cheese and optional seasonings, so this snack is naturally gluten-free and perfect for those avoiding gluten.
What makes these cheese puffs “popcorn” style?
The cheese cubes slowly puff up and become airy during the long, low-temperature baking, creating a light, crispy bite that mimics the texture of popcorn, making them a fun and addictive keto-friendly snack.
Final Thoughts
If you want to savor a crunchy, cheesy snack that fits perfectly into your keto lifestyle, the Keto “Popcorn” Cheese Puffs Recipe is a must-try. It’s simple, joyful, and bursting with flavor in every golden bite. Whip up a batch for your next snack craving and enjoy the crispy magic that only baked cheese can deliver!
Print
Keto “Popcorn” Cheese Puffs Recipe
- Total Time: 6 hours 5 minutes
- Yield: 4 servings 1x
- Diet: Low Carb, Gluten Free, Keto
Description
Keto “Popcorn” Cheese Puffs are a delicious low-carb snack made by slow-baking cubes of sharp cheddar or any hard cheese until they puff up into crispy, airy bites. Perfect for those following keto or gluten-free diets, these crunchy cheese puffs are ideal for snacking or adding a savory crunch to salads. With minimal ingredients and simple baking, they offer a guilt-free, flavorful treat.
Ingredients
Cheese
- 2 cups cubed sharp cheddar cheese (or any hard cheese like gouda or Monterey Jack), cut into 1/2-inch cubes
Instructions
- Preheat Oven: Preheat your oven to 200°F (93°C) and line a baking sheet with parchment paper to prevent sticking and allow for easy cleanup.
- Arrange Cheese Cubes: Place the cheese cubes in a single layer on the prepared baking sheet, making sure to leave space between each cube so they can puff properly during baking.
- Bake the Cheese: Bake the cheese cubes for 6 to 8 hours, or until they have fully puffed up, become airy, and develop a golden color. The longer they bake, the crispier and more burnout they become.
- Cool: Remove the baking sheet from the oven and allow the cheese puffs to cool completely on the pan; this helps them crisp further and become easy to handle.
- Store: Once cooled, store the cheese puffs in an airtight container at room temperature for up to 3 days, or refrigerate if you want to keep them fresher for longer.
Notes
- Use aged or hard cheeses as they puff better due to lower moisture content; softer cheeses may not puff properly.
- For extra flavor, sprinkle garlic powder, paprika, or cayenne on the cheese cubes before baking.
- These cheese puffs make an excellent low-carb snack or crunchy topping for salads.
- Prep Time: 5 minutes
- Cook Time: 6 hours
- Category: Snack
- Method: Baking
- Cuisine: American
