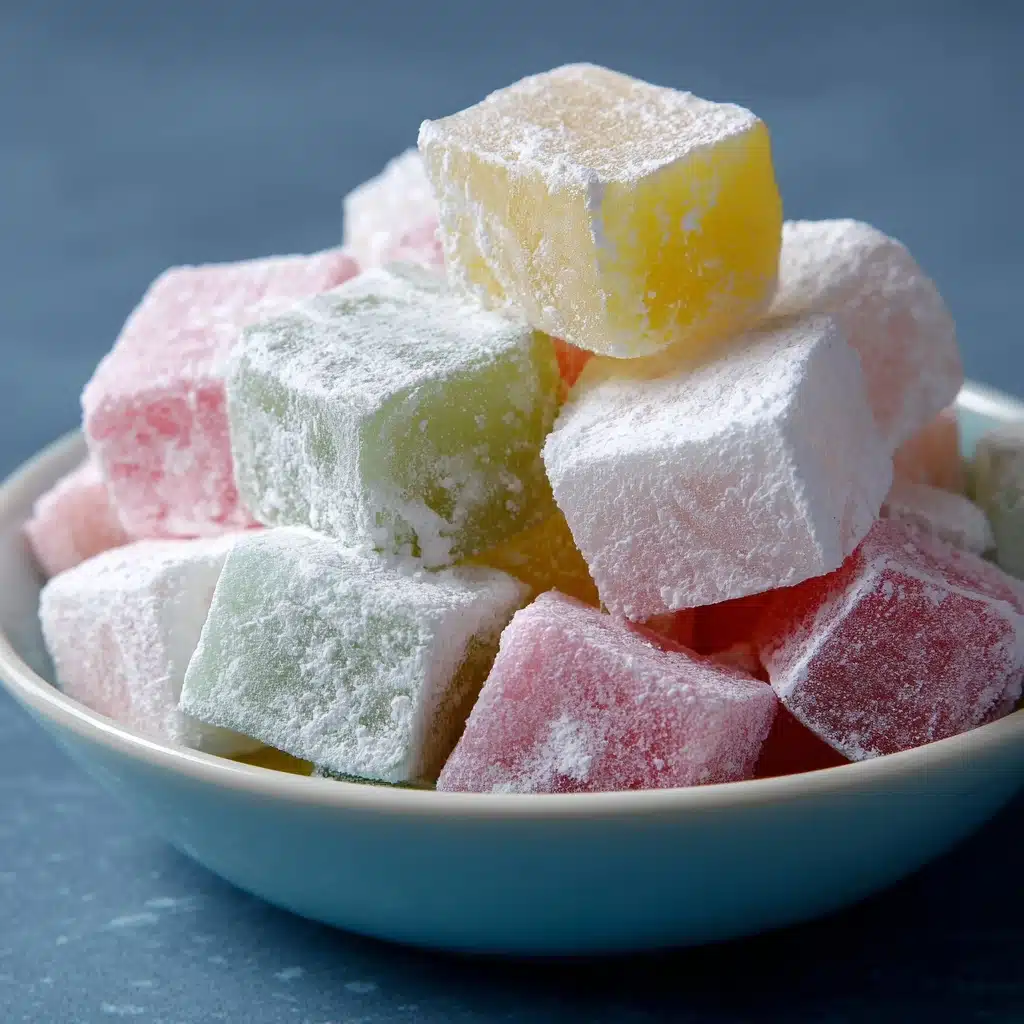
Melt-in-Your-Mouth Butter Mints Recipe
If you’re in the mood for a sweet homemade treat that practically dissolves on your tongue, Melt-in-Your-Mouth Butter Mints are the answer to your cravings. With their creamy texture, pop of peppermint, and pastel hues, these nostalgic candies have the charm of grandma’s kitchen and the irresistible allure of a secret passed from friend to friend. They’re dreamy for parties, gifting, or sneaking from the candy jar—really, any excuse will do. If you’ve never made candy before, this is a friendly, fail-proof place to start, and you’ll soon see why these are always the first to disappear!
Ingredients You’ll Need
The ingredient list for Melt-in-Your-Mouth Butter Mints is refreshingly short and each item is chosen for a purpose: delivering that signature creamy melt, a hint of cool mint, and those classic pastel colors. You likely have most of these on hand already, so let’s break down why they matter!
- Unsalted Butter (½ cup, softened): The star of the show, creating a luxuriously tender, melt-in-your-mouth texture and rich flavor.
- Powdered Sugar (4 cups, plus more if needed): Adds sweetness and provides the bulk and structure for the mints’ signature consistency.
- Heavy Cream (2 tablespoons): Helps bring the dough together for a smooth, silky finish that’s never crumbly or dry.
- Peppermint Extract (½ teaspoon): Delivers that crave-worthy, cool burst of flavor that makes these candies so refreshing.
- Food Coloring (optional): For those pastel-perfect colors that look stunning on a dessert platter—choose a drop or two for pretty shades.
- Pinch of Salt: A tiny amount is all you need to balance and brighten the flavors so the sweetness never overwhelms.
How to Make Melt-in-Your-Mouth Butter Mints
Step 1: Cream the Butter
Start things off by placing your softened butter in a large mixing bowl. Use a hand mixer or stand mixer on medium speed to beat the butter until it’s light, fluffy, and creamy—this step is the secret to perfectly tender Melt-in-Your-Mouth Butter Mints. Don’t skip it, as well-creamed butter is what gives these mints their velvety bite.
Step 2: Mix in the Rest
Lower the mixer speed and add powdered sugar, heavy cream, peppermint extract, and a pinch of salt. Mix slowly at first to prevent a sugar cloud, then increase the speed as the dough starts coming together. You’re looking for a soft, pliable dough here—if it’s too sticky, just add more powdered sugar a tablespoon at a time until you reach the perfect consistency.
Step 3: Add Color (If You’d Like)
If pastel candies are your thing, separate the dough into as many portions as you like and knead a drop or two of food coloring into each. Keep it subtle for that classic, soft look, or play with a rainbow of colors. This step is fun for kids (and adults) and makes your Melt-in-Your-Mouth Butter Mints instantly festive.
Step 4: Shape the Mints
Divide the dough into manageable portions and roll each piece into long, even ropes about half an inch thick. Use a sharp knife or dough cutter to slice into bite-sized pillows, or roll into tiny balls and press them with a fork for the traditional ridged look. Get creative—there’s no wrong way!
Step 5: Dry Overnight
Arrange your shaped mints in a single layer on a parchment-lined baking sheet—no crowding, please! Let them air-dry at room temperature for 12 to 24 hours. This step transforms them from candy dough into classic Melt-in-Your-Mouth Butter Mints with their signature dry, yet creamy, finish.
How to Serve Melt-in-Your-Mouth Butter Mints
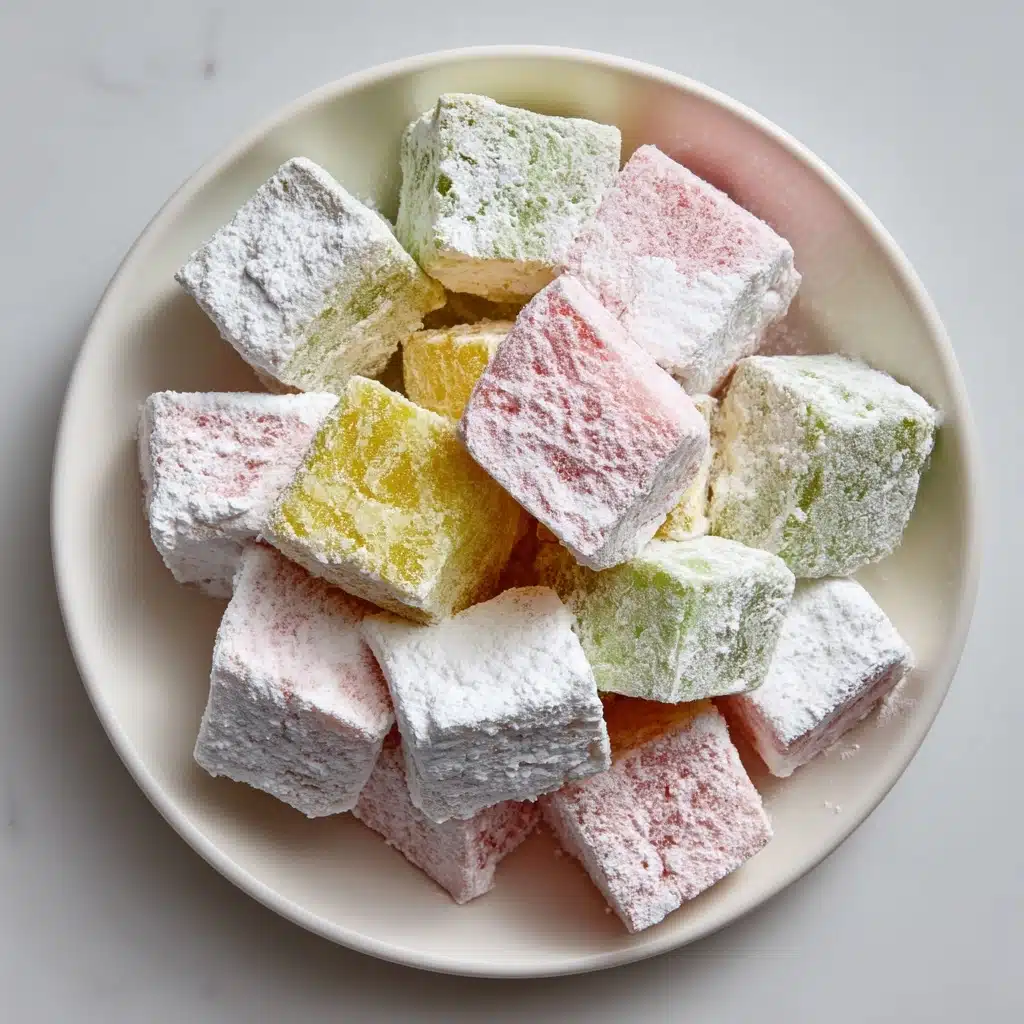
Garnishes
A beautiful presentation is half the charm. For that extra sparkle, try dusting your mints with a little superfine sugar, or top with edible glitter for a touch of whimsy. Classic fork marks add a nostalgic flair, while a light sprinkle of crushed peppermint makes them pop during the holidays.
Side Dishes
Melt-in-Your-Mouth Butter Mints are lovely served alongside other petite sweets—think delicate tea cookies, petit fours, or chocolate-dipped fruits. They’re the consummate after-dinner treat, offering a cool, creamy palate cleanser following a rich meal or hearty brunch.
Creative Ways to Present
Bring out your inner party planner: pile the mints into glass apothecary jars, display them in pastel-striped candy bags, or tuck a handful into mini favor boxes for celebrations and showers. At the holidays, pair in cellophane bags with a sweet ribbon—instant, heartfelt gifts for teachers, neighbors, or anyone who needs a smile.
Make Ahead and Storage
Storing Leftovers
Once dried, Melt-in-Your-Mouth Butter Mints keep beautifully. Place them in an airtight container at room temperature and they’ll stay soft yet crisp for up to two weeks. If stacking, separate layers with parchment paper to prevent sticking and keep every bite as perfect as the first.
Freezing
Planning ahead? These mints freeze beautifully. Arrange in layers separated by parchment in a freezer-safe container and freeze for up to three months. Thaw at room temperature for an hour or so, and they’ll emerge just as creamy as ever—simple, stress-free entertaining!
Reheating
The best thing about these no-bake candies is that they don’t require reheating. If yours feel a bit too firm after storage, simply let them sit at room temperature for 10–15 minutes to regain their soft, melt-in-the-mouth texture—no oven or microwave needed.
FAQs
Can I use salted butter instead of unsalted?
Yes, you can use salted butter if that’s what you have on hand. Simply omit the added pinch of salt in the recipe. The final flavor may be slightly more savory, but it’s still delicious!
How do I prevent my butter mints from being too sticky?
If the dough is sticky or hard to handle, just add more powdered sugar a tablespoon at a time until it’s pliable but firm enough to shape. Humidity can affect the dough, so trust your hands and adjust as needed.
Can I use a different flavoring instead of peppermint?
Absolutely! Swap peppermint extract for vanilla, lemon, almond, or even orange extract to create your own version of Melt-in-Your-Mouth Butter Mints. Adjust the amount based on the strength of your chosen extract—start with a small amount and taste as you go.
How do I ensure even coloring throughout the dough?
To get beautifully uniform color, knead the food coloring into the dough by hand after dividing it into portions. Wear gloves to avoid staining your hands, and keep kneading and folding until the color is even with no streaks remaining.
Why do my mints need to dry so long?
The air-drying process is what transforms these soft candies into firm, creamy bites that hold up at room temperature. Allowing a full 12–24 hours ensures the exterior sets up properly while the inside stays creamy and tender.
Final Thoughts
If you’re ready for a burst of cool, creamy nostalgia in every bite, gather your ingredients and treat yourself to a batch of Melt-in-Your-Mouth Butter Mints. You’ll be amazed at how quickly they come together, the joy they bring at any gathering, and just how easily they become a new tradition. Give them a try—you might just find yourself making them for every celebration and sweet tooth emergency!
Print
Melt-in-Your-Mouth Butter Mints Recipe
- Total Time: 12–24 hours
- Yield: About 100 mints 1x
- Diet: Vegetarian, Gluten-Free
Description
These Melt-in-Your-Mouth Butter Mints are a delightful treat that are perfect for parties or as homemade gifts. Creamy and minty, these mints are easy to make and even easier to enjoy. Customize them with different flavors and colors for a fun twist!
Ingredients
Ingredients:
- 1/2 cup unsalted butter, softened
- 4 cups powdered sugar, plus more if needed
- 2 tablespoons heavy cream
- 1/2 teaspoon peppermint extract
- Food coloring (optional)
- Pinch of salt
Instructions
- Beat Butter: In a large mixing bowl, beat the softened butter until creamy.
- Add Ingredients: Add the powdered sugar, heavy cream, peppermint extract, and salt. Mix on low speed until a dough forms, then increase to medium until smooth.
- Add Color (Optional): Add food coloring and mix until evenly tinted. Adjust consistency with more powdered sugar if needed.
- Shape Mints: Divide dough, roll into ropes, cut into bite-sized pieces, and place on a baking sheet.
- Dry Mints: Let the mints air-dry at room temperature for 12–24 hours until firm and dry to the touch.
- Store: Store in an airtight container at room temperature.
Notes
- You can shape these into balls or press with a fork for a classic look.
- Experiment with different extracts like vanilla or lemon for unique flavors.
- Great for gifting or as party favors.
- Prep Time: 25 minutes
- Cook Time: 0 minutes
- Category: Candy
- Method: No-Cook
- Cuisine: American
Nutrition
- Serving Size: 3 mints
- Calories: 60
- Sugar: 12g
- Sodium: 5mg
- Fat: 2g
- Saturated Fat: 1.5g
- Unsaturated Fat: 0.5g
- Trans Fat: 0g
- Carbohydrates: 13g
- Fiber: 0g
- Protein: 0g
- Cholesterol: 5mg