No-Bake Cherry Cheesecake Bars Recipe
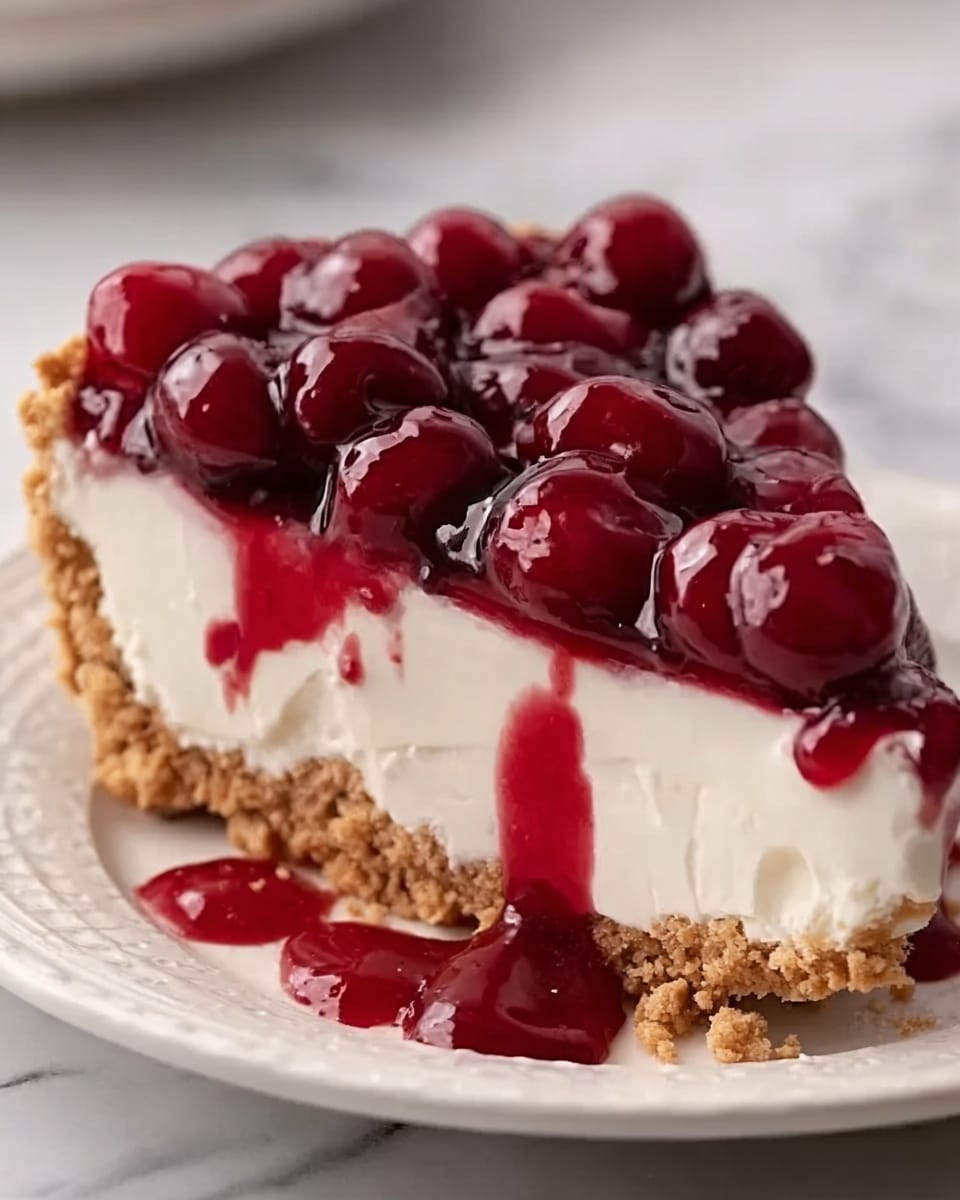
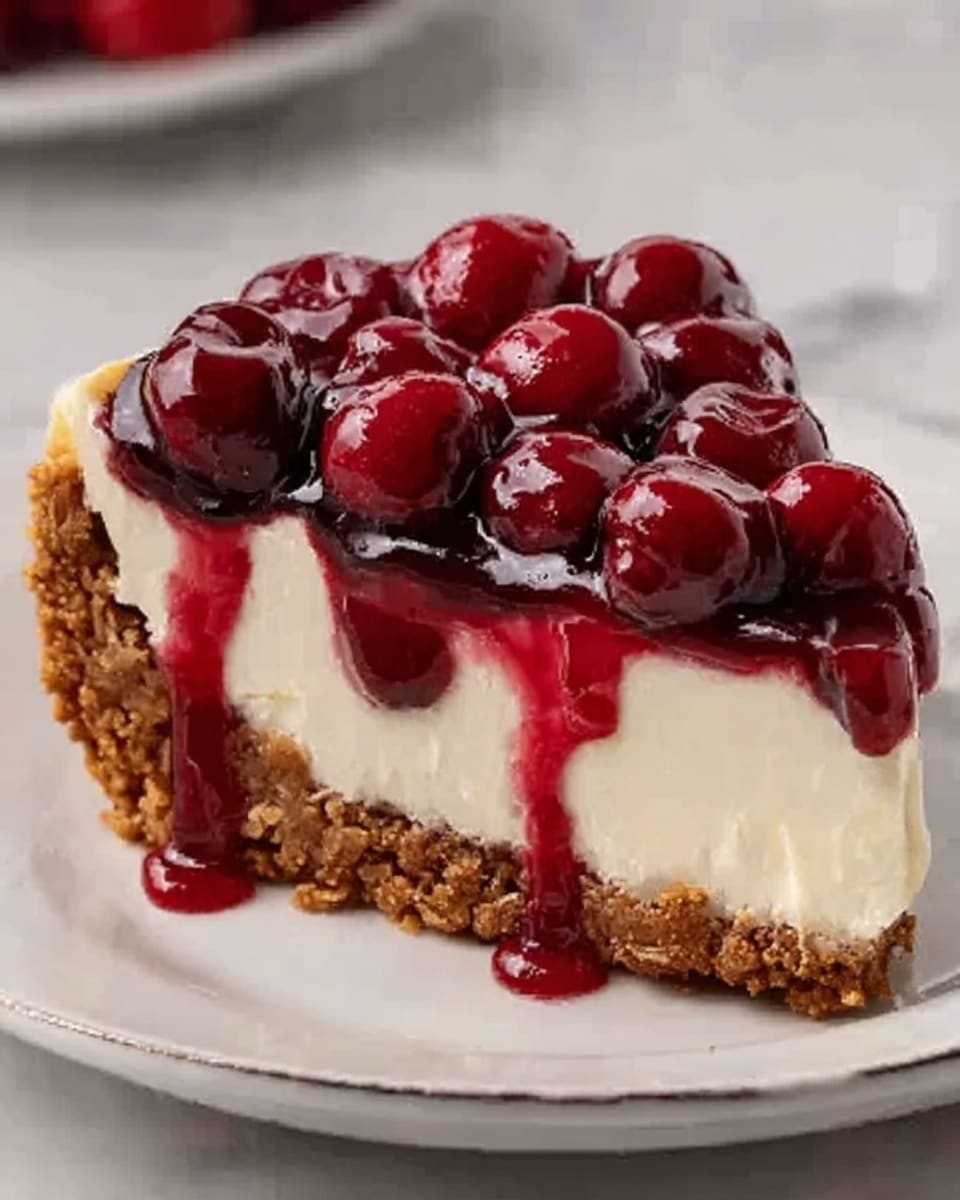
If you are searching for a delightfully simple yet irresistibly tasty dessert, this No-Bake Cherry Cheesecake Bars Recipe is an absolute game-changer. Combining a crumbly, buttery graham cracker crust with a smooth, fluffy cream cheese filling and topped with luscious cherry pie filling, these bars offer an ideal balance of sweet and tangy flavors. Perfect for warm days when you want something cool and refreshing without turning on the oven, these cheesecake bars are easy to whip up, crowd-pleasing, and ready to elevate any gathering or cozy night in.
Ingredients You’ll Need
This recipe uses a handful of simple ingredients, each playing a crucial role in building layers of texture and flavor that come together like a dream. From the crisp graham cracker base to the velvety cream cheese layer and bright cherry topping, every element is essential to crafting these delicious bars.
- Unsalted Butter (7 tablespoons): Melted to bind the graham cracker crumbs and add richness to the crust.
- Graham Cracker Crumbs (1 ½ cups): The foundation of the bars for that perfect crisp bite.
- Granulated Sugar (3 tablespoons): Adds just enough sweetness to balance the crust’s buttery notes.
- Cream Cheese (8 ounces, softened): Provides that classic creamy cheesecake texture.
- Powdered Sugar (1 cup): Sweetens and smooths the cream cheese mixture effortlessly.
- Vanilla Extract (1 teaspoon): Adds warmth and depth to the cheesecake filling.
- Cool Whip (8 ounces): Keeps the filling light and fluffy, creating a perfect melt-in-your-mouth experience.
- Cherry Pie Filling (1 can, 21 ounces): Brings a vibrant, fruity topping bursting with color and flavor.
How to Make No-Bake Cherry Cheesecake Bars Recipe
Step 1: Prepare the Crust
Start by microwaving the butter for about 30 seconds until it’s completely melted. Then combine it with graham cracker crumbs and granulated sugar in a bowl, mixing everything until the texture resembles wet sand. This mixture is the backbone of your crust, so make sure it’s well blended.
Step 2: Press the Crust into the Pan
Grease an 8×8-inch baking dish with butter or cooking spray to prevent sticking. Then firmly press the graham cracker mixture evenly into the bottom of the dish. A good, compact crust will hold together beautifully when sliced.
Step 3: Beat the Cream Cheese
In a large bowl, beat the softened cream cheese with a mixer until it becomes smooth and creamy. This step ensures that your filling has the perfect velvety texture without any lumps.
Step 4: Mix in Sugar and Vanilla
Gradually add the powdered sugar and vanilla extract into the cream cheese, mixing well until the combination is fully smooth. This sweetens the filling while brightening its flavor.
Step 5: Fold in the Cool Whip
Gently fold the Cool Whip into the cream cheese mixture to keep things light and fluffy. Be careful not to overmix, as you want to maintain that airy texture that makes these bars feel so special.
Step 6: Assemble the Bars
Spread the cream cheese filling evenly over the graham cracker crust with a spatula, creating a smooth layer. Then, spoon the cherry pie filling evenly over the cream cheese. This topping adds a gorgeous pop of color along with tart sweetness.
Step 7: Chill Until Set
Cover the dish with plastic wrap or aluminum foil, and refrigerate for at least 2 hours or preferably overnight. This chilling time allows the flavors to meld and the bars to firm up, making slicing easy and clean.
How to Serve No-Bake Cherry Cheesecake Bars Recipe
Garnishes
These bars are lovely served as is, but a few simple garnishes can elevate them further. Try sprinkling some crushed graham crackers on top for extra crunch or adding a fresh mint leaf for a pop of green and a refreshing note. Whipped cream alongside is also a classic choice that pairs beautifully.
Side Dishes
When serving No-Bake Cherry Cheesecake Bars Recipe at parties or family dinners, consider fresh fruit like sliced strawberries or blueberries to complement the cherry topping. A cup of coffee or a fruity herbal tea also pairs wonderfully with the creamy sweetness of the bars.
Creative Ways to Present
For a fun twist, serve the bars in individual clear cups layered with extra cherry pie filling and crushed graham crackers on top. Another idea is to cut them into bite-sized squares and arrange them on a festive platter with edible flowers for special occasions.
Make Ahead and Storage
Storing Leftovers
These cheesecake bars store beautifully in the refrigerator covered tightly with plastic wrap or in an airtight container. They will stay fresh and delicious for up to 4 days, making them a perfect make-ahead dessert for busy weeks.
Freezing
If you want to keep this dessert longer, you can freeze the bars by wrapping them in plastic wrap and placing them in a freezer-safe container. They freeze well for up to 2 months. When ready to eat, thaw in the refrigerator overnight for the best texture.
Reheating
Since this is a no-bake dessert intended to be served chilled, reheating is not recommended. Instead, serve the bars straight from the refrigerator or after thawing in case of freezing for the ideal creaminess and flavor balance.
FAQs
Can I use fresh cherries instead of canned cherry pie filling?
Fresh cherries can be a wonderful substitution, but they will lack the gelled sweetness of pie filling. To mimic that texture, you may need to cook fresh cherries with sugar and cornstarch to create a similar glaze before topping the bars.
Is it possible to make this recipe gluten-free?
Absolutely! Simply swap out the graham cracker crumbs for gluten-free graham crackers or crushed gluten-free cookies. Just be sure to check all labels, especially the cherry pie filling, for hidden gluten ingredients.
Can I use regular whipped cream instead of Cool Whip?
You can try using homemade whipped cream or store-bought heavy cream whipped to soft peaks. Just fold it in gently like the Cool Whip and keep the bars refrigerated as the fresh cream isn’t as stable.
How long should I chill the bars for the best results?
A minimum of 2 hours is required to firm up the bars, but chilling overnight is ideal. This longer refrigeration time gives the flavors time to marry and makes slicing much cleaner.
What’s the best way to get clean slices?
Use a sharp knife and wipe it clean between cuts. Also, make sure the bars are thoroughly chilled before slicing, which helps maintain their structure and prevents squishing.
Final Thoughts
There is something truly magical about a dessert that combines ease and wow factor, and the No-Bake Cherry Cheesecake Bars Recipe hits that perfect note every time. Whether you’re new to cheesecake making or looking for that effortless crowd-pleaser, these bars invite you to relax and enjoy the sweet reward without breaking a sweat. I love how simple ingredients can yield such an impressive treat, and I can’t wait for you to try them out and experience the joy of this no-bake wonder yourself!
Print
No-Bake Cherry Cheesecake Bars Recipe
- Total Time: 2 hours 15 minutes
- Yield: 9 servings 1x
- Diet: Vegetarian
Description
These No-Bake Cherry Cheesecake Bars combine a buttery graham cracker crust with a creamy, fluffy cream cheese filling and a sweet cherry topping. Perfectly chilled and easy to prepare without any baking, these bars make a delightful dessert for gatherings or a simple treat at home.
Ingredients
Crust
- 7 tablespoons unsalted butter, melted
- 1 ½ cups graham cracker crumbs (about 9 whole crackers)
- 3 tablespoons granulated sugar
Filling
- 8 ounces cream cheese, softened
- 1 cup powdered sugar
- 1 teaspoon pure vanilla extract
- 1 container (8 ounces) Cool Whip
Topping
- 1 can (21 ounces) cherry pie filling
Instructions
- Melt Butter: Microwave the butter for about 30 seconds or until completely melted.
- Make Crust Mixture: In a medium bowl, combine melted butter, graham cracker crumbs, and granulated sugar. Mix until the texture resembles wet sand.
- Form Crust: Grease an 8×8-inch baking dish with butter or cooking spray. Press the crumb mixture firmly and evenly into the bottom of the dish to form the crust.
- Prepare Cream Cheese Filling: In a large bowl, beat the softened cream cheese until smooth and creamy.
- Sweeten Filling: Gradually add powdered sugar and vanilla extract, mixing until fully combined and smooth.
- Fold in Cool Whip: Gently fold in the Cool Whip, keeping the mixture light and fluffy.
- Assemble Layers: Spread the cream cheese filling evenly over the graham cracker crust.
- Add Cherry Topping: Spoon the cherry pie filling evenly over the cream cheese layer.
- Chill: Cover with plastic wrap or aluminum foil and refrigerate for at least 2 hours or overnight to set.
- Serve: After chilling, slice into squares and serve cold.
Notes
- For best results, refrigerate overnight to allow flavors to meld and bars to set firmly.
- You can substitute cherry pie filling with other fruit pie fillings like blueberry or strawberry for variations.
- Use full-fat cream cheese for the creamiest texture.
- If Cool Whip is unavailable, whipped cream can be used but may alter stability slightly.
- Ensure cream cheese is softened to avoid lumps in the filling.
- Prep Time: 15 minutes
- Cook Time: 0 minutes
- Category: Dessert
- Method: No-Cook
- Cuisine: American
