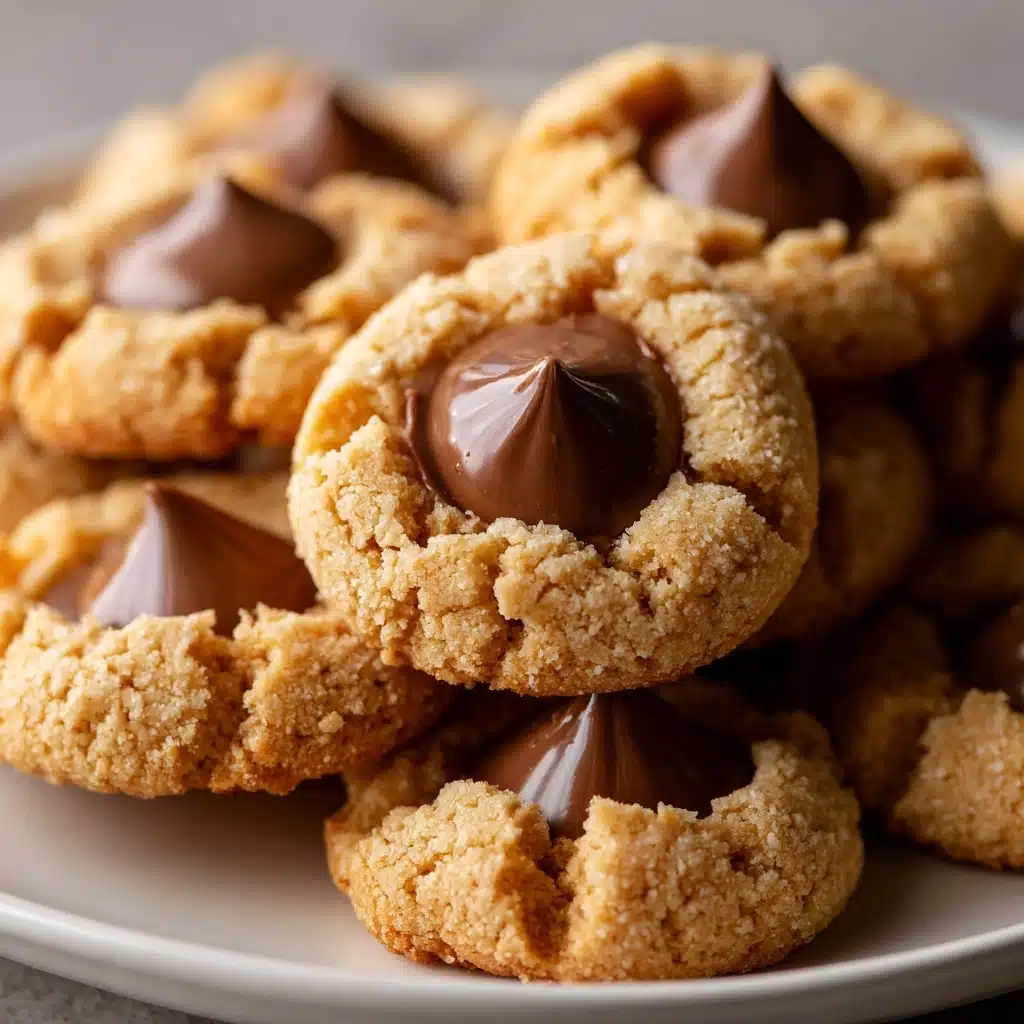
Peanut Butter Blossoms Recipe
If there’s one cookie that instantly brings a wave of nostalgia and pure happiness, it’s Peanut Butter Blossoms. These classic cookies blend the creamy richness of peanut butter with the melty decadence of a chocolate kiss, creating a treat that’s not only delicious but also irresistibly charming. Whether you’re baking for the holidays, a family get-together, or just because, Peanut Butter Blossoms are one of those recipes you’ll want to keep in your back pocket forever. Their perfect balance of sweet and salty flavors, chewy texture, and signature chocolate center make them a favorite for kids and adults alike.
Ingredients You’ll Need
The beauty of Peanut Butter Blossoms lies in their simplicity. Every ingredient plays a key role, from the creaminess of the peanut butter to the magical finish of the chocolate kiss. Here’s what you’ll need and why each is so important:
- Unsalted butter (1/2 cup, softened): Adds richness and helps create a tender cookie base. Make sure it’s soft for easy creaming!
- Creamy peanut butter (1/2 cup): The heart of the cookie, this gives a nutty flavor and chewy bite.
- Granulated sugar (1/2 cup): Sweetens and gives a little crispness to the edges.
- Packed brown sugar (1/2 cup): Adds moisture and a subtle molasses depth that complements the peanut butter.
- Large egg (1): Binds everything together and creates structure.
- Vanilla extract (1 teaspoon): Enhances the flavor and brings out the sweetness.
- All-purpose flour (1 3/4 cups): The backbone of the cookie, giving it shape and stability.
- Baking soda (1 teaspoon): Helps the cookies rise and become light and fluffy.
- Salt (1/2 teaspoon): Balances the sweetness and intensifies the peanut butter flavor.
- Additional granulated sugar (for rolling): Creates a sweet, sparkly exterior with a bit of crunch.
- Chocolate kiss candies (24, unwrapped): The classic topper! Make sure they’re ready to go before baking.
How to Make Peanut Butter Blossoms
Step 1: Prep the Oven and Baking Sheet
Start by preheating your oven to 375°F (190°C). Line a baking sheet with parchment paper to make cleanup a breeze and prevent sticking. Having everything ready before you begin mixing means you can work quickly once the dough is prepared.
Step 2: Cream the Wet Ingredients
In a large mixing bowl, cream together the softened butter, creamy peanut butter, granulated sugar, and brown sugar until the mixture is light, fluffy, and fully blended. This step is crucial because it whips air into the dough, giving your Peanut Butter Blossoms their tender, melt-in-your-mouth texture.
Step 3: Add the Egg and Vanilla
Crack in the egg and pour in the vanilla extract, then beat until the mixture is smooth and everything is well incorporated. The egg helps bind the dough, while the vanilla brings out all those warm, bakery-style flavors.
Step 4: Mix the Dry Ingredients
In a separate bowl, whisk together the flour, baking soda, and salt. This ensures that the leavening agent and salt are evenly distributed throughout the flour, helping your cookies bake up evenly every time.
Step 5: Combine Wet and Dry Mixtures
Gradually add the dry ingredients to the wet mixture, stirring gently until just combined. Be careful not to overmix; you want the dough to hold together without becoming tough.
Step 6: Shape and Roll the Dough
Scoop out tablespoon-sized portions of dough and roll them between your hands to form 1-inch balls. Roll each ball in the extra granulated sugar to give the cookies their signature sparkle and a slight crunch on the outside.
Step 7: Bake
Arrange the sugar-coated dough balls on your prepared baking sheet, spacing them about 2 inches apart. Bake for 8 to 10 minutes, or until the edges are set and lightly golden. The centers should still look soft—they’ll firm up as they cool.
Step 8: Add the Chocolate Kiss
As soon as the cookies come out of the oven, gently press an unwrapped chocolate kiss into the center of each one. The heat from the cookie will soften the chocolate just enough to help it adhere, creating that classic Peanut Butter Blossoms look.
Step 9: Cool and Enjoy
Let the cookies cool on the baking sheet for about 2 minutes, then carefully transfer them to a wire rack to cool completely. This helps them set up perfectly, with a chewy base and a glossy chocolate center.
How to Serve Peanut Butter Blossoms
Garnishes
While the classic chocolate kiss is all the garnish you really need, you can sprinkle a pinch of flaky sea salt over the chocolate while it’s still soft for a gourmet touch. A dusting of powdered sugar is also a fun way to dress them up for the holidays.
Side Dishes
Peanut Butter Blossoms pair beautifully with a cold glass of milk, hot chocolate, or even a cup of coffee. For a party platter, serve them alongside other festive cookies like snickerdoodles or sugar cookies for a colorful, crowd-pleasing display.
Creative Ways to Present
For a fun twist, arrange Peanut Butter Blossoms in a circle on a platter to mimic a wreath, or stack them in a tall glass jar for a giftable treat. You can even tuck them into decorative boxes or cellophane bags with a ribbon for the ultimate homemade present.
Make Ahead and Storage
Storing Leftovers
Keep your Peanut Butter Blossoms fresh by storing them in an airtight container at room temperature for up to 5 days. Place wax paper between layers to prevent them from sticking together and to maintain their beautiful shape.
Freezing
These cookies freeze wonderfully! Arrange them in a single layer on a baking sheet to freeze initially, then transfer to a freezer-safe bag or container. They’ll keep for up to 3 months, and you can thaw a few at a time for whenever a cookie craving strikes.
Reheating
If you love that just-baked warmth, pop a Peanut Butter Blossom in the microwave for 5 to 10 seconds. The chocolate will soften slightly and the cookie will taste like it just came out of the oven—pure bliss!
FAQs
Can I use crunchy peanut butter instead of creamy?
Absolutely! Crunchy peanut butter adds a bit of texture and extra peanutty goodness. Just know your cookies will have a little more bite, which some people love.
Do I need to chill the dough before baking?
For this recipe, you don’t need to chill the dough, but if your kitchen is very warm or you want cookies that spread a little less, chilling for 30 minutes can help.
Can I use different chocolate candies on top?
Definitely! While the classic chocolate kiss is traditional, you can try mini peanut butter cups, chocolate stars, or even caramel-filled chocolates for a fun twist on Peanut Butter Blossoms.
Can I make these gluten-free?
Yes, you can substitute a good-quality gluten-free all-purpose flour blend in place of the regular flour. Just check all your ingredients to make sure they’re gluten-free.
How do I keep the chocolate kisses from melting?
After pressing the kisses into the warm cookies, let them cool completely before stacking or storing. If your kitchen is warm, you can pop the baking sheet in the fridge for a few minutes to help the chocolate set quickly.
Final Thoughts
There’s truly nothing like the joy of baking a batch of Peanut Butter Blossoms and sharing them with loved ones. They’re simple, crowd-pleasing, and always bring a smile. Whether you’re new to baking or a seasoned pro, I hope you’ll give these a try and make them a sweet staple in your kitchen traditions!
Print
Peanut Butter Blossoms Recipe
- Total Time: 25 minutes
- Yield: 24 cookies 1x
- Diet: Vegetarian
Description
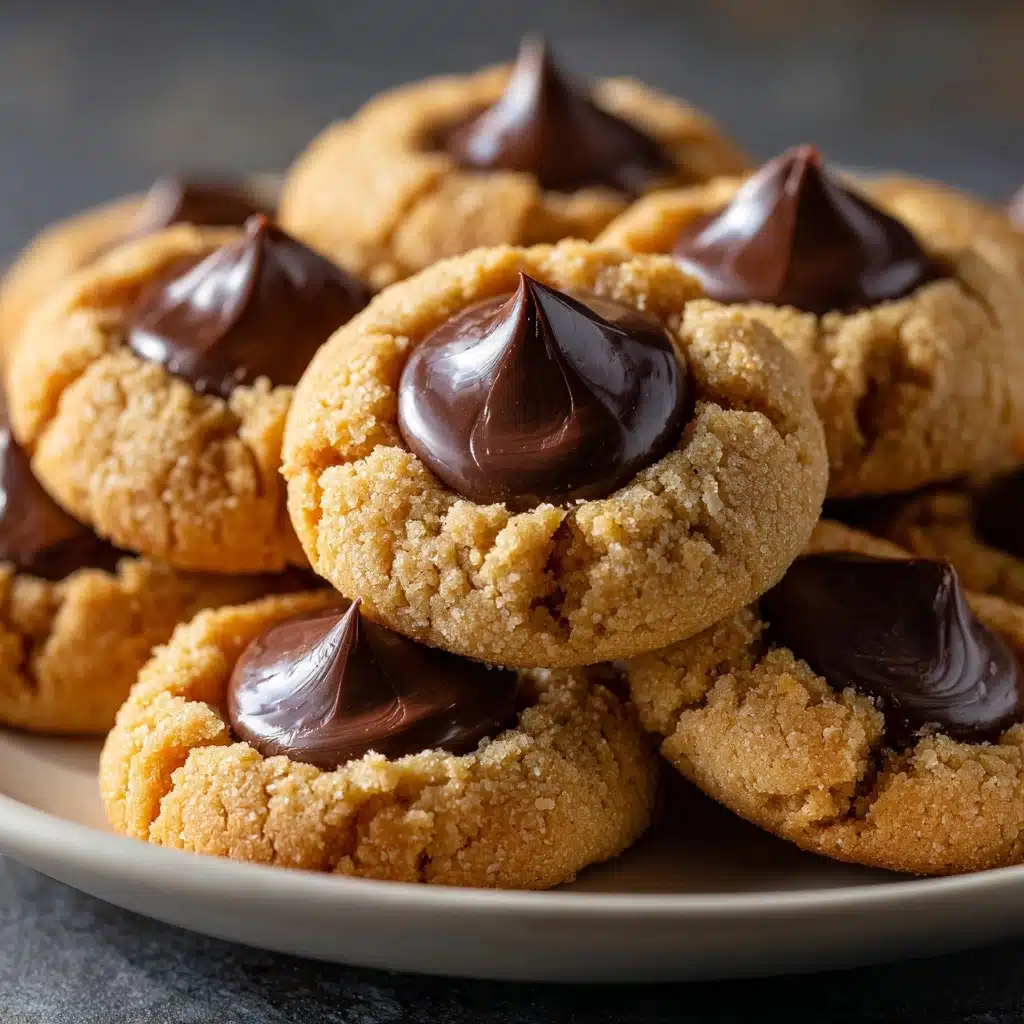
Peanut Butter Blossoms are classic American cookies featuring a soft and chewy peanut butter base rolled in sugar and topped with a chocolate kiss, offering a perfect balance of sweet and salty flavors. These festive treats are perfect for holidays and anytime you crave a nostalgic, delicious cookie.
Ingredients
Dough Ingredients
- 1/2 cup unsalted butter, softened
- 1/2 cup creamy peanut butter
- 1/2 cup granulated sugar
- 1/2 cup packed brown sugar
- 1 large egg
- 1 teaspoon vanilla extract
- 1 3/4 cups all-purpose flour
- 1 teaspoon baking soda
- 1/2 teaspoon salt
Coating and Topping
- Additional granulated sugar for rolling
- 24 chocolate kiss candies, unwrapped
Instructions
- Preheat the Oven: Preheat your oven to 375°F (190°C) and line a baking sheet with parchment paper to prevent sticking and ensure easy cleanup.
- Cream the Wet Ingredients: In a large bowl, cream together the softened butter, creamy peanut butter, granulated sugar, and brown sugar until the mixture is light and fluffy, which usually takes about 2-3 minutes using an electric mixer.
- Add Egg and Vanilla: Beat in the large egg and vanilla extract until the ingredients are fully combined and smooth.
- Mix the Dry Ingredients: In a separate bowl, whisk together the all-purpose flour, baking soda, and salt to evenly distribute the leavening agent and seasoning throughout the flour.
- Combine Wet and Dry: Gradually add the dry ingredients to the wet ingredients, mixing slowly until just combined to prevent overworking the dough which keeps the cookies tender.
- Form and Roll Balls: Roll the dough into 1-inch diameter balls, then coat each ball thoroughly in granulated sugar to give the cookies a sweet, crackly exterior.
- Arrange on Baking Sheet: Place the sugar-coated dough balls about 2 inches apart on the prepared baking sheet to allow room for spreading while baking.
- Bake the Cookies: Bake in the preheated oven for 8 to 10 minutes, or until the edges begin to turn a light golden brown, indicating they’re perfectly baked but still soft.
- Add Chocolate Kisses: Immediately after removing from the oven, press one unwrapped chocolate kiss firmly into the center of each cookie so it melts slightly and adheres as the cookie cools.
- Cool the Cookies: Let the cookies cool on the baking sheet for about 2 minutes to set, then transfer them to a wire rack to cool completely before serving or storing.
Notes
- Always unwrap the chocolate kisses before baking so they’re ready to press into the warm cookies.
- Store cookies in an airtight container at room temperature for up to 5 days to maintain freshness.
- For longer storage, freeze the cookies in a single layer in an airtight container for up to 3 months.
- If desired, use crunchy peanut butter instead of creamy for added texture.
- Make sure not to overbake to keep the cookies soft and chewy rather than hard and crisp.
- Prep Time: 15 minutes
- Cook Time: 10 minutes
- Category: Dessert
- Method: Baking
- Cuisine: American
Nutrition
- Serving Size: 1 cookie
- Calories: 140
- Sugar: 10g
- Sodium: 95mg
- Fat: 7g
- Saturated Fat: 3g
- Unsaturated Fat: 3g
- Trans Fat: 0g
- Carbohydrates: 17g
- Fiber: 1g
- Protein: 2g
- Cholesterol: 15mg