Snow Cones Recipe
Snow Cones are the sparkling jewel of summertime festivities and the ultimate nostalgic treat that transports everyone, kids and grown-ups alike, straight into a world of fun and flavor. With just a handful of easy ingredients, you can recreate that satisfying crunch of shaved ice soaked in vivid, homemade syrup—no fancy equipment required. This recipe is pure joy in a cone, endlessly customizable, and guaranteed to light up picnics, birthdays, and backyard gatherings. If you’ve never made snow cones from scratch, get ready: you’re about to discover just how easy, affordable, and wildly delicious this classic treat can be.

Ingredients You’ll Need
-
For the Syrup:
- 1/2 cup granulated sugar
- 1/2 cup water
- 1/2 teaspoon flavored extract (such as cherry, raspberry, lemon, or orange)
- Food coloring (optional, to match the flavor)
For the Snow Cones:
- 4 cups ice (crushed or shaved)
- Assorted toppings (optional, like sour candy, sprinkles, or fresh fruit)
How to Make Snow Cones
Step 1: Make the Flavor Syrup
Begin by combining the granulated sugar and water in a small saucepan. Warm it over medium heat, stirring frequently, until the sugar is completely dissolved—about 3 to 4 minutes. You’ll know it’s ready when the syrup is clear and smooth with no gritty sugar left at the bottom. Once done, remove from heat and stir in the flavored extract of your choice, plus a drop or two of food coloring if you love that candy-shop look. Allow the syrup to cool fully, then pour it into a squeeze bottle or jar for easy pouring later.
Step 2: Prepare the Ice
Crush or shave your ice using whatever you have on hand—a sturdy blender, food processor, or snow cone machine all do the trick. The goal is fine, fluffy ice that instantly absorbs the syrup. Work quickly, especially on warm days, and transfer the ice to a bowl so it’s ready for assembly.
Step 3: Assemble the Snow Cones
Scoop the shaved ice into paper cones or cups, gently packing them just enough to help hold their shape. Don’t compact it too much, though—you want the texture to stay light and melt-in-your-mouth.
Step 4: Add the Syrup
Generously drizzle your homemade syrup all over the cone, letting it seep into every craggy nook of ice. The colors will start to run and swirl, transforming every cone into a little masterpiece.
Step 5: Finish and Serve
Top each snow cone with any add-ins you love, from fruity sprinkles to a handful of sour candy or a wedge of fresh citrus. Serve right away for maximum frosty goodness!
How to Serve Snow Cones
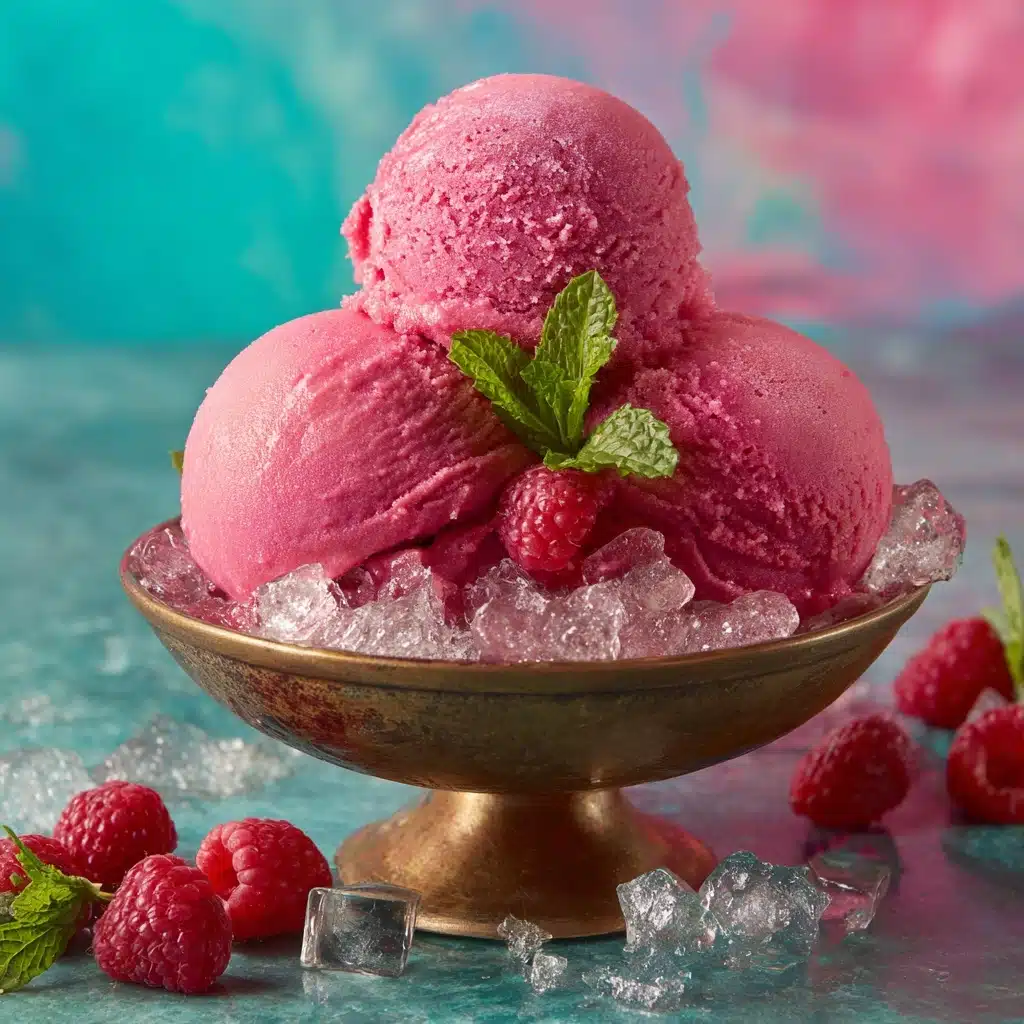
Garnishes
Jazz up your Snow Cones with a shower of sprinkles, shredded coconut, or fruit slices. These cheerful finishing touches don’t just look great—they add a burst of flavor and a playful crunch that contrasts perfectly with the icy base.
Side Dishes
Pairing Snow Cones with other summer treats makes for a truly festive spread. Think watermelon wedges, homemade lemonade, or popcorn for that fairground feel. It’s the ultimate way to turn dessert into an event everyone will remember.
Creative Ways to Present
Elevate your presentation by serving snow cones in clear cups to show off the vibrant layers, or set up a Snow Cone bar with a rainbow of syrups and toppings so guests can build their own. For parties, try mini cones as a colorful, bite-size treat—guaranteed to make a splash with kids and adults alike.
Make Ahead and Storage
Storing Leftovers
If you have extra syrup, don’t worry! Store any leftover homemade syrup in a tightly sealed jar or squeeze bottle in the refrigerator for up to two weeks. The flavors stay just as bright, making it easy to whip up snow cones whenever a craving hits.
Freezing
While it’s best to shave or crush ice fresh each time for the fluffiest texture, you can prepare small zip-top bags of crushed ice ahead and freeze them. When you’re ready, give the ice a quick bash with a rolling pin to freshen it up before assembling your cones.
Reheating
If your syrup thickens too much in the fridge or you’d just like to return it to a pourable consistency, set the jar in a bowl of warm water for a few minutes. No boiling or microwaving needed—the warmth will loosen it right up and have you back to making Snow Cones in no time.
FAQs
Can I make Snow Cones without a special machine?
Absolutely! A sturdy blender, food processor, or even a rolling pin and zip-top bag can crush ice just fine for homemade snow cones. The key is to get your ice as fine and fluffy as possible.
What flavors work best for homemade syrup?
Classic options like cherry, raspberry, lemon, and orange are always crowd-pleasers, but you can let your imagination run wild—try pineapple, coconut, or even a hint of mint for something unique.
Are Snow Cones gluten-free and vegan?
Yes! With simple ingredients like ice, sugar, water, and flavor extracts, snow cones are naturally gluten-free and vegan. Just double-check your flavored extracts and toppings to be sure.
Can the syrups be made ahead of time?
Definitely. Syrups can be prepared days in advance and stored in the refrigerator. Just give them a good shake or stir before using, especially if you’ve added food coloring or natural extracts.
How can I make multiple flavors in one batch?
Make a big batch of basic syrup, then divide it into smaller bowls. Add different extracts and colors to each, letting you build a rainbow assortment of Snow Cones for your next gathering.
Final Thoughts
There’s just nothing like handing someone a homemade Snow Cone on a bright, sunny day and seeing their face light up. Whether you’re treating family, friends, or just yourself, these colorful cones are a breeze to make and even more fun to eat. Dive into this sweet, frosty world—you’ll never look at summer desserts the same way again!
Print
Snow Cones Recipe
- Total Time: 15 minutes
- Yield: 4 snow cones 1x
- Diet: Vegan, Gluten-Free
Description
Cool off with these homemade snow cones, perfect for hot summer days. Customize your shaved ice with a variety of flavored syrups and fun toppings for a refreshing and fun treat.
Ingredients
For the Syrup:
- 1/2 cup granulated sugar
- 1/2 cup water
- 1/2 teaspoon flavored extract (such as cherry, raspberry, lemon, or orange)
- Food coloring (optional, to match the flavor)
For the Snow Cones:
- 4 cups ice (crushed or shaved)
- Assorted toppings (optional, like sour candy, sprinkles, or fresh fruit)
Instructions
- Make the Syrup: Combine sugar and water in a small saucepan over medium heat. Stir until the sugar dissolves, about 3–4 minutes. Remove from heat, add extract and food coloring. Cool and transfer to a squeeze bottle.
- Assemble the Snow Cones: Crush or shave ice. Pack into cones or cups. Drizzle syrup over ice generously. Add toppings, if desired. Serve immediately.
Notes
- You can make multiple syrup flavors by dividing the base syrup and adding different extracts and colors.
- Store leftover syrups in the refrigerator for up to 2 weeks.
- Prep Time: 10 minutes
- Cook Time: 5 minutes
- Category: Dessert
- Method: No-Cook (Ice Preparation), Stovetop (Syrup)
- Cuisine: American
Nutrition
- Serving Size: 1 snow cone
- Calories: 90
- Sugar: 22 g
- Sodium: 5 mg
- Fat: 0 g
- Saturated Fat: 0 g
- Unsaturated Fat: 0 g
- Trans Fat: 0 g
- Carbohydrates: 23 g
- Fiber: 0 g
- Protein: 0 g
- Cholesterol: 0 mg
