Fig Bars Recipe
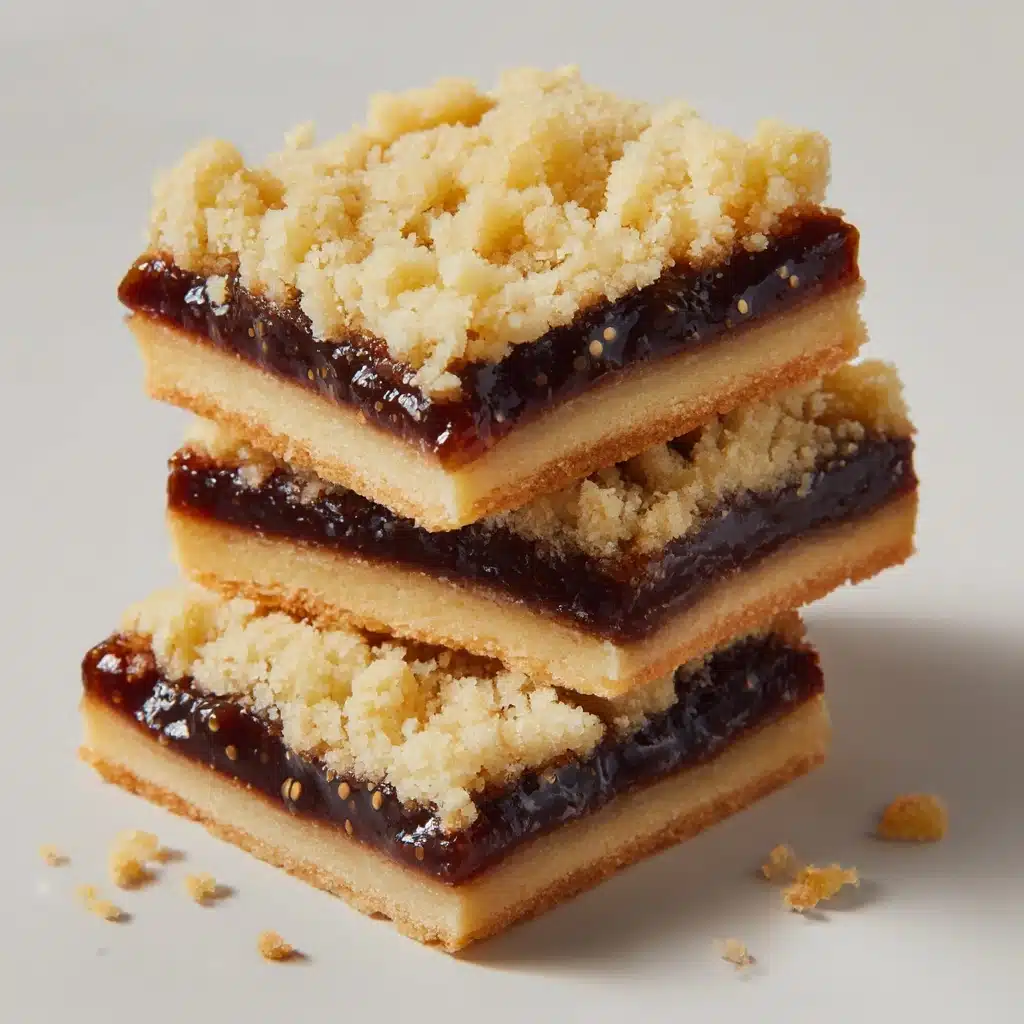
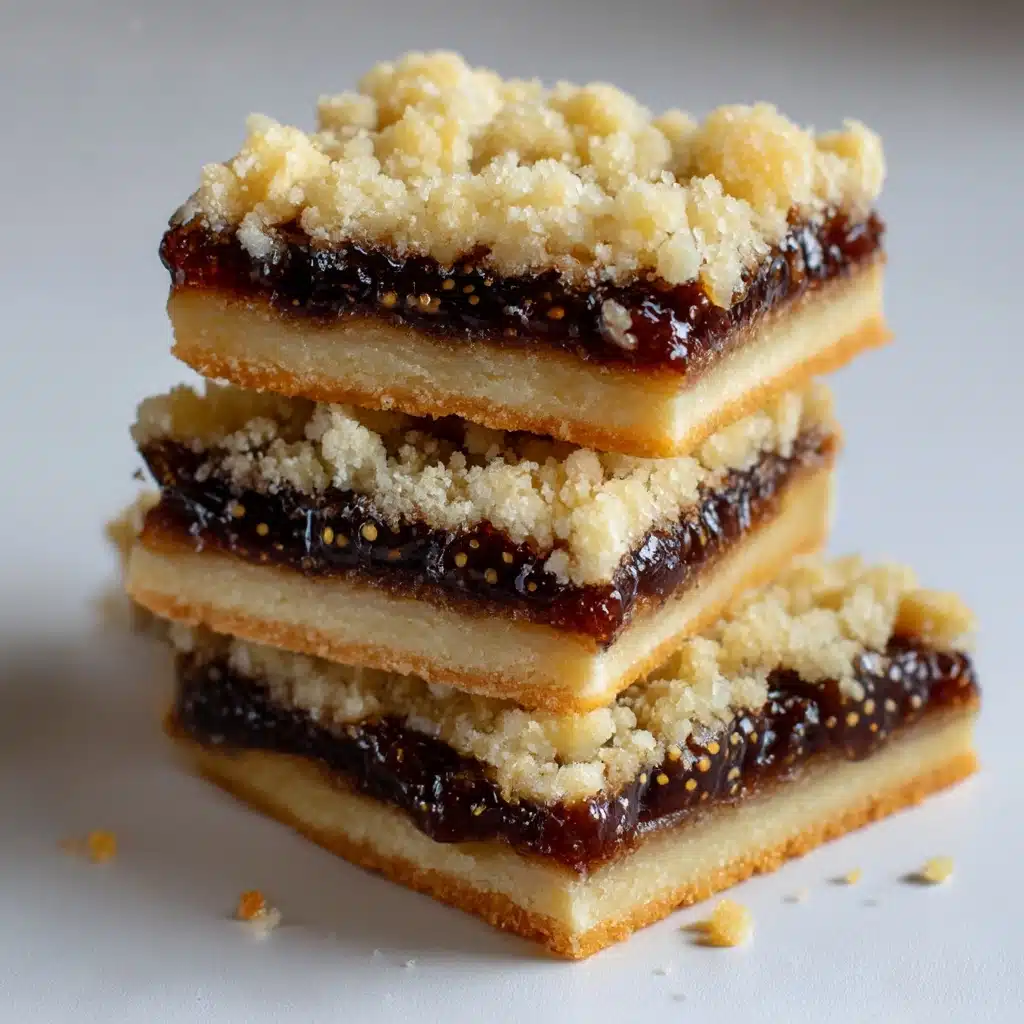
If you’re dreaming of a sweet treat that tastes nostalgic but feels fresh and homemade, Fig Bars are your golden ticket! These cozy bars feature a lush, jammy fig filling sandwiched between tender, buttery oat layers that will transport you right back to childhood (or, perhaps, kickstart a new tradition). They’re a satisfying snack, a lunchbox hero, and a crowd-pleasing dessert—all in one easy-to-make bite. Get ready to fall in love with figs in a whole new way!
Ingredients You’ll Need
The beauty of these Fig Bars comes from their wholesome, pantry-friendly ingredients. Each component brings something special—whether it’s chewiness, a toasty crunch, or a hint of citrus. Here’s what you’ll need and why you’ll love having every item in your kitchen:
- Dried figs (1 1/2 cups): The star of the show, dried figs give the bars their signature sweetness and chewy, jammy texture.
- Water (1/2 cup): Softens the figs and helps them cook into a thick, spreadable filling.
- Orange juice (2 tablespoons): Adds brightness to cut through the figs’ richness—a splash that wakes up all the flavors.
- Honey (1 tablespoon): Lends floral sweetness and helps tie the filling together; feel free to use maple syrup for a twist.
- Vanilla extract (1/2 teaspoon): Enhances and rounds out the figgy flavor with comforting warmth.
- Old-fashioned oats (1 1/2 cups): Delivers a hearty, chewy base and golden, crumbly topping.
- All-purpose flour (1 cup): Provides structure so the bars hold up with every bite.
- Brown sugar (1/2 cup): Creates depth and caramel notes in both the crust and the topping.
- Baking soda (1/4 teaspoon): Offers a touch of lift, ensuring the crust is tender, not dense.
- Salt (1/4 teaspoon): Just enough to balance the sweetness and enhance every other flavor.
- Unsalted butter, melted (3/4 cup): Brings everything together with melt-in-your-mouth richness and helps crisp up the oat layers.
How to Make Fig Bars
Step 1: Prepare Your Pan and Oven
Start by preheating your oven to 350°F and lining an 8×8-inch baking dish with parchment paper. Leave a bit of paper hanging over the sides—this is your secret weapon for lifting the finished Fig Bars out in one beautiful piece! The right prep here ensures easy removal and the perfect bar shape later.
Step 2: Make the Fig Filling
Place your chopped figs, water, orange juice, and honey in a small saucepan over medium heat. Bring everything to a gentle simmer, stirring often. Cook for 10 to 12 minutes until the figs have softened and most of the liquid is absorbed—the aroma at this stage is pure magic. Remove from heat, stir in the vanilla, and then either mash the mixture with a fork or use a food processor to blend into a thick, spreadable paste. Let it cool slightly so it’s easy to layer.
Step 3: Mix the Oat Crust and Topping
In a large bowl, combine the oats, flour, brown sugar, baking soda, and salt. Pour the melted butter over top and stir until everything is moistened and crumbly. You’re looking for a texture that holds its shape when you press it together—a key step for that irresistible Fig Bars chew!
Step 4: Layer and Assemble
Press about two-thirds of your oat mixture into the bottom of your prepared pan, packing it firmly for a sturdy base. Spread the smooth fig filling evenly from edge to edge, using an offset spatula or the back of a spoon. Sprinkle the remaining oat mixture over the top and gently press down so the bars hold together while still staying crumbly.
Step 5: Bake to Perfection
Slide your pan into the oven and bake for 25 to 30 minutes, or until the top is golden and the edges look perfectly set. The hardest part? Letting the bars cool completely in the pan! This patience pays off—when they’re cool, use the parchment overhang to lift the entire batch out and slice into tidy, irresistible bars.
How to Serve Fig Bars
Garnishes
A dusting of powdered sugar is classic for Fig Bars, lending a touch of elegance and a pop of visual appeal. For something extra-special, try a drizzle of melted dark chocolate, a sprinkle of flaky sea salt to offset the sweetness, or even a few curls of orange zest to echo the filling. These little touches turn a simple treat into a showcase-worthy dessert.
Side Dishes
Fig Bars love a little company! Serve them with a scoop of vanilla ice cream for a warm-and-cold dessert duo, pair them with fresh berries for brightness, or offer alongside a mellow cheese like brie or ricotta for an incredible afternoon snack plate. For a caffeine fix, they’re absolutely perfect with a mug of coffee or a cup of Earl Grey tea.
Creative Ways to Present
Think beyond the bar! Cut your Fig Bars into bite-sized squares for party platters, or slice them into thin “fingers” for an elegant cookie tray. Wrap individual bars in parchment and baker’s twine for packable, picnic-ready treats. You can even stack them with homemade jam or fresh fruit slices for a fun, homemade dessert sandwich!
Make Ahead and Storage
Storing Leftovers
Once fully cooled, Fig Bars are happiest in an airtight container at room temperature for up to three days. If you want to keep them fresh and chewy beyond that, just pop the container in the fridge—they’ll stay delightful for several more days, and the flavors will deepen even further.
Freezing
Absolutely! Fig Bars freeze beautifully. Wrap individual bars in plastic wrap or layer them between sheets of parchment in an airtight container. Freeze for up to three months; just let them come to room temperature before enjoying for the best flavor and texture.
Reheating
Craving that fresh-from-the-oven taste? Warm refrigerated or thawed bars in a low oven (about 300°F) for 5-7 minutes, or zap them in a microwave for 10-15 seconds. This brings back all the coziness without making the bars too soft or crumbly.
FAQs
Can I substitute other fruits for figs in Fig Bars?
Definitely! Dried dates are a popular alternative and will create a luscious, caramel-like filling. You could also experiment with dried apricots or a blend of dried fruits for a unique twist, just keep the ratios the same and adjust the sweetness as needed.
Are these Fig Bars gluten-free?
Not as written, since all-purpose flour is included. But you can easily make gluten-free Fig Bars by using a 1:1 gluten-free flour blend, and be sure your oats are certified gluten-free. The results are just as delicious and satisfying!
Can I make the filling ahead of time?
Yes! You can prepare the fig filling up to three days in advance and store it in the refrigerator. When you’re ready to make your bars, just let the filling come to room temperature for easy spreading.
My bars are too crumbly—what happened?
Typically, crumbly bars mean they might not have been pressed down firmly enough before baking, or they were sliced before cooling completely. Make sure to really pack the base and topping, and always let the bars cool fully for clean cuts.
How do I make vegan Fig Bars?
Simple swaps do the trick: use a vegan butter alternative and maple syrup in place of honey. The rest of the ingredients are already plant-based! The result is still rich, chewy, and bursting with fig flavor.
Final Thoughts
If you’re looking for a treat that’s cozy, nostalgic, and made to share, these homemade Fig Bars are calling your name. They’re easy, endlessly adaptable, and sure to win over anyone who tries them—so why not bake a batch and taste the magic for yourself?
Print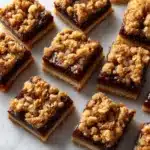
Fig Bars Recipe
- Total Time: 50 minutes
- Yield: 12 bars 1x
- Diet: Vegetarian
Description
These homemade Fig Bars are a delightful treat that combines a buttery oat crust with a sweet and sticky fig filling. Perfect for snacking or as a dessert, these bars are simple to make and bursting with fruity flavor.
Ingredients
For the filling:
- 1 1/2 cups dried figs (stems removed and chopped)
- 1/2 cup water
- 2 tablespoons orange juice
- 1 tablespoon honey
- 1/2 teaspoon vanilla extract
For the crust and topping:
- 1 1/2 cups old-fashioned oats
- 1 cup all-purpose flour
- 1/2 cup brown sugar
- 1/4 teaspoon baking soda
- 1/4 teaspoon salt
- 3/4 cup unsalted butter (melted)
Instructions
- Preheat the oven and prepare the baking dish: Preheat the oven to 350°F and line an 8×8-inch baking dish with parchment paper.
- Make the filling: Simmer figs, water, orange juice, and honey until soft. Stir in vanilla and blend into a paste.
- Prepare the crust: Mix oats, flour, brown sugar, baking soda, and salt. Add melted butter and mix into a dough.
- Assemble the bars: Press 2/3 of the oat mixture into the pan, spread fig filling, top with remaining oat mixture, and bake.
- Bake and cool: Bake until golden, cool in the pan, then slice into bars.
Notes
- You can substitute dates for figs for a different flavor.
- Store bars in an airtight container at room temperature for up to 3 days or refrigerate for longer freshness.
- Prep Time: 20 minutes
- Cook Time: 30 minutes
- Category: Snack
- Method: Baking
- Cuisine: American
Nutrition
- Serving Size: 1 bar
- Calories: 230
- Sugar: 18g
- Sodium: 80mg
- Fat: 11g
- Saturated Fat: 6g
- Unsaturated Fat: 4g
- Trans Fat: 0g
- Carbohydrates: 30g
- Fiber: 2g
- Protein: 2g
- Cholesterol: 25mg