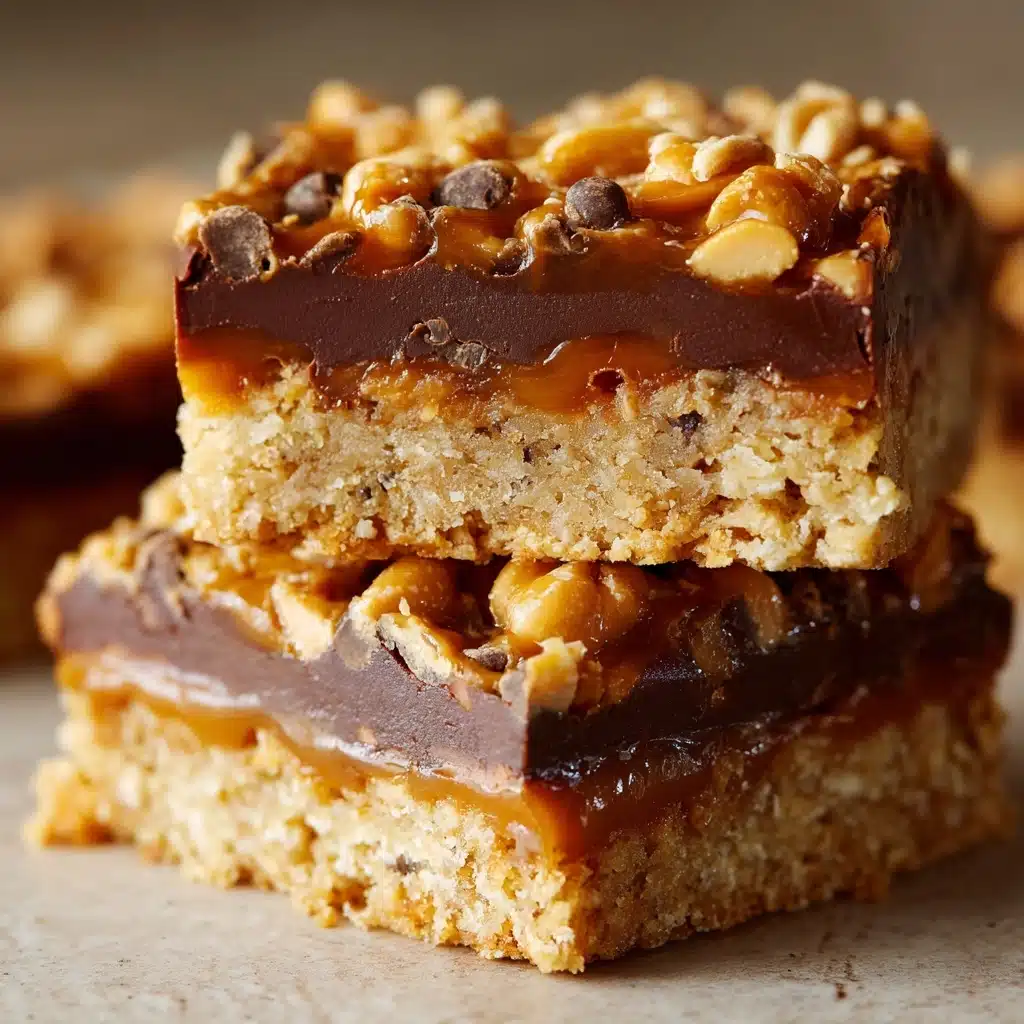
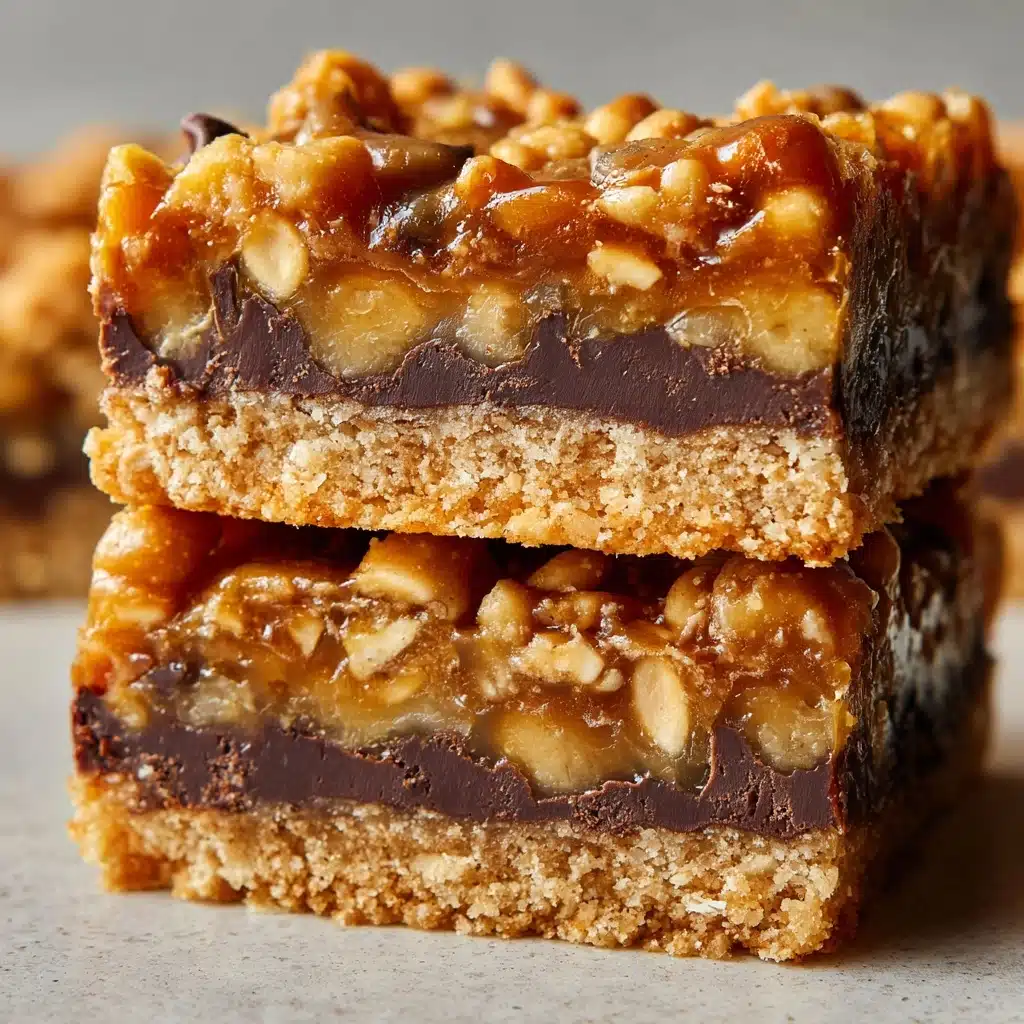
Homemade Crunch Bars Recipe
Sometimes, the simplest treats are the ones that transport us right back to childhood, and that’s exactly what makes the Homemade Crunch Bars Recipe so irresistible. Imagine the perfect marriage of creamy peanut butter, silky chocolate, and that delightful crispy crunch in every bite—pure comfort with just a hint of nostalgia. Best of all, these bars require zero baking, just a handful of pantry staples, and a quick whisk in the microwave, making them a go-to dessert for busy days, potlucks, or a sweet pick-me-up any time of the week. Whether you’re whipping them up for a special occasion or just because, this is one recipe you’ll come back to again and again.
Ingredients You’ll Need
Everything you need for this recipe is likely already waiting in your pantry, and each ingredient shines in its own way to make these bars unforgettable. The Homemade Crunch Bars Recipe comes to life with only five essentials, each bringing its own special touch to the party.
- Semi-sweet chocolate chips: These create a rich, chocolatey base with the perfect balance of sweetness.
- Creamy peanut butter: Adds luscious creaminess and a subtle nutty flavor that makes every bite dreamy.
- Crispy rice cereal: The key to that iconic crunch, this cereal gives the bars their signature bubbly, airy texture.
- Vanilla extract: Just a splash boosts the overall flavor and gives a warm, comforting aroma.
- Pinch of salt: Enhances both the chocolate and peanut butter, brightening each bite and balancing out the sweetness.
How to Make Homemade Crunch Bars Recipe
Step 1: Prep Your Pan
Begin by lining an 8×8-inch square baking dish with parchment paper, making sure there’s some extra hanging over the edges. This little trick makes it a breeze to lift the bars out later, keeping the final product looking beautiful (and making cleanup simple!).
Step 2: Melt Chocolate and Peanut Butter
In a large microwave-safe bowl, combine the semi-sweet chocolate chips and creamy peanut butter. Microwave in 30-second bursts, stirring in between each interval, until the mixture melts completely and becomes glossy and smooth. Be careful not to overheat—gentle melting keeps everything velvety instead of dry or grainy.
Step 3: Stir in Vanilla and Salt
Once your chocolate and peanut butter are melted to perfection, stir in the vanilla extract and a pinch of salt. These simple additions really round out the flavor, taking the Homemade Crunch Bars Recipe from simply sweet to totally crave-worthy.
Step 4: Add the Crisp
Gently fold in the crispy rice cereal, making sure each puffed grain gets a generous coating of the luscious chocolate mixture. Take your time with this step—the more evenly coated, the better that classic crunch!
Step 5: Spread and Chill
Pour the mixture into your prepared pan, and use a spatula to spread it evenly. Lightly press down to smooth the top without crushing those precious crispy bits. Pop the dish in the refrigerator for at least an hour, or until everything is set and holds together beautifully.
Step 6: Slice and Enjoy
Once the bars are firm, grab the parchment overhang and lift the whole block out of the pan. Use a sharp knife to slice into 16 even bars. Enjoy immediately, or store for later when you need a sweet (and satisfyingly crunchy) treat.
How to Serve Homemade Crunch Bars Recipe
Garnishes
Dress up your Homemade Crunch Bars Recipe with a light dusting of powdered sugar, a drizzle of melted dark chocolate, or even a sprinkle of flaky sea salt for a gourmet touch. A few chopped roasted peanuts on top can also add a beautiful contrast and extra crunch.
Side Dishes
These bars pair perfectly with a scoop of vanilla ice cream or a chilly glass of milk. For grown-up gatherings, serve them alongside a cup of hot espresso or coffee for a delightful sweet-and-bitter interplay.
Creative Ways to Present
Cut your bars into fun shapes with cookie cutters or stack them in a rustic tower for a playful display. If you’re gifting, try wrapping each bar in wax paper and tying with a bit of twine—total nostalgia in a package! Homemade Crunch Bars Recipe also makes a fabulous addition to cookie platters or dessert buffets.
Make Ahead and Storage
Storing Leftovers
Keep leftover bars in an airtight container—either at room temperature for a slightly softer texture or in the refrigerator for a snappy, firm bite. They’ll stay fresh for about a week, making them easy to grab for quick snacks or lunchbox treats.
Freezing
If you want to make a big batch ahead of time, the Homemade Crunch Bars Recipe freezes beautifully. Layer bars between sheets of parchment paper in a freezer-safe container and freeze for up to two months. Let them thaw at room temperature for a few minutes before enjoying.
Reheating
These bars are best enjoyed cold or at room temperature, so no reheating required! However, if you prefer them a little softer, just leave them out on the counter for 15 minutes before serving.
FAQs
Can I use dark chocolate instead of semi-sweet?
Absolutely! Dark chocolate adds a rich, slightly bitter edge that pairs wonderfully with peanut butter. It’s a great way to tailor the Homemade Crunch Bars Recipe to your own taste or dietary preference.
Is there a substitute for peanut butter?
Yes! Almond butter, sunflower seed butter, or even cookie butter work well if you or a loved one has a peanut allergy. Just make sure your choice is creamy for easy mixing.
Do I have to use parchment paper?
Parchment paper truly makes life easier when lifting the bars from the pan and prevents sticking, but if you don’t have any, lightly greasing the dish will work in a pinch. The edges might be a little trickier to cut neatly, but they’ll taste just as wonderful.
How do I get clean slices without the bars crumbling?
The trick is to use a sharp knife and, if stored in the fridge, let the bars sit out for a minute or two to soften slightly before slicing. Wipe your knife clean between cuts for those perfect, bakery-style bars.
Can kids help with this recipe?
Definitely! Since there’s no oven or stove involved, this Homemade Crunch Bars Recipe is a fantastic way to get kids involved in the kitchen. Stirring, pressing, and even decorating will keep little hands happily busy (and taste-testing along the way is a bonus!).
Final Thoughts
If you’re looking for a quick, crowd-pleasing treat with just the right combination of nostalgia, crunch, and chocolatey goodness, you can’t go wrong with the Homemade Crunch Bars Recipe. Simple to make, fun to share, and impossible to resist, these bars are just waiting to become a new family favorite. Give them a try and see for yourself why they’re worth making again and again!
Print
Homemade Crunch Bars Recipe
- Total Time: 1 hour 10 minutes
- Yield: 16 bars 1x
- Diet: Vegetarian
Description
Indulge in the delightful crunch and rich chocolate flavor of these Homemade Crunch Bars. Made with just a few simple ingredients, these no-bake treats are perfect for satisfying your sweet tooth.
Ingredients
For the Homemade Crunch Bars:
- 2 cups semi-sweet chocolate chips
- 1/2 cup creamy peanut butter
- 2 1/2 cups crispy rice cereal
- 1 teaspoon vanilla extract
- pinch of salt
Instructions
- Prepare the Chocolate Mixture: Line an 8×8-inch square baking dish with parchment paper. In a microwave-safe bowl, melt the chocolate chips and peanut butter in 30-second intervals, stirring until smooth.
- Combine Ingredients: Stir in the vanilla extract and salt. Add the crispy rice cereal, folding gently to coat.
- Set the Bars: Spread the mixture in the prepared dish, refrigerate for at least 1 hour until firm.
- Serve: Lift the block out, slice into bars, and enjoy!
Notes
- Experiment with different types of chocolate for varied flavors.
- Store bars in the fridge for a firmer texture.
- Prep Time: 10 minutes
- Cook Time: 0 minutes
- Category: Dessert
- Method: No-Bake
- Cuisine: American
Nutrition
- Serving Size: 1 bar
- Calories: 160
- Sugar: 11g
- Sodium: 55mg
- Fat: 9g
- Saturated Fat: 4g
- Unsaturated Fat: 4g
- Trans Fat: 0g
- Carbohydrates: 18g
- Fiber: 1g
- Protein: 2g
- Cholesterol: 0mg