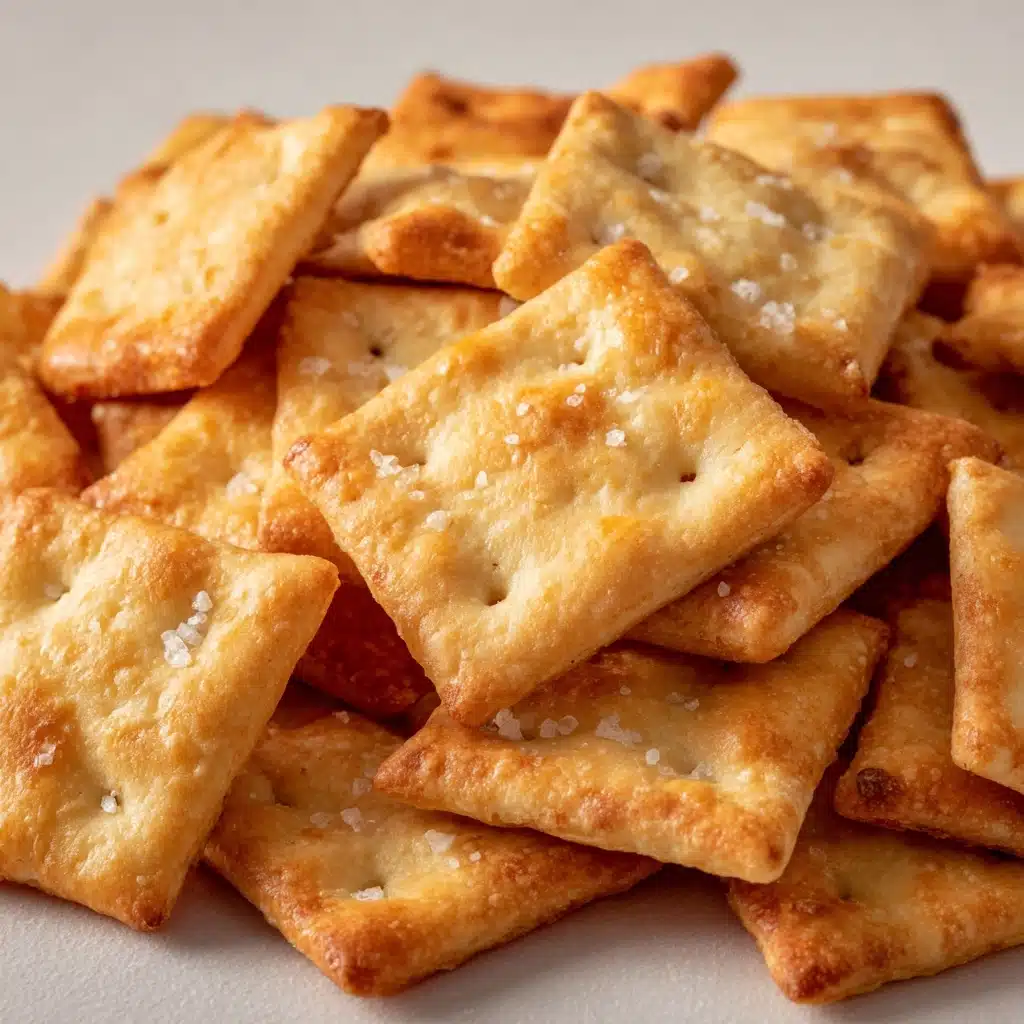
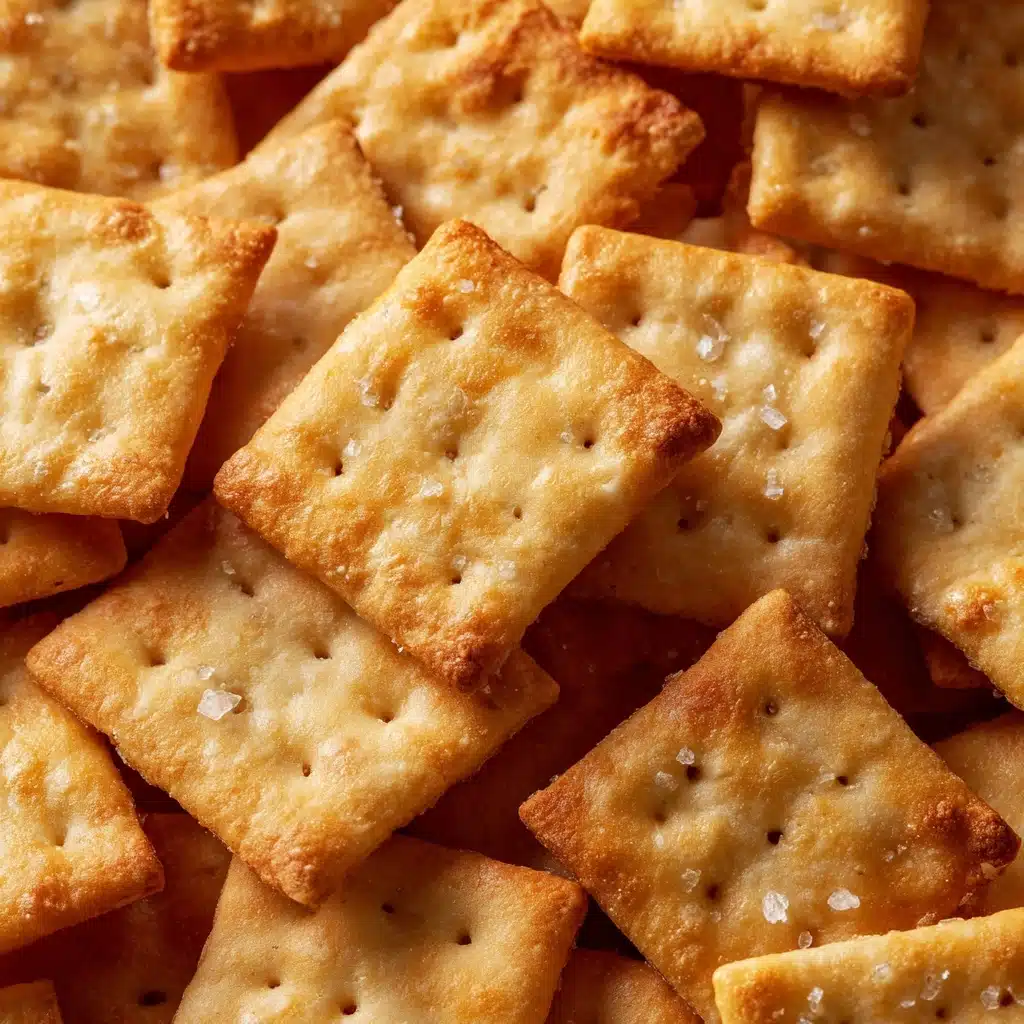
Homemade Cheez-Its Recipe
If you have a weakness for cheesy, crunchy snacks but wish you could skip all the preservatives, this Homemade Cheez-Its recipe is about to become your new obsession. Imagine bite-sized golden crackers bursting with real sharp cheddar flavor, perfectly crisped in your very own kitchen—it’s a game changer! These tasty little squares offer everything you love about the classic snack but with wholesome, simple ingredients you can actually pronounce. Your snack game is about to get a whole lot more exciting!
Ingredients You’ll Need
Ingredients You’ll Need
The beauty of Homemade Cheez-Its lies in just how simple and easy-to-find each ingredient is, yet each one is crucial in creating their signature bite. Every element brings something to the table, from bold flavor to that snappy, irresistible crunch!
- Sharp cheddar cheese (8 oz, shredded): Provides that iconic tang and vibrant orange hue—always opt for a good-quality block and shred it yourself for the best melt and flavor.
- Unsalted butter (4 tablespoons, chilled and cubed): Adds richness and helps create a flaky, tender crumb you’ll crave with every bite.
- All-purpose flour (1 cup): Gives the crackers their classic structure and the crisp texture you expect from a Cheez-It.
- Salt (1/2 teaspoon): Enhances all that bold cheese flavor and balances out the richness.
- Cold water (2–3 tablespoons): Brings the dough together—add just enough for a perfect, cohesive texture without making it sticky.
- Flaky salt (for sprinkling): Delivers that irresistible salty punch on top and a satisfying crunch in every bite.
How to Make Homemade Cheez-Its
Step 1: Create the Dough Base
Start by grabbing your food processor, which makes this process a breeze. Add the freshly shredded cheddar cheese, cubes of cold butter, flour, and salt. Pulse everything together just until the mixture resembles coarse crumbs. This ensures the butter stays cold, which is key for that flaky cracker texture. Don’t overmix—short, quick pulses will do the trick!
Step 2: Bring It All Together
With the processor running, slowly drizzle in cold water, one tablespoon at a time. You want to add just enough so the dough starts to form large clumps but isn’t overly wet. It should only take two or three tablespoons. Once combined, stop immediately to keep everything nice and tender.
Step 3: Chill the Dough
Scoop the dough out, shape it into a flat disc, and wrap it up tight in plastic wrap. Pop it in the fridge for at least one hour. This step is crucial for two reasons: the dough rests so the flour hydrates and the butter stays cold, both of which are secrets to pulling off truly crunchy Homemade Cheez-Its!
Step 4: Roll and Cut
Preheat your oven to 375°F (190°C) and line two baking sheets with parchment paper. Let the dough rest for a minute or two on the counter, then roll it out on a lightly floured surface until it’s super thin—no thicker than 1/8 inch. Use a pastry wheel, pizza cutter, or sharp knife to slice it into 1-inch squares. For that iconic look, use a skewer or toothpick to poke a small hole right in the center of each square.
Step 5: Sprinkle and Bake
Gently transfer your squares to the prepared baking sheets, leaving just a little space between each. Lightly sprinkle with flaky salt, then slide them into the oven. Bake for 12–15 minutes, watching closely near the end—they should be golden and crisp, not brown. Let them cool completely before devouring or storing! Homemade Cheez-Its get even crunchier as they cool.
How to Serve Homemade Cheez-Its
Garnishes
Dress up your Homemade Cheez-Its with a dusting of smoked paprika, garlic powder, or even a mix of dried herbs for a flavor twist. For a grown-up snack, try a drizzle of melted butter and a sprinkle of fresh cracked black pepper as soon as they come out of the oven. It’s the easy way to tweak every batch to match your mood.
Side Dishes
Homemade Cheez-Its are a crunchy superstar on any snack board—pair them with crisp apple slices, grapes, or tangy pickles for a delightful contrast. They also make fantastic companions to hearty soups or creamy tomato bisque, providing that perfect crunchy dipper you didn’t know you needed.
Creative Ways to Present
For parties or picnic spreads, pile Homemade Cheez-Its in small mason jars or colorful bowls. You can even create little snack cones using parchment for a grab-and-go treat. For lunchboxes, tuck a handful into reusable pouches for a homemade twist on store-bought snack packs. They also make a memorable edible gift stacked in a festive tin!
Make Ahead and Storage
Storing Leftovers
Store any leftover Homemade Cheez-Its in an airtight container at room temperature. They’ll stay crunchy and delicious for up to five days—if you manage not to eat them all before then! Try to keep them away from humidity for the best texture.
Freezing
You can absolutely freeze Homemade Cheez-Its for longer storage. Place cooled crackers in a freezer-safe bag or container, and they’ll keep for up to three months. Make sure they’re completely cool before freezing to prevent any ice crystals from forming.
Reheating
If your crackers lose their crisp after storage or thawing, simply spread them on a baking sheet and pop them into a 300°F oven for 3-5 minutes. Let them cool completely before enjoying for that just-baked, crunchy texture all over again.
FAQs
Can I use pre-shredded cheese?
While you can, I highly recommend shredding cheese fresh from a block for Homemade Cheez-Its. Pre-shredded cheese often contains anti-caking agents that can affect texture and flavor. Fresh-shredded cheddar melts beautifully and makes your crackers extra delicious.
What if I don’t have a food processor?
No worries! You can use a pastry cutter or even two forks to cut the butter and cheese into the flour and salt. It may take a little more elbow grease, but you’ll still get lovely, flaky crackers.
How do I keep them crisp?
The best way is to store Homemade Cheez-Its in a truly airtight container, and cool them fully before putting them away. For a quick crisp-up, a few minutes in a preheated oven will restore their crunchy magic if they soften over time.
Can I add different spices to the dough?
Absolutely! Paprika, cayenne pepper, onion powder, or dried Italian herbs can all jazz up Homemade Cheez-Its and give each batch a unique personality. Use your favorites or experiment to make the crackers your own.
Are Homemade Cheez-Its gluten free?
As written, this recipe uses all-purpose flour and is not gluten free. However, feel free to try with your favorite cup-for-cup gluten-free flour blend—just know the texture might change a bit, but the cheesy flavor will still shine.
Final Thoughts
Sharing Homemade Cheez-Its with friends and family is such a joyful, satisfying experience, and I can’t wait for you to discover just how easy and rewarding it is to make them yourself. Roll up your sleeves, grab your favorite cheese, and savor the unbeatable crunch and flavor of this homemade classic. Happy snacking!
Print
Homemade Cheez-Its Recipe
- Total Time: 1 hour 35 minutes
- Yield: 8 servings (about 80 crackers) 1x
- Diet: Vegetarian
Description
Learn how to make Homemade Cheez-Its, a delicious snack that’s easy to prepare and perfect for cheese lovers. These crispy cheddar crackers are a great alternative to store-bought versions, with a rich, savory flavor that will keep you coming back for more.
Ingredients
For the crackers:
- 8 oz sharp cheddar cheese, shredded
- 4 tablespoons unsalted butter, chilled and cubed
- 1 cup all-purpose flour
- 1/2 teaspoon salt
- 2–3 tablespoons cold water
- flaky salt for sprinkling
Instructions
- Prepare the dough: In a food processor, combine the shredded cheddar cheese, butter, flour, and salt. Pulse until the mixture looks like coarse crumbs.
- Add water: Add cold water, one tablespoon at a time, and pulse until the dough just comes together.
- Chill the dough: Shape the dough into a disc, wrap in plastic wrap, and refrigerate for at least 1 hour.
- Preheat the oven: Preheat the oven to 375°F (190°C) and line two baking sheets with parchment paper.
- Roll out the dough: Roll out the chilled dough on a lightly floured surface until very thin, about 1/8 inch.
- Cut into squares: Use a pastry wheel or sharp knife to cut the dough into small squares, about 1 inch each. Poke a small hole in the center of each square.
- Bake: Transfer the squares to the baking sheets, sprinkle with flaky salt, and bake for 12–15 minutes until crisp and golden brown.
- Cool and store: Let the crackers cool completely before storing in an airtight container.
Notes
- For extra flavor, add a pinch of paprika, cayenne, or garlic powder to the dough.
- Store the crackers in an airtight container at room temperature for up to 5 days.
- To keep them extra crisp, reheat in the oven at 300°F for a few minutes before serving.
- Prep Time: 20 minutes (plus 1 hour chilling)
- Cook Time: 15 minutes
- Category: Snack
- Method: Baking
- Cuisine: American
Nutrition
- Serving Size: about 10 crackers
- Calories: 160
- Sugar: 0g
- Sodium: 210mg
- Fat: 11g
- Saturated Fat: 7g
- Unsaturated Fat: 3g
- Trans Fat: 0g
- Carbohydrates: 10g
- Fiber: 0g
- Protein: 5g
- Cholesterol: 30mg