Traditional Kosher Dill Pickles Recipe
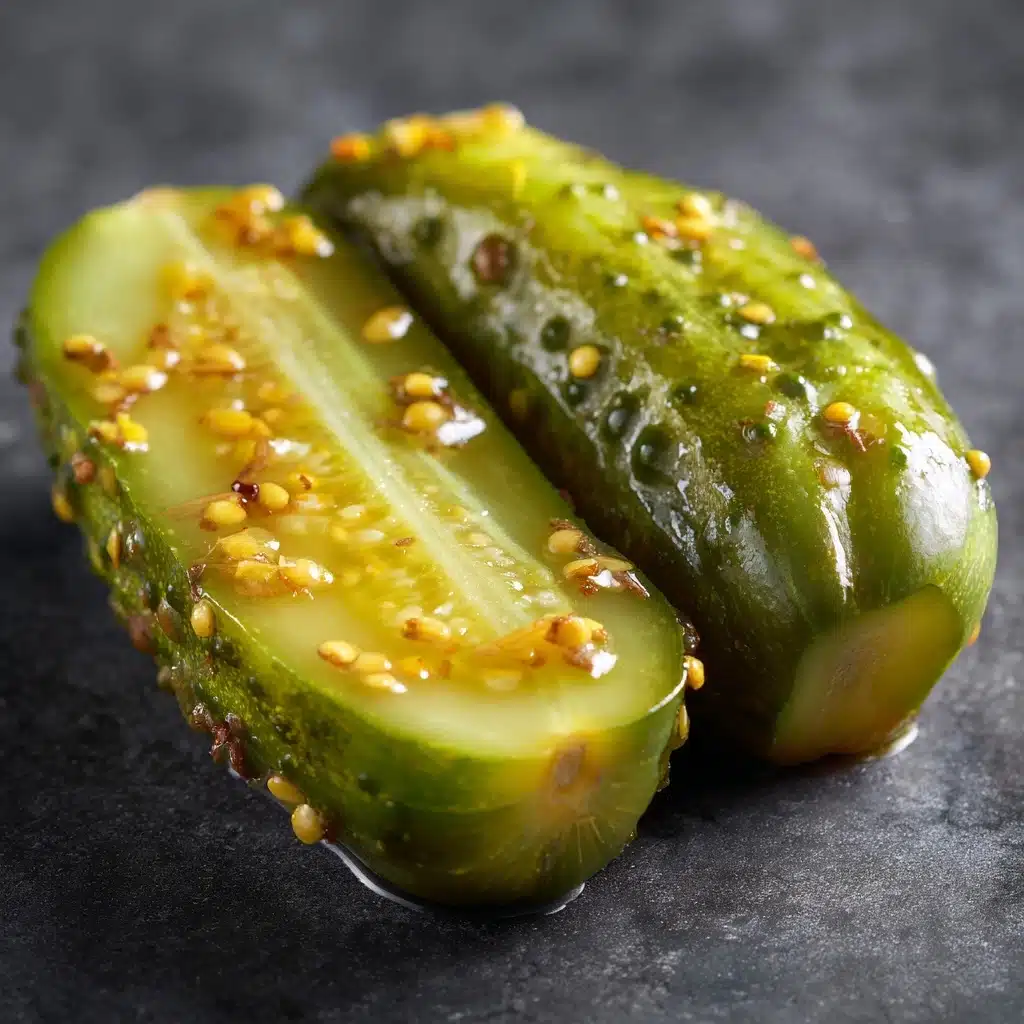
Get ready to experience a burst of tangy, garlicky, and herbaceous flavor with these Traditional Kosher Dill Pickles. This classic recipe transforms crisp cucumbers into crunchy, briny pickles that are perfect for snacking, stacking on sandwiches, or brightening up any meal. There’s nothing quite like watching your own jars of pickles cure in the fridge, knowing you’ve crafted a savory treat that rivals anything from your favorite deli. Every bite is a nostalgic nod to old-fashioned techniques and simple, honest ingredients.
Ingredients You’ll Need
Making Traditional Kosher Dill Pickles is all about quality, fresh ingredients and a few pantry staples. Each component plays a special role in creating that unmistakable sour snap, signature garlicky aroma, and vibrant green color that pickle lovers crave.
- Pickling cucumbers: Choose small, firm, unwaxed cucumbers for maximum crunch and classic pickle texture.
- Water: Acts as the base for the brine, helping all the flavors meld together beautifully.
- Kosher salt (non-iodized): Essential for the brine; it seasons and preserves without clouding the liquid.
- Whole black peppercorns: Add a subtle peppery warmth that complements the tangy brine.
- Mustard seeds: Infuse the pickles with a gentle, earthy heat and classic deli flavor.
- Red pepper flakes (optional): For those who want a hint of heat, this is the perfect touch.
- Garlic cloves: Smashed garlic is key for that pungent, irresistible aroma and flavor.
- Fresh dill sprigs or dried dill seed: The signature herb—fresh sprigs give a lovely color and aroma, while dried seed offers a punchier dill note.
- Bay leaf (optional): Adds a subtle depth and complexity to the brine.
How to Make Traditional Kosher Dill Pickles
Step 1: Prep the Cucumbers
Start by giving your cucumbers a thorough wash, making sure to scrub off any dirt. Trim off the blossom ends—this tiny step keeps your pickles crisp by removing enzymes that can soften them during pickling. If you like, you can slice your cucumbers into spears or rounds, but for an authentic experience, leave them whole and pack them standing tall in the jars.
Step 2: Make the Brine
In a large saucepan, combine the water and kosher salt. Bring to a boil, stirring until the salt dissolves completely. This flavorful liquid is what transforms ordinary cucumbers into Traditional Kosher Dill Pickles. Once the salt is dissolved, take the pan off the heat and let the brine cool to room temperature. Hot brine can cook the cucumbers slightly, so patience pays off here!
Step 3: Pack the Jars
Grab your clean quart-size glass jars—usually two or three will do the trick. Divide the garlic, peppercorns, mustard seeds, red pepper flakes (if using), dill, and bay leaf among the jars. Next, pack the cucumbers in tightly, standing them upright for a picture-perfect look. This helps maximize space and ensures every cucumber gets cozy with the spices.
Step 4: Add the Brine
Slowly pour the cooled brine over the cucumbers, making sure they’re completely submerged. Leave about half an inch of headspace at the top of each jar. This breathing room is important as the flavors develop. If you have any leftover brine, save it for your next batch or to top off the jars if needed.
Step 5: Refrigerate and Wait
Seal the jars with their lids and pop them into the fridge. The magic begins now! Let the pickles sit for at least three days, but if you can wait five to seven days, you’ll be rewarded with the full flavor of truly authentic Traditional Kosher Dill Pickles. Give the jars a gentle shake each day to make sure every cucumber gets its fair share of flavor.
How to Serve Traditional Kosher Dill Pickles
Garnishes
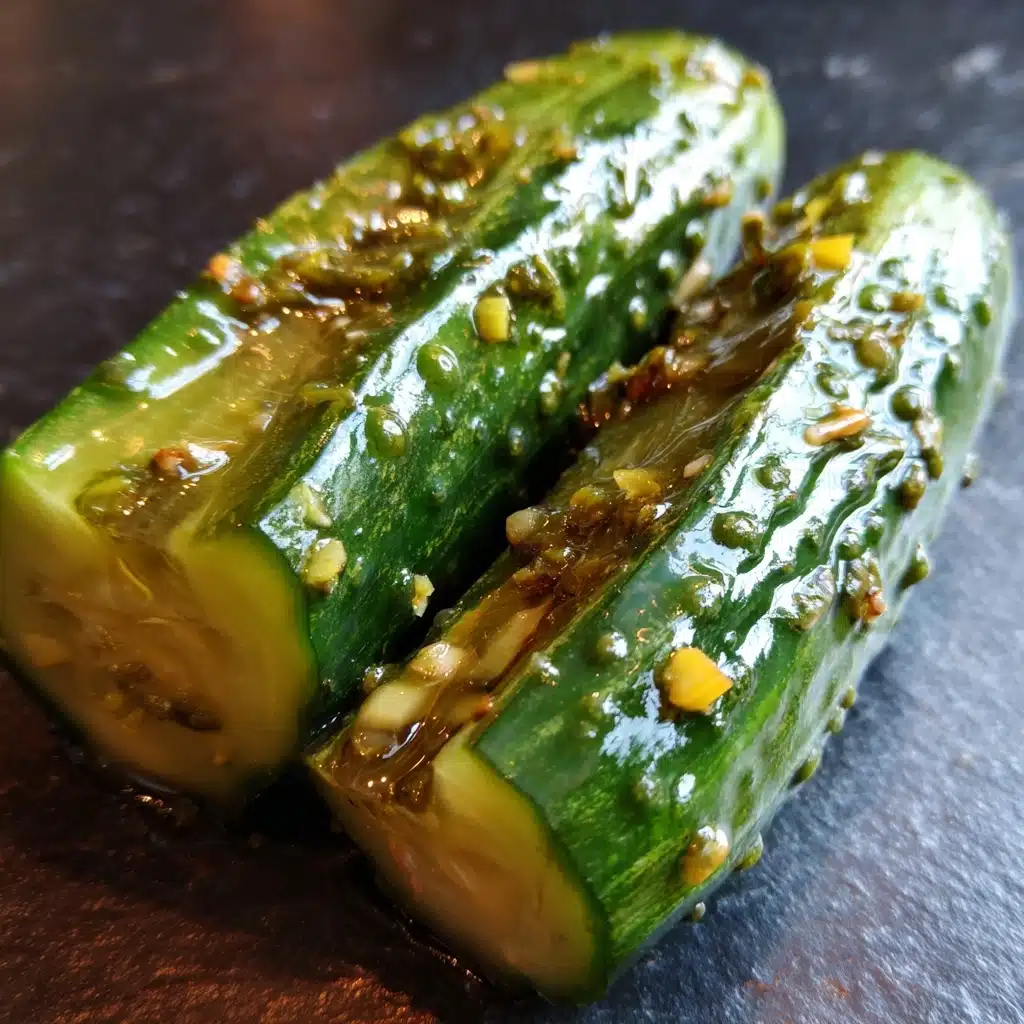
Traditional Kosher Dill Pickles hardly need embellishment, but a sprinkle of freshly chopped dill or a few extra black peppercorns on top before serving can really make them pop. For a deli-style touch, add a slice of garlic or a sprig of dill to the serving plate for color and aroma.
Side Dishes
These pickles are classic alongside pastrami or corned beef sandwiches, potato salads, or burgers. They’re also wonderful with grilled cheese, roasted meats, or even as a tangy counterpoint to creamy hummus and pita. A platter of pickles at any gathering disappears quickly!
Creative Ways to Present
Try serving Traditional Kosher Dill Pickles speared on cocktail sticks for parties, or chopped into a vibrant relish for hot dogs and sausages. For a fun twist, slice them into coins and layer into a salad or atop avocado toast for a lively crunch and burst of flavor.
Make Ahead and Storage
Storing Leftovers
Keep your pickles in the refrigerator at all times. As long as they’re submerged in brine and sealed tightly, Traditional Kosher Dill Pickles will stay crisp and flavorful for up to a month. Always use clean utensils to avoid introducing bacteria into the jars.
Freezing
Freezing isn’t recommended for these pickles, as it will change their crisp texture and could make them mushy once thawed. For the best results, savor them straight from the fridge while they’re at their peak freshness.
Reheating
There’s no need to reheat Traditional Kosher Dill Pickles. They’re meant to be enjoyed cold, straight from the jar. If you’re using them in a cooked recipe, just add them at the end to keep their snap and bright flavor intact.
FAQs
Why do I need to use kosher or pickling salt?
Kosher or pickling salt is free from additives that can cloud the brine and subtly alter the taste, so your Traditional Kosher Dill Pickles stay crisp and clear-flavored every time.
Can I reuse the brine for another batch?
It’s best not to reuse brine, as it can become diluted or contaminated over time. For safety and flavor, always make a fresh batch of brine for new cucumbers.
How do I make my pickles extra crunchy?
Start with the freshest cucumbers you can find, trim the blossom ends, and keep them cold during pickling. Some people even add a grape or oak leaf to the jar, but this recipe delivers plenty of crunch as is!
Is it safe to let these pickles ferment at room temperature?
If you’d like a fermented version, omit any vinegar and let the jars sit at room temperature for 5 to 7 days, checking daily. Once they reach your desired flavor, move them to the fridge. Always monitor for off-odors or mold.
Can I add other spices or veggies?
Absolutely! Feel free to experiment with coriander seeds, celery seed, or even a few slices of hot chili pepper. Carrot sticks, cauliflower florets, or green beans also take beautifully to this brine.
Final Thoughts
If you’ve ever wanted to create a deli-style treat at home, Traditional Kosher Dill Pickles are a wonderful place to start. Their tangy crunch, bold flavors, and satisfying simplicity will have you reaching for another spear before you know it. Give it a try—you’ll never look at store-bought pickles the same way again!
Print
Traditional Kosher Dill Pickles Recipe
- Total Time: 20 minutes plus 3–7 days pickling time
- Yield: 2–3 jars (approximately 12 servings) 1x
- Diet: Vegetarian
Description
Traditional Kosher Dill Pickles are crisp, tangy, and perfectly seasoned pickles made using small, firm cucumbers and a classic blend of spices and fresh dill. This easy refrigerator pickle recipe requires no fermentation and yields delicious homemade pickles packed with bold flavors, ideal for sandwiches, snacks, or as a condiment.
Ingredients
Pickles
- 2 pounds pickling cucumbers (small, firm, and unwaxed)
Brine
- 4 cups water
- 1/4 cup kosher salt (non-iodized)
Spices and Flavorings
- 1 tablespoon whole black peppercorns
- 1 tablespoon mustard seeds
- 1/2 teaspoon red pepper flakes (optional)
- 6 cloves garlic, peeled and smashed
- 4–6 fresh dill sprigs or 2 tablespoons dried dill seed
- 1 bay leaf (optional)
Instructions
- Prepare the cucumbers: Wash the cucumbers thoroughly and trim the blossom ends to prevent softening during pickling. This helps maintain their crisp texture.
- Make the brine: In a large saucepan, combine the water and kosher salt. Bring to a boil while stirring to ensure the salt dissolves completely. Remove from heat and allow the brine to cool to room temperature to avoid cooking the cucumbers.
- Fill the jars: In clean quart-size glass jars (about 2–3 jars), distribute the garlic cloves, peppercorns, mustard seeds, red pepper flakes if using, dill sprigs or seeds, and bay leaf evenly.
- Pack cucumbers: Pack the cucumbers tightly into the jars, standing them upright if possible, to optimize space and flavor infusion. The cucumbers should be snug but not crushed.
- Add the brine: Carefully pour the cooled brine over the cucumbers, ensuring they are completely submerged. Leave about 1/2 inch of headspace at the top to allow for expansion.
- Seal and refrigerate: Screw the lids onto the jars tightly and refrigerate. Shake the jars gently once a day to evenly distribute the spices and flavor.
- Wait and enjoy: Allow the pickles to sit in the refrigerator for at least 3 days before tasting. For best flavor and crunch, let them pickle for 5–7 days.
Notes
- Use only kosher or pickling salt, as iodized salt can cloud the brine and alter the flavor.
- These are refrigerator pickles and should be kept chilled to maintain freshness and safety.
- For a fermented pickle variation, omit the vinegar and leave the jars at room temperature for 5–7 days before refrigerating.
- Adjust the amount of red pepper flakes for preferred spice level or omit entirely for mild pickles.
- Prep Time: 15 minutes
- Cook Time: 5 minutes
- Category: Condiment
- Method: No-Cook, Pickling
- Cuisine: Jewish, American
Nutrition
- Serving Size: 1 pickle
- Calories: 5
- Sugar: 0g
- Sodium: 310mg
- Fat: 0g
- Saturated Fat: 0g
- Unsaturated Fat: 0g
- Trans Fat: 0g
- Carbohydrates: 1g
- Fiber: 0g
- Protein: 0g
- Cholesterol: 0mg
