Homemade Sourdough Starter from Scratch Recipe
If you have ever dreamed of baking the most delicious, tangy, and complex loaves of bread right in your own kitchen, then this Homemade Sourdough Starter from Scratch Recipe is your golden ticket. There is something truly magical about cultivating your own wild yeast starter, a bubbling living culture that transforms simple flour and water into the foundation of rustic bread with incredible flavor and texture. This recipe guides you gently through the nurturing process, ensuring your starter is vibrant, resilient, and ready to create those mouthwatering artisan loaves you’ve always wanted to bake. Embrace the adventure of fermentation and watch your kitchen fill with the welcoming scent of sourdough spirit!

Ingredients You’ll Need
To create a lively and effective sourdough starter, you’ll need just a couple of simple ingredients that work harmoniously to kickstart fermentation. Each plays an essential role in providing nourishment and an ideal environment for the natural yeast and bacteria to flourish.
- 1 cup (120g) all-purpose flour: The base of your starter, this flour supplies the wild yeast and bacteria with starches and nutrients needed to grow.
- 1/2 cup (120g) filtered or dechlorinated water: Clean water free of chlorine and additives helps keep your starter healthy and active during fermentation.
How to Make Homemade Sourdough Starter from Scratch Recipe
Step 1: Mixing Your Flour and Water
Begin by placing the all-purpose flour and filtered water into a clean glass or plastic container. Stir them together thoroughly until you get a thick, smooth batter without any dry spots. Make sure to scrape the mixture down the sides for even consistency. Cover the container loosely with a lid or a clean cloth to allow air circulation while keeping contaminants out. Leave it at room temperature, ideally between 70 and 75 degrees Fahrenheit, for 24 hours to give the wild yeast a chance to get started.
Step 2: Checking and Feeding on Day 2
After 24 hours, you may notice some bubbles forming, but it is entirely normal if you don’t. Regardless, it is time to discard half of your starter — about 1/2 cup — and feed the remaining mixture with 1 cup of fresh flour and 1/2 cup of water. Mix everything thoroughly, cover again, and let it rest for another 24 hours. This feeding process jumpstarts the yeast’s activity and encourages a robust ferment.
Step 3: Daily Feedings from Days 3 to 7
Keep repeating the feeding routine every 24 hours by discarding half of the starter and replenishing it with equal parts fresh flour and water. By the fourth or fifth day, you should see your starter bubbling vigorously and rising in volume. The aroma will develop a tangy, yeasty smell that confirms healthy fermentation. Remember, if your kitchen tends to be cooler, the process might take a little longer to reach maturity, so be patient and consistent.
Step 4: Recognizing When Your Starter Is Ready
Your starter is mature when it consistently doubles in size within 4 to 6 hours of feeding. At this point, it’s full of life and can be used to bake beautiful sourdough bread. Store it in the refrigerator if you’re not baking daily, and feed it once a week to keep your starter happy and active.
How to Serve Homemade Sourdough Starter from Scratch Recipe

Garnishes
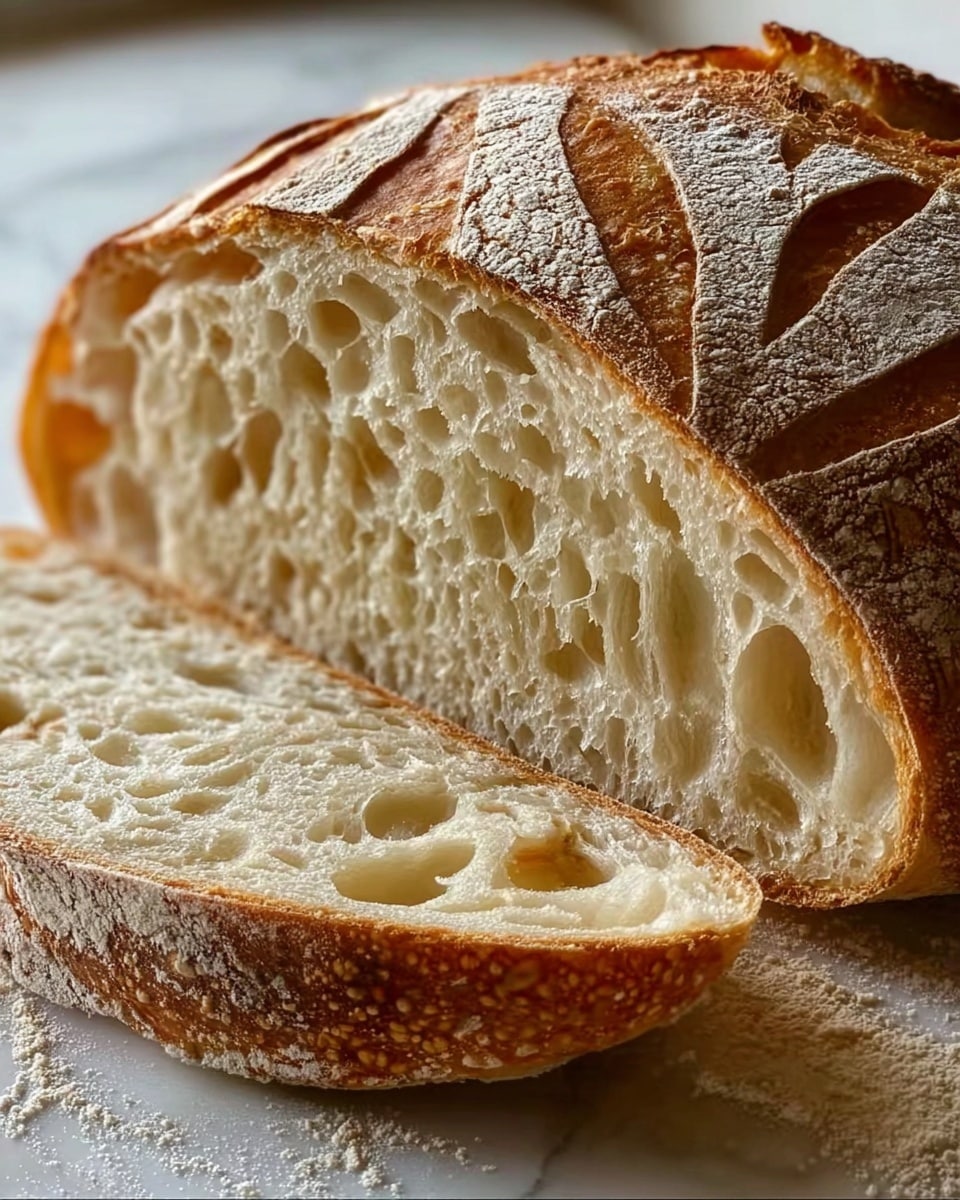
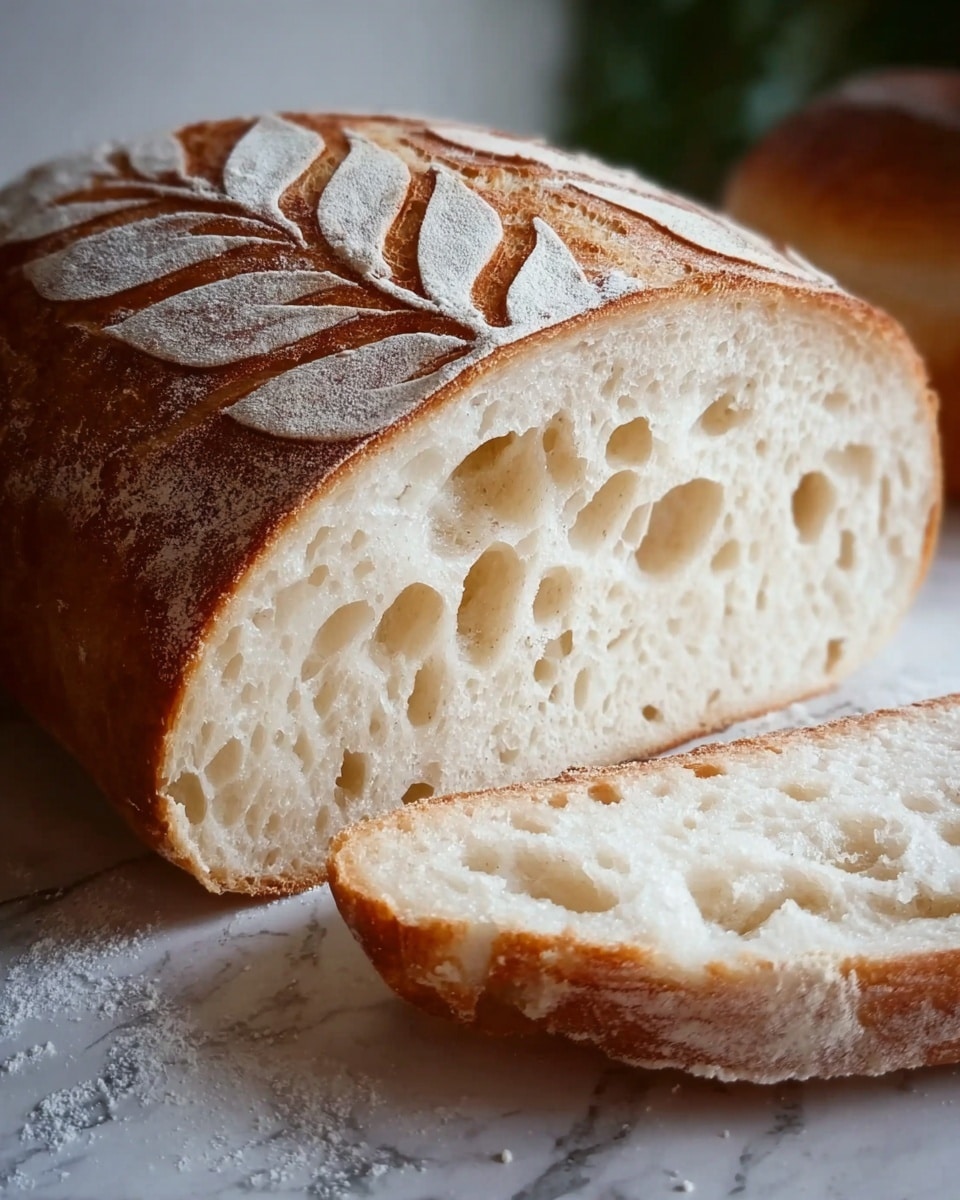
While the starter itself is not something you traditionally garnish, the breads you bake from it open up a world of delightful finishing touches. Sprinkle your sourdough crust with coarse sea salt or toasted seeds right before baking to add texture and flavor, making each bite an irresistible treat.
Side Dishes
Sourdough bread made from your starter pairs beautifully with an array of sides. Think rich, creamy soups like tomato bisque or velvety butternut squash, fresh garden salads with zesty vinaigrettes, or even a simple olive oil and balsamic dip. Its tangy depth enhances whatever you serve alongside it.
Creative Ways to Present
Elevate your homemade sourdough by slicing it thickly and toasting it for bruschetta topped with ripe tomatoes and basil, or layering it in a rustic sandwich bursting with seasonal vegetables and spreads. You can also turn your loaf into crispy croutons, perfect for adding crunch and flavor to salads and soups.
Make Ahead and Storage
Storing Leftovers
If you have more starter than you need for baking, don’t worry. The beauty of this Homemade Sourdough Starter from Scratch Recipe is that you can keep it thriving by storing it in an airtight container in the refrigerator. Just remember to feed it weekly to maintain its vigor and prevent spoilage.
Freezing
While not ideal for long-term maintenance, you can freeze your starter if you need to take a break. Freeze it in a sealed, freezer-safe container. When you’re ready to bake again, thaw it slowly in the refrigerator and resume regular feedings to reactivate the wild yeast.
Reheating
Your starter doesn’t require reheating in the traditional sense. Instead, bring it to room temperature before feeding and baking to encourage yeast activity. Gently stirring before use helps distribute the natural gases and keeps your starter lively and ready for bread-making.
FAQs
How long does it take to develop a sourdough starter from scratch?
Creating a vibrant sourdough starter usually takes about 5 to 7 days of daily feedings. This timeframe allows the natural yeasts and bacteria to establish a balanced and active culture suitable for baking.
Can I use tap water instead of filtered water for my starter?
It’s best to use filtered or dechlorinated water because chlorine in tap water can inhibit the fermentation process and slow down or kill the beneficial microbes in your starter.
What should I do if my starter smells unpleasant?
A healthy sourdough starter has a pleasant, tangy, yeasty smell. If it smells rotten or unusually foul, it could be contaminated. Discard the starter and begin again, ensuring all utensils and containers are clean and that you follow the feeding schedule closely.
Is it necessary to discard part of the starter during feedings?
Yes, discarding half of the starter before each feeding keeps the acidity balanced and prevents the starter from growing too large. It also refreshes the environment for yeast growth, yielding stronger fermentation.
Can I use whole wheat flour instead of all-purpose flour?
Absolutely! Using whole wheat flour for the first few feedings can boost fermentation because it contains more nutrients and wild yeast. After your starter is established, you can switch back to all-purpose flour if you prefer.
Final Thoughts
Getting started with this Homemade Sourdough Starter from Scratch Recipe is an exciting journey that opens up a world of baking possibilities. By nurturing your own living starter, you’re not only crafting a flavorful base for delicious bread but also connecting with an ancient culinary tradition. So grab your flour and water, commit to some daily care, and prepare to delight friends and family with the irresistible charm of homemade sourdough. You’ll be amazed at how rewarding this experience can be!
Print
Homemade Sourdough Starter from Scratch Recipe
- Total Time: 7 days
- Yield: 1 sourdough starter (about 1 cup active) 1x
- Diet: Vegan
Description
Learn how to create your own sourdough starter using just all-purpose flour and filtered water. This natural fermentation process captures wild yeast and bacteria, resulting in a bubbly, tangy starter that’s perfect for making delicious sourdough breads at home.
Ingredients
Basic Ingredients
- 1 cup (120g) all-purpose flour
- 1/2 cup (120g) filtered or dechlorinated water
Instructions
- Mix Ingredients: In a clean glass or plastic container, combine the flour and water until no dry spots remain and a thick, smooth batter forms. Scrape down the sides, cover loosely with a lid or clean cloth, and let sit at room temperature (70–75°F or 21–24°C) for 24 hours.
- Day 2 Feeding: After 24 hours, you may or may not see bubbles. Discard half the starter (about 1/2 cup), then add 1 cup (120g) all-purpose flour and 1/2 cup (120g) water. Stir thoroughly, cover, and allow to rest at room temperature for another 24 hours.
- Days 3 to 7 Feeding: Repeat the discard and feeding process every 24 hours. By days 4 or 5, the starter should become bubbly, rise in volume, and develop a tangy, yeasty aroma. Timing may vary depending on ambient temperature.
- Ready to Use: When your starter consistently doubles in size within 4–6 hours after feeding, it is mature and ready for baking. Store it in the refrigerator, feeding once weekly if not used daily.
Notes
- Use filtered or dechlorinated water to prevent chlorine from inhibiting fermentation.
- For a boost in fermentation, switch to whole wheat flour for the first few feedings before returning to all-purpose flour.
- Always use clean utensils when feeding or stirring your starter to avoid contamination.
- Keep your starter loosely covered to allow airflow while preventing debris from entering.
- Prep Time: 10 minutes per day
- Cook Time: None
- Category: Bread
- Method: Fermentation
- Cuisine: Global


