No-Bake Mini Key Lime Pies Recipe
If you’re a fan of tangy, creamy desserts that don’t demand you turn on the oven, then this No-Bake Mini Key Lime Pies Recipe is going to become your new go-to. These delightful little treats capture the bright, zesty flavor of key limes balanced perfectly with a rich, velvety filling nestled in a crisp graham cracker crust. Whether you’re entertaining guests or just indulging yourself on a warm afternoon, these mini pies bring sunshine in every bite without the usual fuss of baking.
Ingredients You’ll Need
The magic of this no-bake recipe lies in its simple ingredients that come together effortlessly but deliver incredible flavor and texture. Each component plays a vital role—crisp crust, silky filling, and the perfect hint of sweetness and tartness.
- Graham cracker crumbs: The backbone of your crust, bringing a buttery crunch and a touch of sweetness.
- Melted butter: Binds the crumbs together and adds richness to the crust.
- Granulated sugar: Enhances sweetness to balance the tart key lime juice.
- Sweetened condensed milk: Provides creamy sweetness and smooth texture to the filling.
- Key lime juice: The star ingredient giving the pies their signature bright citrus punch.
- Heavy cream: Adds richness and helps create the luscious filling’s silky mouthfeel.
- Whipped cream: The perfect airy topping that complements the tangy pie beautifully.
How to Make No-Bake Mini Key Lime Pies Recipe
Step 1: Prepare the Crust
Start by combining the graham cracker crumbs, melted butter, and sugar in a bowl. Mix everything until it feels like a little sandy beach in your hands—moist and crumbly but holding together when pressed. This simple combination forms the irresistible base that holds your pie filling.
Step 2: Form the Crusts
Press this mixture firmly into the bottoms of mini tart pans or a muffin tin. Use your fingers or the back of a spoon to compact the crumbs tightly so they hold their shape well. This step is key to getting that firm, crumbly crust that contrasts perfectly with the creamy filling.
Step 3: Whisk the Filling
In a clean bowl, whisk together the sweetened condensed milk, key lime juice, and heavy cream until the mixture turns silky smooth. The bright key lime juice will react with the milk, helping the filling thicken naturally—no baking needed here!
Step 4: Fill the Crusts
Gently spoon the luscious filling into each prepared crust, smoothing the tops with a spoon or spatula. Take a moment to admire these tiny, vibrant pies—they’re almost too pretty to eat, but trust me, you’ll want to dig in right away.
Step 5: Chill Until Set
Place your mini pies in the fridge for at least 2 hours to let the filling firm up properly. Patience here pays off with that perfect texture that isn’t runny but still wonderfully creamy.
Step 6: Add the Whipped Cream Topping
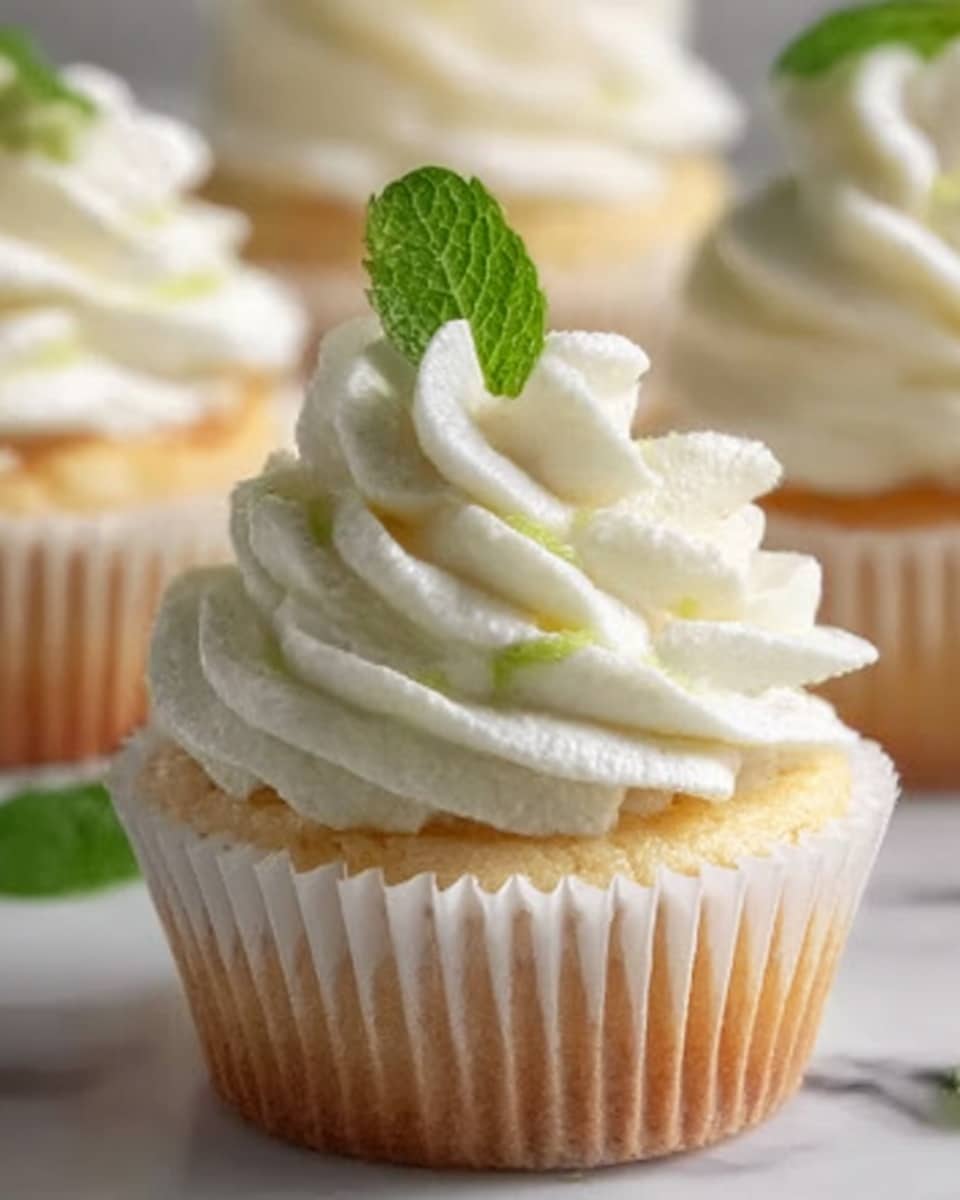
Just before serving, top each pie with a generous dollop of whipped cream for an irresistible finish. It adds a light, fluffy contrast to the bright, velvety filling and gives you that picture-perfect dessert.
How to Serve No-Bake Mini Key Lime Pies Recipe
Garnishes
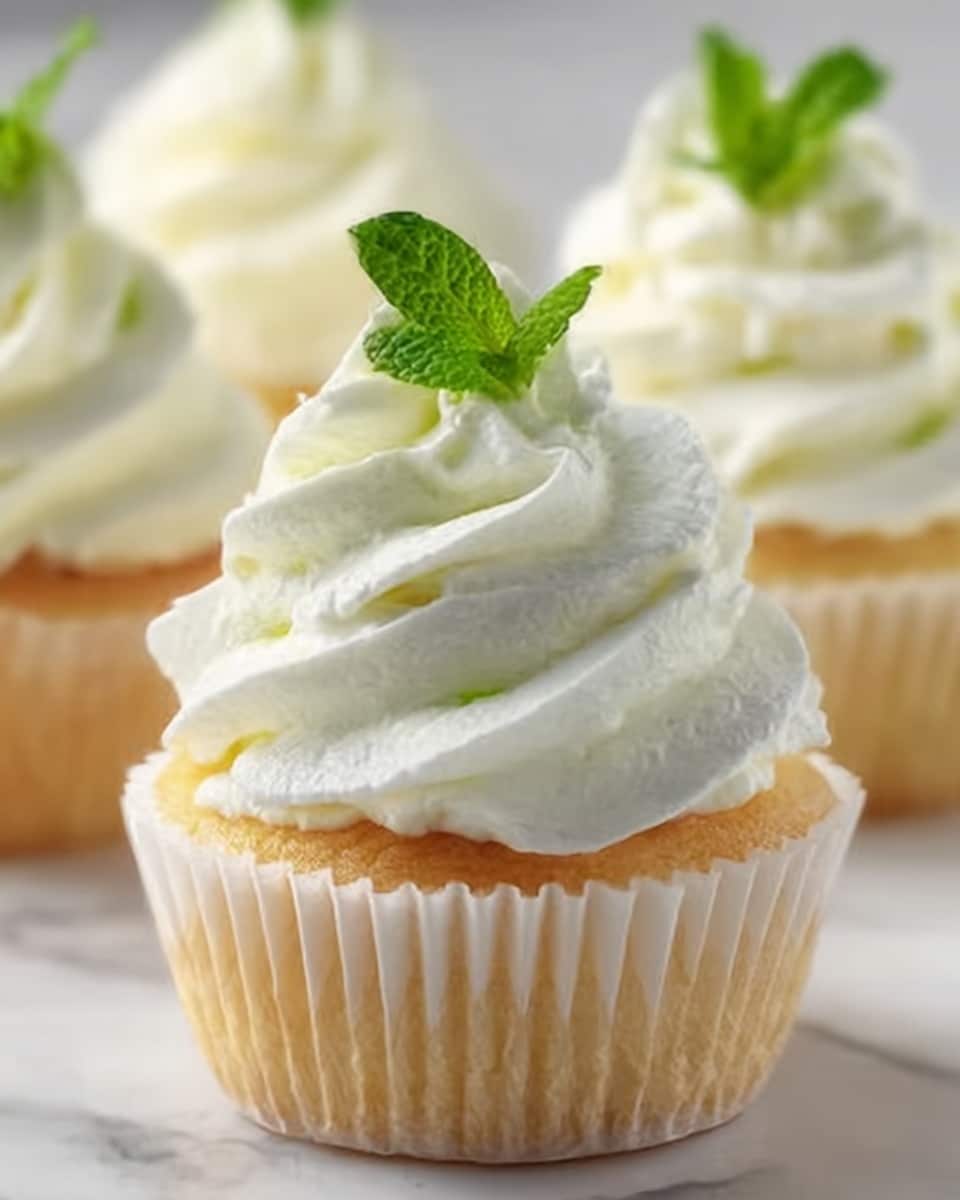
A little garnish can take these mini pies from delightful to stunning. Try adding thin slices of fresh key lime or a sprinkle of finely grated lime zest on top of the whipped cream. A few fresh mint leaves bring a beautiful pop of color and a refreshing aroma too.
Side Dishes
These pies shine best as a standalone treat, but if you want to serve them alongside something, consider light options. Fresh berries or a small fruit salad will complement the tartness without overwhelming the delicate flavors. A scoop of vanilla ice cream tucked next to the mini pie can be heavenly on warmer days.
Creative Ways to Present
Don’t let these small pies stay hidden in the fridge! Present them on a pretty platter with doilies or colorful napkins to brighten up any gathering. You can also serve them in painted mini mason jars or clear dessert cups to show off the beautiful layers, turning them into elegant party favors or gifts.
Make Ahead and Storage
Storing Leftovers
If you have any leftovers, simply cover the pies tightly with plastic wrap or store them in an airtight container in the fridge. They’ll keep fresh for up to 3 days, making them a convenient dessert to enjoy later or share with friends.
Freezing
These pies freeze well if you want to make them ahead for special occasions. Wrap each mini pie individually in plastic wrap and place them together in a freezer-safe container. They can be frozen for up to 1 month. Thaw overnight in the fridge before serving for the best texture.
Reheating
Since this is a no-bake, chilled dessert, reheating is not recommended. Instead, just let frozen pies thaw completely in the refrigerator and serve chilled to enjoy that perfect creamy texture and refreshing flavor.
FAQs
Can I use regular lime juice instead of key lime juice?
Absolutely! While key lime juice has a distinctive tart flavor, regular lime juice can be a fine substitute in a pinch. Just keep in mind the taste will be slightly different but still delicious.
Do I need special mini tart pans for this recipe?
No tart pans are required. You can use a standard muffin tin or any small, shallow containers you have around the kitchen. Just make sure to press the crust firmly and use parchment if necessary to aid removal.
How long do these mini pies take to set properly?
They need at least 2 hours in the refrigerator to fully set. If you want firmer pies, you can leave them overnight, but two hours is usually perfect for that creamy yet firm texture.
Can I make these pies vegan or dairy-free?
This recipe uses sweetened condensed milk and heavy cream, which are dairy-based, so to make it vegan or dairy-free, you’ll need to substitute with plant-based alternatives, such as coconut condensed milk and coconut cream. The flavor will be delicious but different.
Is this recipe kid-friendly?
Yes! The bright lime flavor and creamy texture are often a big hit with kids, especially because the pies are sweet, not overly tart. Plus, they’ll love the mini size—perfect for little hands.
Final Thoughts
If you’re looking for a refreshing, fuss-free dessert that feels fancy but comes together in a flash, this No-Bake Mini Key Lime Pies Recipe is a total winner. It’s a guaranteed crowd-pleaser that will brighten any table and satisfy your sweet-and-tart cravings. Give it a try—you might just find your new favorite dessert!
Print
No-Bake Mini Key Lime Pies Recipe
- Total Time: 2 hours 15 minutes
- Yield: 6 mini pies 1x
Description
These No-Bake Mini Key Lime Pies are a refreshing and tangy dessert that’s easy to make without an oven. Featuring a buttery graham cracker crust and a creamy, zesty key lime filling, these individual pies are perfect for summertime treats or any occasion where you want a light, citrusy finish. Ready in just over two hours, including chilling time, they’re topped with a dollop of whipped cream for an extra touch of indulgence.
Ingredients
Crust
- 1 1/2 cups graham cracker crumbs
- 1/4 cup melted butter
- 1/4 cup granulated sugar
Filling
- 1 can (14 oz) sweetened condensed milk
- 1/2 cup key lime juice
- 1/4 cup heavy cream
Topping
- Whipped cream for topping
Instructions
- Prepare the crust: In a mixing bowl, combine the graham cracker crumbs, melted butter, and granulated sugar. Stir until the mixture is uniformly combined and has a sandy texture.
- Form the crusts: Press the graham cracker mixture firmly into the bottoms of mini tart pans or a muffin tin, creating an even layer that will serve as the pie crust.
- Make the filling: In a separate bowl, whisk together the sweetened condensed milk, key lime juice, and heavy cream until the mixture is smooth and slightly thickened.
- Fill the crusts: Spoon the key lime filling evenly into the prepared crusts, smoothing the tops with the back of a spoon or spatula for a neat finish.
- Chill the pies: Place the filled mini pies in the refrigerator for at least 2 hours to allow them to set properly and develop their flavor.
- Add the topping: Just before serving, top each mini pie with a generous dollop of whipped cream for added creaminess and decoration.
Notes
- Use fresh key lime juice for the best tart flavor; bottled juice can be used but may alter taste slightly.
- Press the crust firmly to ensure it holds together after chilling.
- These pies are best served chilled and consumed within 2 days for maximum freshness.
- For an extra zest, add a small amount of lime zest to the filling mixture.
- Mini tart pans work best for consistent shapes, but a muffin tin lined with paper cups can also be used.
- Prep Time: 15 minutes
- Cook Time: 0 minutes
- Category: Dessert
- Method: No-Cook
- Cuisine: American
